Heh, I'm starting to get really lazy about writing these things up.... Once upon a time, I couldn't wait to write up my travel logs, but nowadays, I seem to let them go for weeks (or Months) at at time... Ah, well.
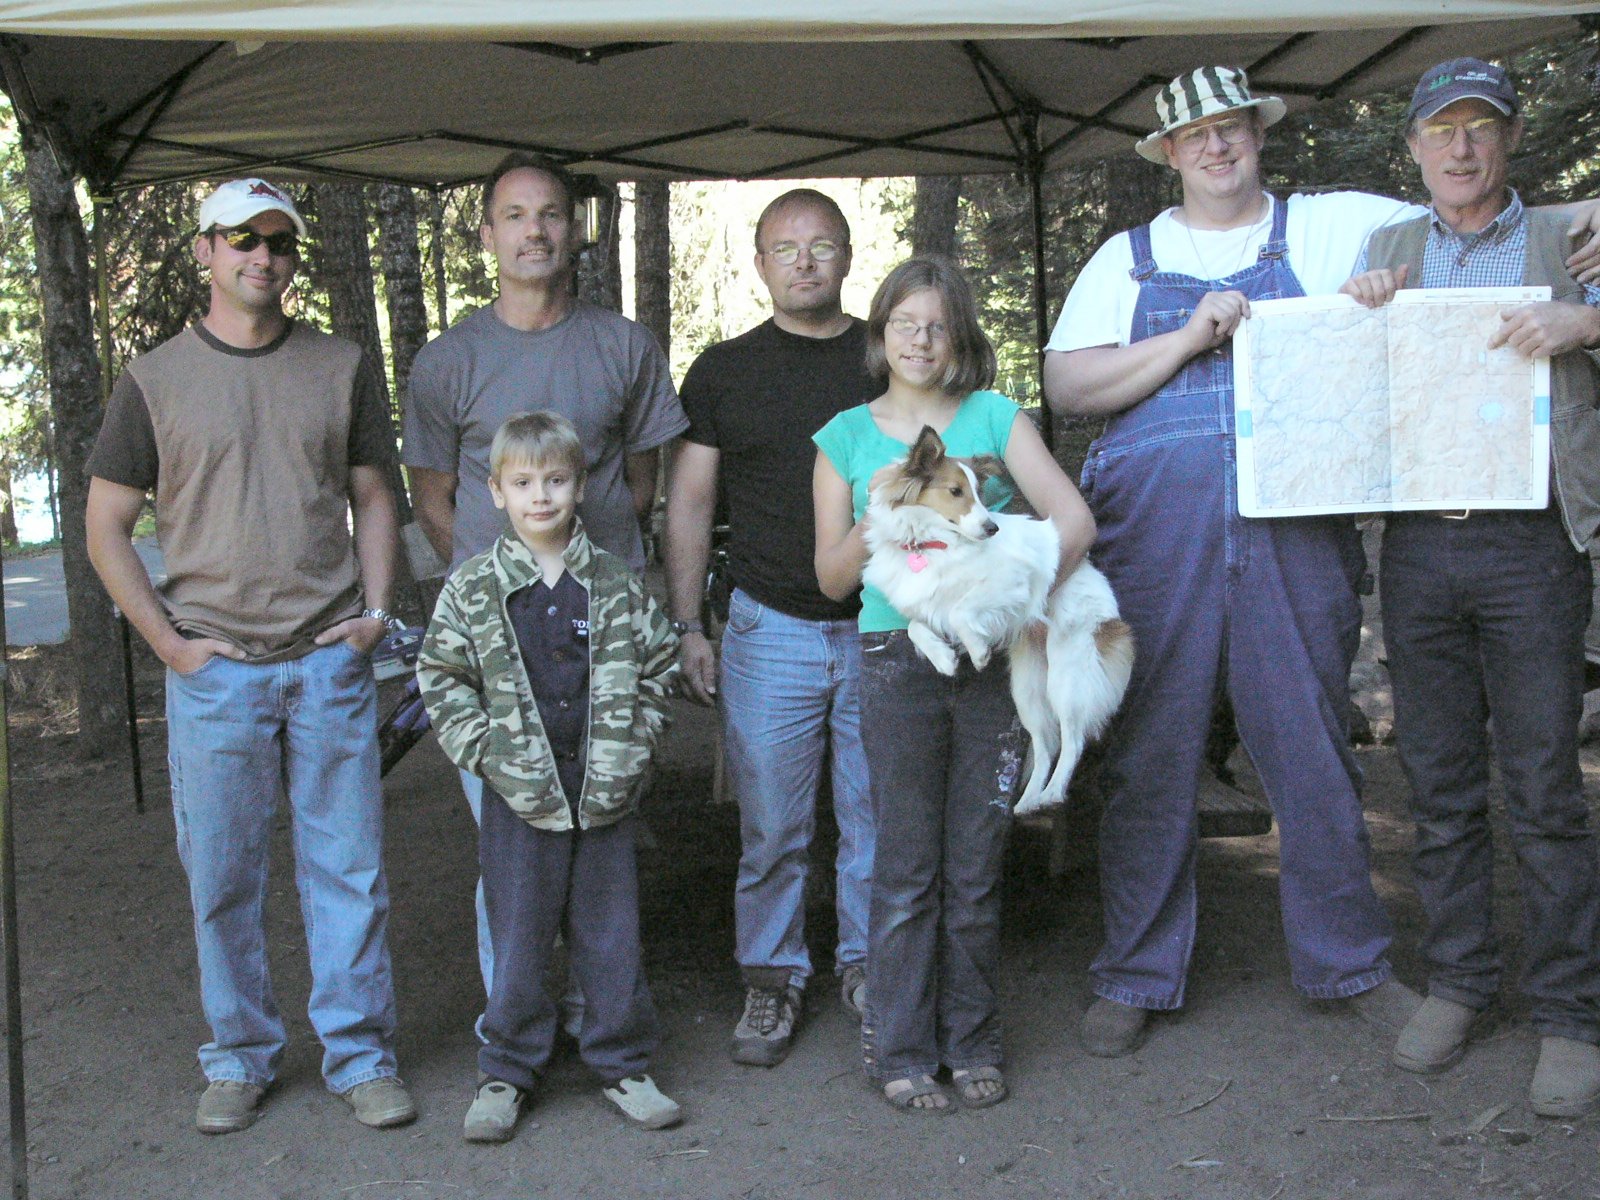
EVENT: OPCOA (Oregon Pickup Camper Owners Association) Diamond Lake Campout
DATES: July 11th - 14th
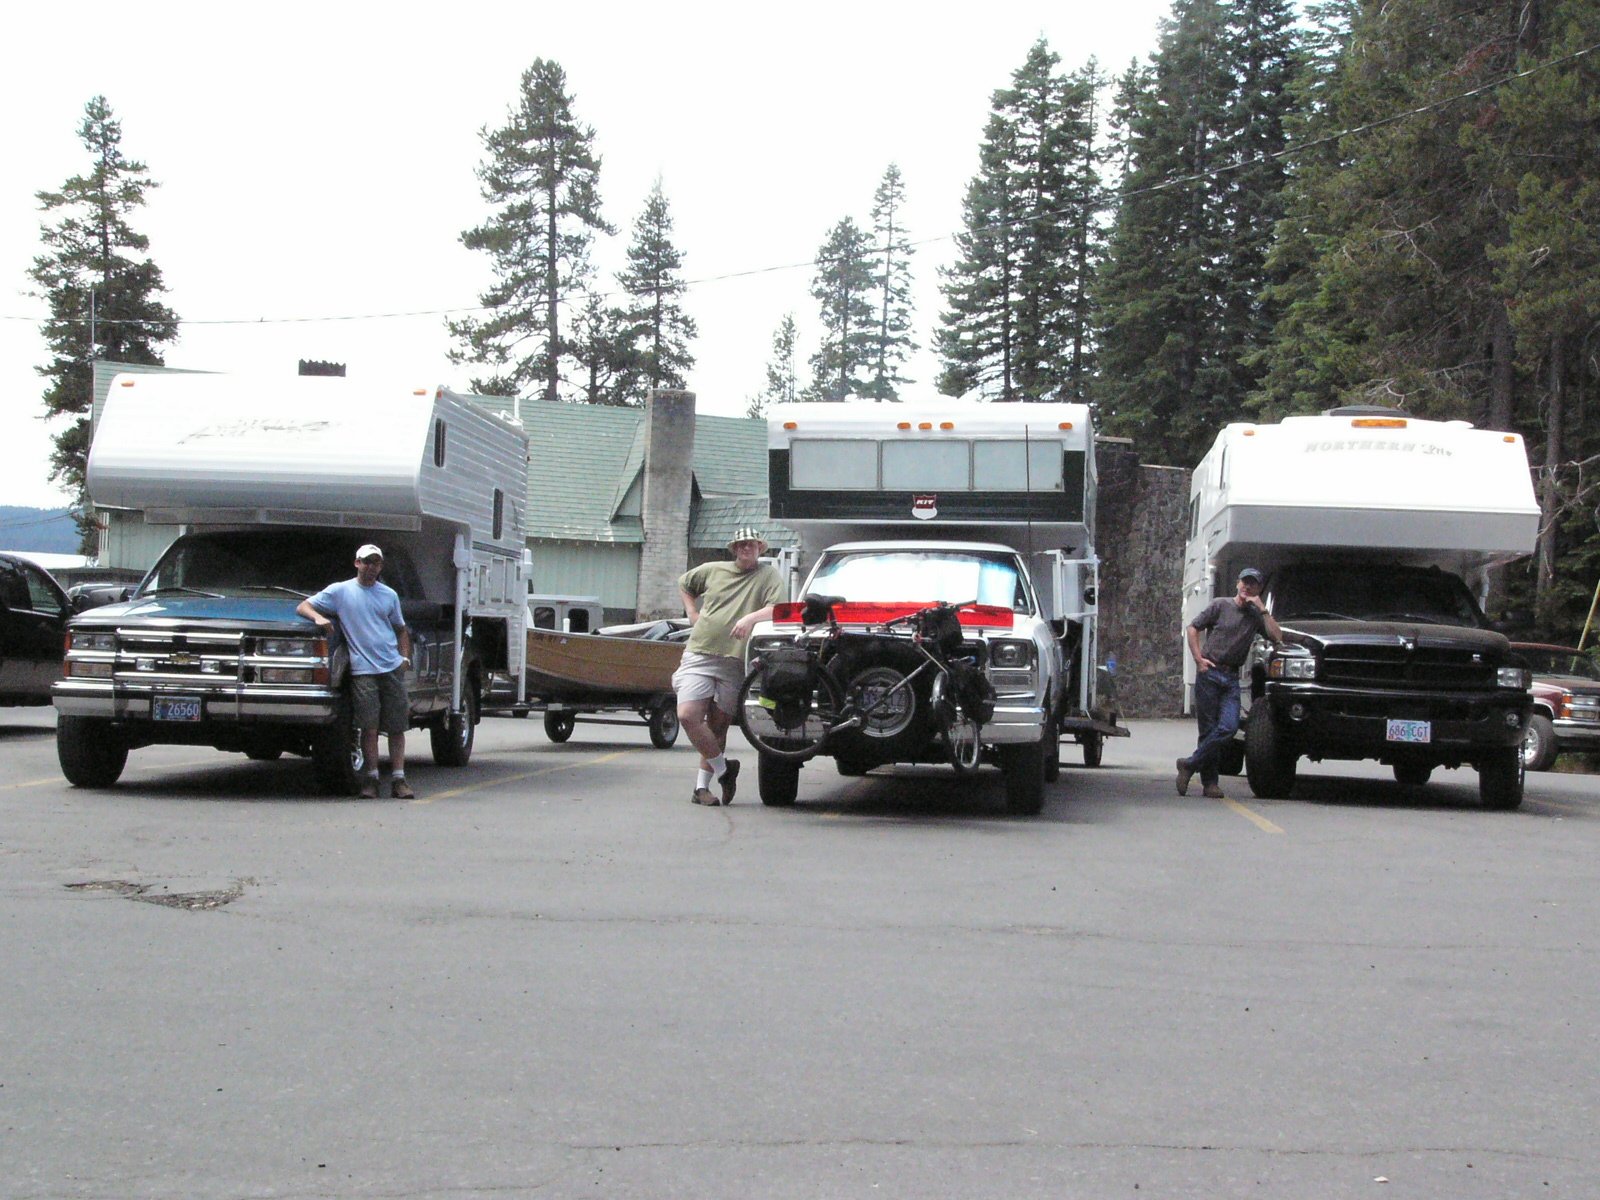
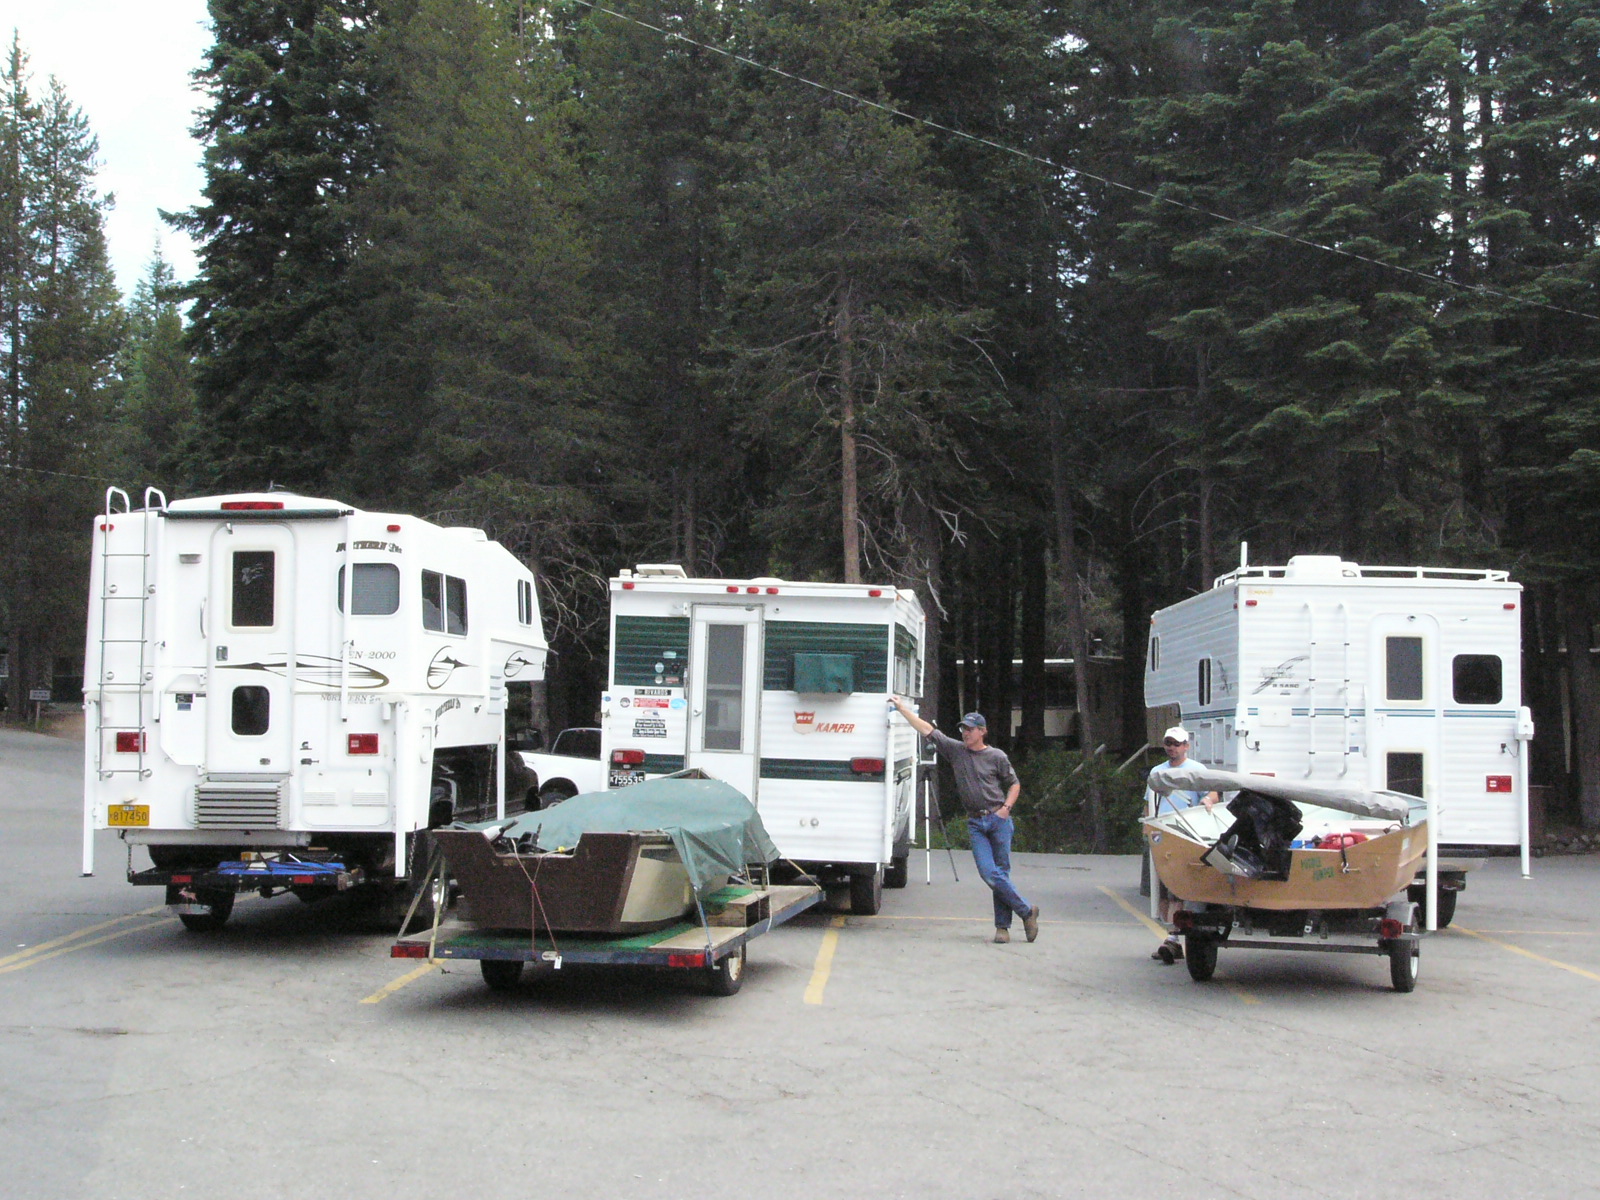
ATTENDEES: JoeChiOhki (Myself), f100jetmechanic (Pat), mjgcamper (Mike), CTD Hauler (Ron), mjgcamper's brother (John)

Now, first off, what the devil is OPCOA? Basically, we're a little group of Oregon Pickup Camper owners that belong to NATCOA, but got tired of the distant rallies to desert locations, so we kind of put together our little group in the group of folks who are trying to get more campouts in closer to home. We have no constitution, or membership dues, the only requirement is that you like to camp (having a pickup camper is always a plus :p) and get in on a campout with us sometime. We're not some official body, nothing is really tightly organized. Mike, mjgcamper, liked to call us the "Oregon Chapter of NATCOA", but we're a bit more independent than that. Our whole premise is good camping/fishing/etc.
Anyway, our past outing was to Diamond Lake the weekend of July 11th-14th, as it states above. We had a tricky time of getting a group of sites together for this outing, apparently that weekend in July was really popular for some reason.
So, in the end we reserved sites G3, G5, G7 and G8. Sadly, they were along the primary road through the campground, but the traffic wasn't too bad. Mike's site was listed as full-sun, however, the only part that was really full sun was the parking pad. Out of all the sites, he actually had the best area for relaxing around the campfire with an enclosure of trees around his picnic table.
So, on Friday, we all made our way there, me being the latest arrival out of everyone once again.... I think most everyone else arrived mid-afternoon. I think it was about 6:30pm-7pm by the time I got there. Alot of the delay was I decided to catch some sleep before trying to make the drive this time, which meant getting the boat loaded up the following day. The drive down took me about 4 1/2 - 5 hours, some of it because I had to pull off at a rest area about 20 miles down the road to fiddle with my passenger side stereo speaker. The wiring had pulled apart at a join that the State of Oregon had done at some point in the past when they still owned the truck.... Really hard to listen to Johnny Cash and Jerry Reed when your speaker keeps cutting out!
The drive down was fairly uneventful, I made the mistake of hauling my heavily saddle-bagged mountain bike on the front bike rack (Deflects the air from the radiator). This wasn't so much a problem on the way there until I turned east onto Hwy 138 from Roseburg and the strong tail wind I had been enjoying the whole way down became a cross wind that continued to steal the air from the radiator. Mercifully, Hwy 138 is a VERY shady road, so the temp went down from the Mid-low 90s to something a bit more reasonable and the radiator started to cool back down.
I later discovered my coolant was down about a gallon due to my failure to fully tighten two bolts clamping the water pump down and the coolant had been leaking past them.
One neat discovery I made was as I was leaving the Pilot Truck stop at the base of Rice Hill. I was making my way back onto the interstate and ahead of me was a Dodge Caravan pulling an older 17' Travel Trailer. It's styling was obviously from the 1970s, but was in good shape and looked like it had been meticulously maintained. As I gained on it to get up to speed, I chuckled "Heh, wouldn't it be hilarious if it was a KIT trailer...."
Coincidences are amazing, aren't they?
Sure enough, she was a KIT Companion travel trailer. What was even more hilarious was that mini-van was able to OUT PACE me going up that 6% grade of Rice Hill.
We probably would have been able to pull that hill better had we not encountered a white tanker truck with red stripes along the sides. He was pulling the hill at about 20mph, no blinkers on. I-5 through this area is only 2 lanes wide going each direction and not only was both the mini-van and myself able to easily able to accelerate up this grade past him, but every other semi was pulling the hill past him at 40 mph or more.
Now, this wouldn't have ever been an issue on this trip, but after we crested and started down the side, the same tanker truck went flying by me at 75-80mph, and maintained this well onto the flat land and then dropped down to 20mph as soon as he hit another hill. And I'm not talking about him slowing down as he started climbing, oooooh nnooo.. He'd just completely slow down to 20mph at the base of the hill and creep up it. I'd have to pass him again, having to hold up traffic to do so. At which point, we'd crest, him a good couple miles behind me. I'd continue to maintain my 50mph on down the road and sure enough, five minutes later here he comes blowing by like he had the trots and his drawers were on fire. Had his driver's window been more level to my passenger window, I likely would have given him a rude gesture after about the 8th time he did this.....
Thanking the road gods, he continued on down I-5 south as I exited onto the 138 East. I was in a right mind to beat the man around the head with a licorice stick until I was weary by the time I took that exit.
For those that have never been to Diamond Lake before, there's two ways to get there. The first route is to take I-5 south till you reach Eugene, then get onto Hwy 58 and go east till it ends at Hwy 97. At which point you turn south on Hwy 97 and go a few miles before turning east onto Hwy 238 and going back West to Diamond lake. You basically go over on mountain, down the other side, then climb back UP the mountain again. Not an issue if you have a diesel truck, slow and annoying if you're running a gas engine.
The other route, which is only 30 miles longer, takes you down I-5 much further to Roseburg, where you exit onto Hwy 138 east and gradually climb your way up along the 80 mile run between I-5 and Diamond lake.
The most ideal route is to take the Roseburg route there, then go back the Eugene route. Its mostly down hill, and the little up hill you do climbing Hwy 58 is minuscule on the east side. Also, this puts you on route to get more fuel at the Chemult Pilot Truck stop.
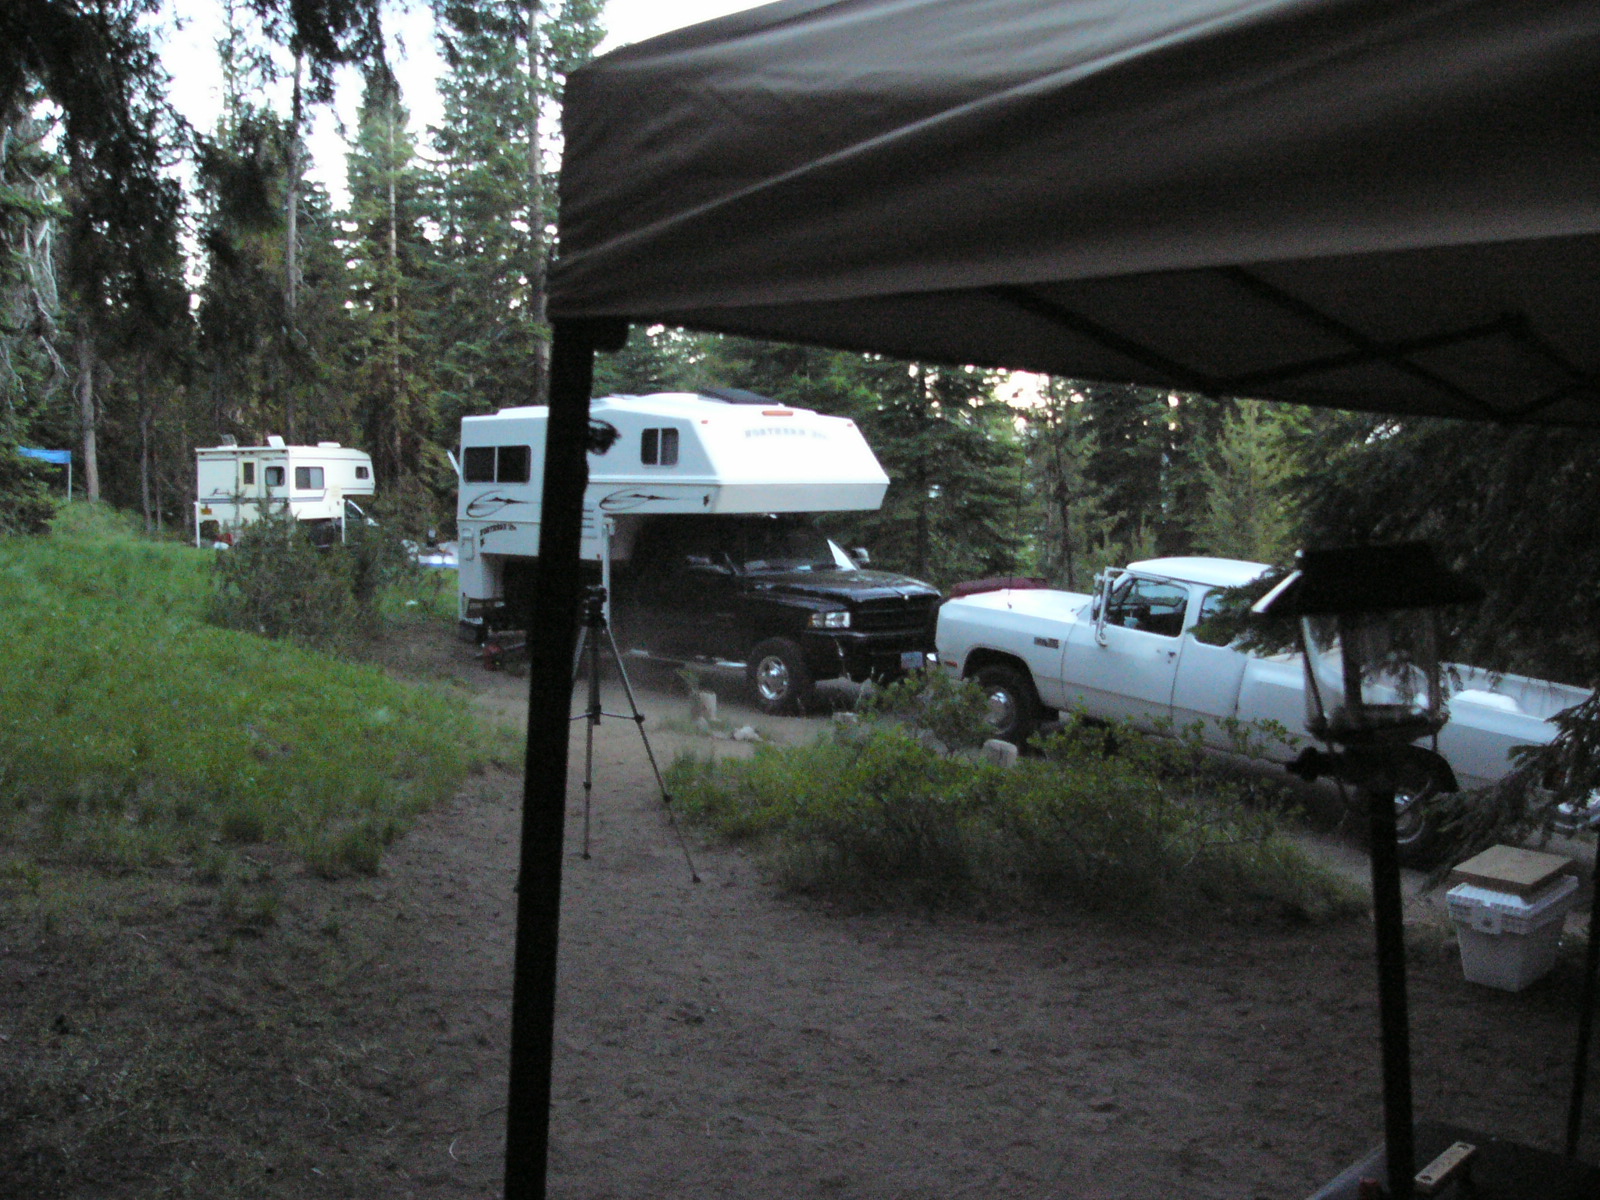
Anyway, at about 7pm, I finally rolled into the Diamond Lake campground, checked in with the booth then rolled down to my campsite. The site wasn't bad, though it was a good slope to back up till you got to the level pad at the top. So, I dropped my boat trailer over at mjgcamper's site, then came back with a couple of the guys and offloaded my camper at the site. After which I went and picked my trailer back up and parked it in front of the camper and the truck behind it. A little more work and I had my generator set up on the hill above me (Where the tent camper normally would have setup) and the power cord hooked up. Even with the windows and roof vents all open in the camper during the drive, it still got plenty hot inside and would retain that heat the rest of the night if I didn't get it removed from the camper as soon as possible. So, generator was fired up and A/C was started to cool down the camper until the quiet hours began.
As per usual, the generator was barely audible outside the edges of my campsite. I made certain of this by walking a full circle around my campsite to check the noise level with my own ears to make certain I wouldn't be bothering anyone in the sites above me or below. There wasn't anything nearby on my sides, one thing I do love about the Diamond Lake sites.
Once camp was set up, I mounted the motor on the boat's transom and hooked up one of the two gas tanks. The first gas tank, the smaller of the two, sadly had problems as the seals inside the attachment that connected it to the motor and barfed fuel everywhere when I was priming the motor. The motor is a 1953 Johnson Sea horse 7.5 hp 2 cylinder. I had to go to MNOP (Mark Nelson Oil Products) to purchase ethanol free gas for it to prevent destruction of the seals.
Mercifully, I had a second tank, larger than the first one. It had never been tested, so it was a shot in the dark to whether or not it would work. Sure enough, the motor started on two pulls and revved up just fine. No fuel leakage. The fun part about that old motor is that it uses air pressure to fuel itself rather than an accelerator pump. It basically pumps the tank up to X amount of PSI and pushes the fuel up into itself. It works remarkably well and the high throttle and low throttle can be tuned by simply turning two knobs on the back of the motor until you reach ideal fuel mixture. I wound up needing to lean the motor out a good deal for the thinner air.
Camp setup completed, I cleaned my filthy self up somewhat, then procured the $16 24oz. bone-in Ribeye steak I had brought for myself from the fridge, along with a bottle of
Ken's Steak House - Thousand Island dressing. I find that that brand makes the most excellent condiment for steaks and french fries.
A short drive of the pickup back over to Mjg's site (I had several bits of gear with me, including my dining canopy, spare propane tank, lantern, lantern stand, etc... In addition to the steak and fixings). We setup the rest of the gear and then I set about grilling my steak to a medium rare and sat down to express my carnivorous tendencies.


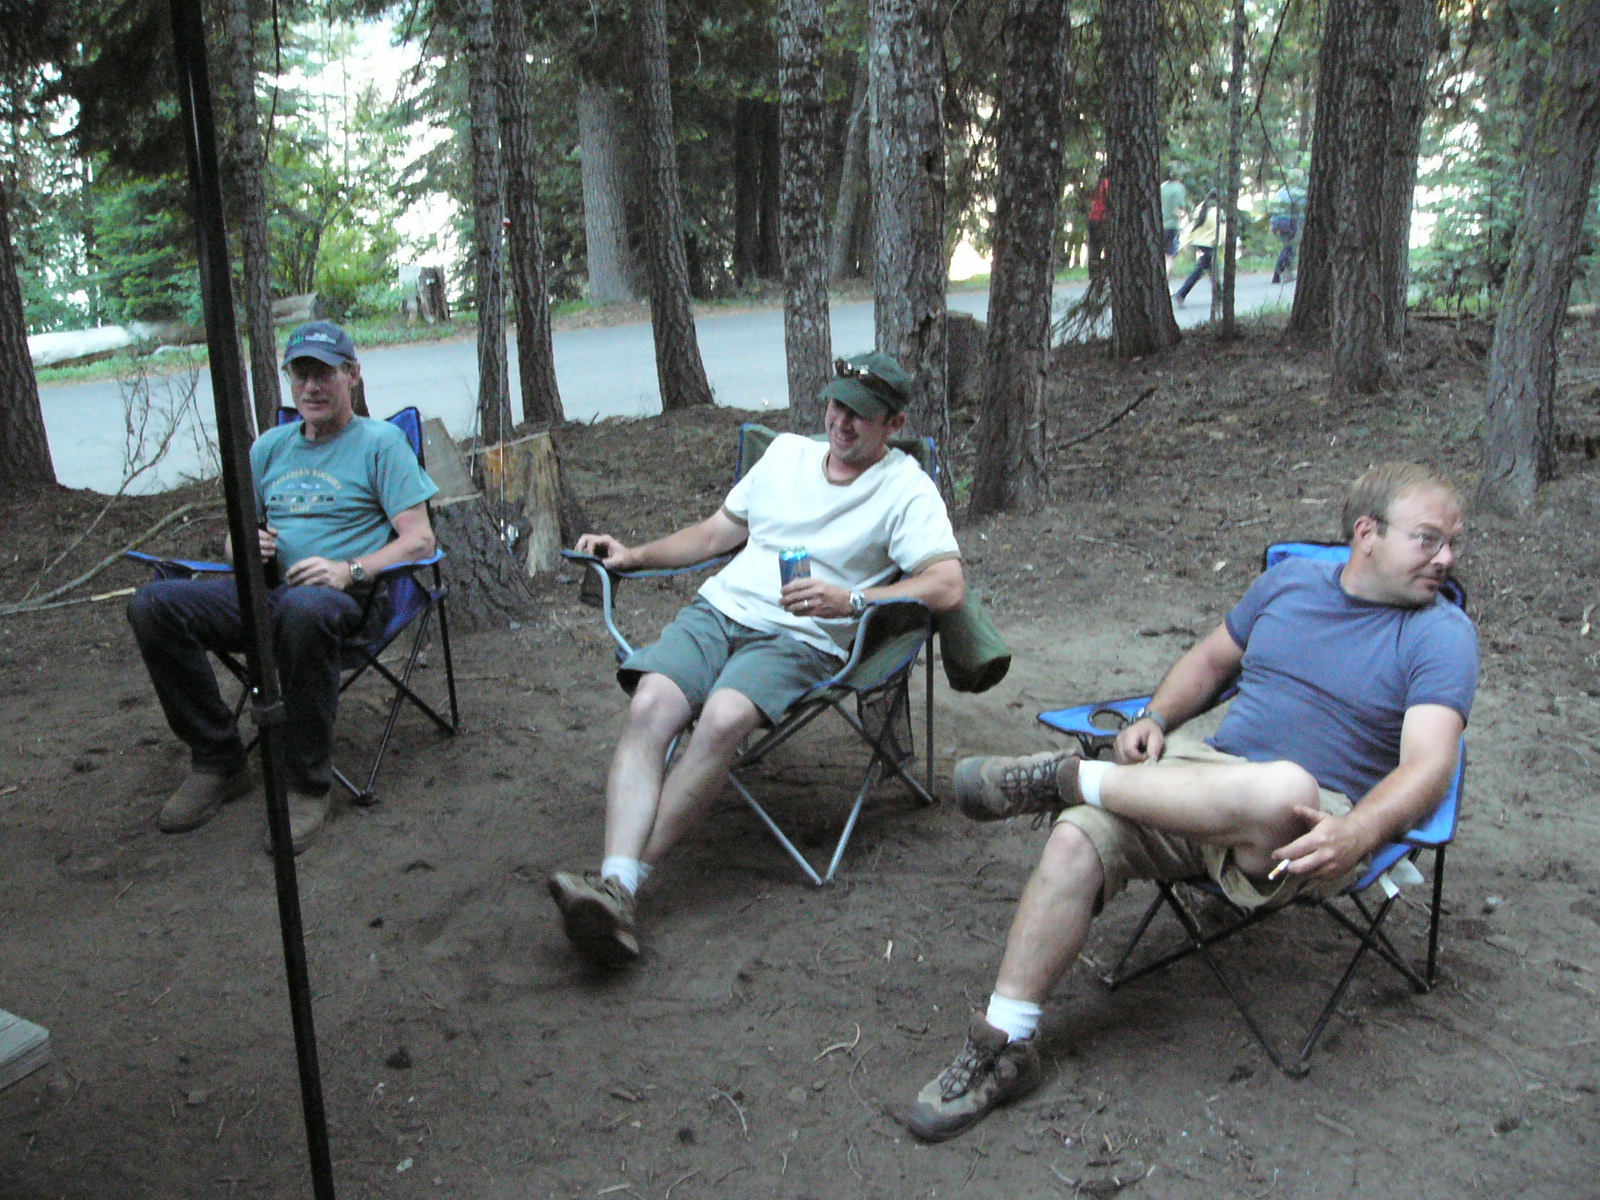
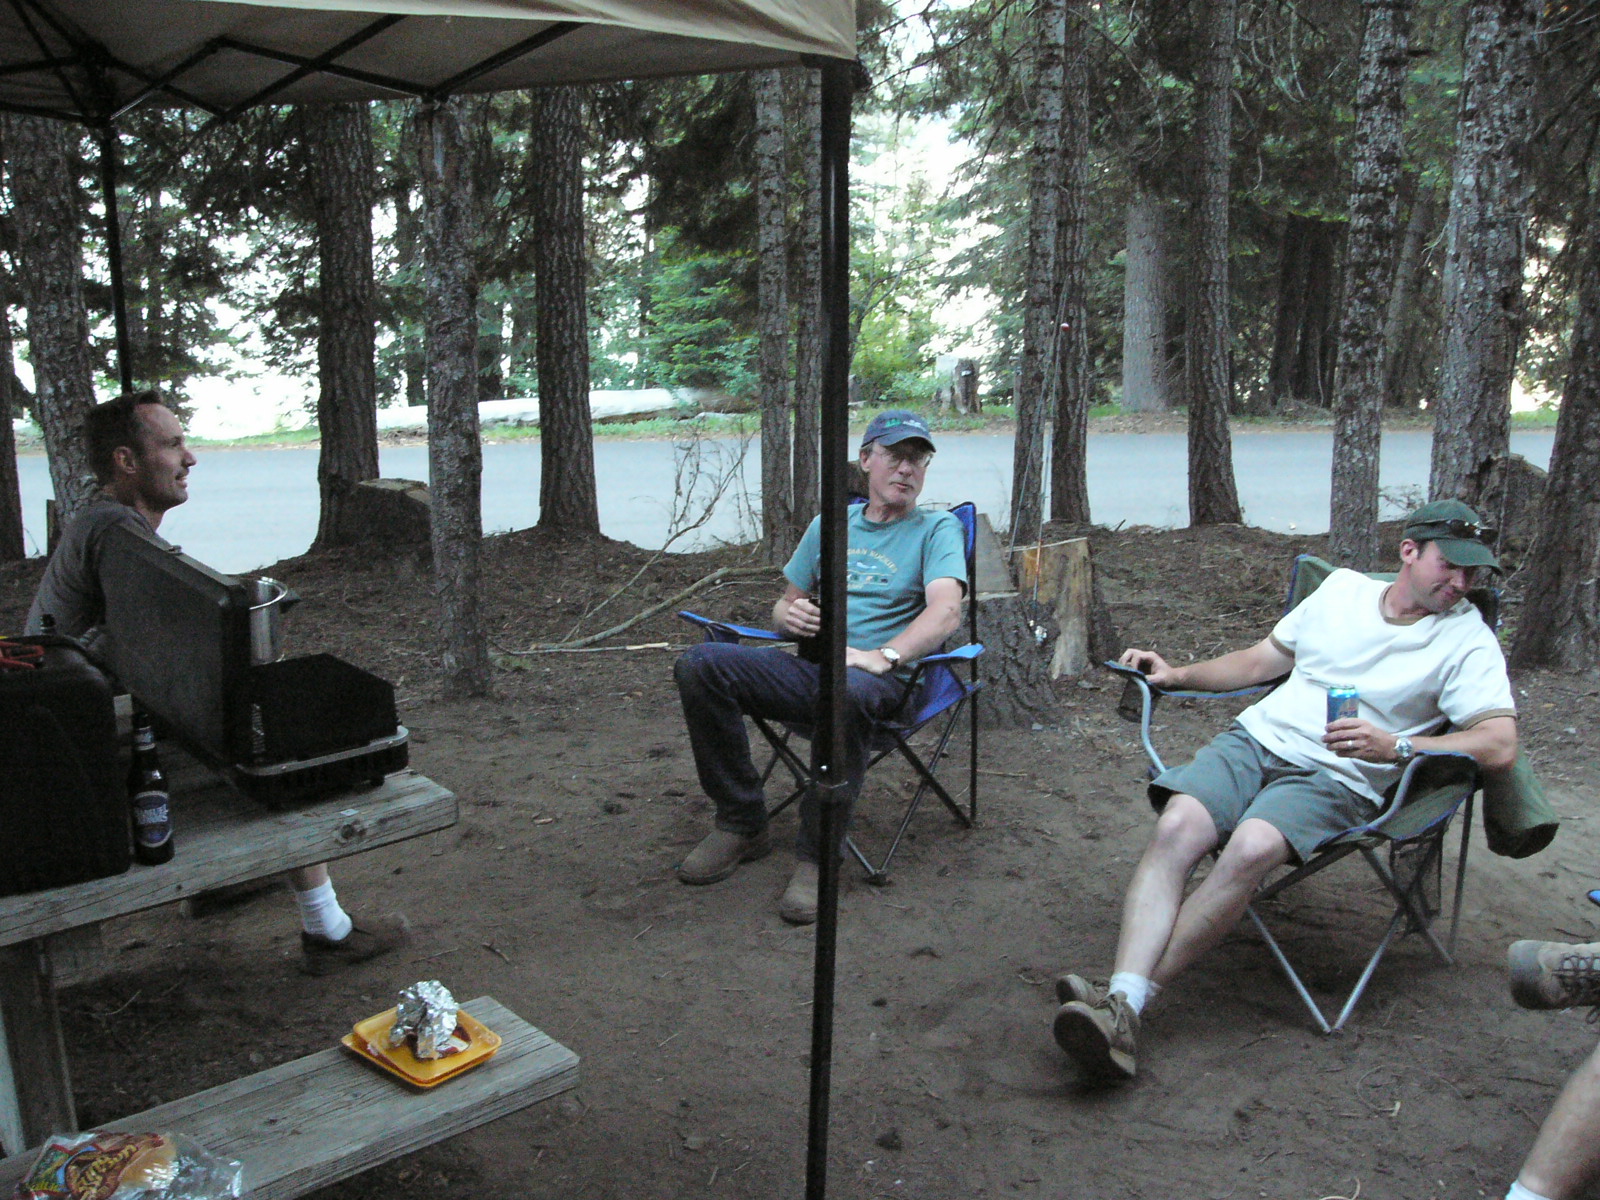
Once my cravings for meat were sated, my hunger turned to evening libations around the campfire. Mjgcamper had already started our campfire for the evening and I brought my chair over from its resting place besides the picnic table to take up my place around the fire. On his travels there, Mjgcamper had procured a wide assortment of beers for the perusal of us his fellow camping buddies.
While not being much in the way of a beer drinker myself, I procured a Heineken from Mjgcamper and joined into the time old tradition of men when gathered around the campfire with their wifes not present. We talked, laughed, drank, and BSed. Most of the more
adult BSing, we naturally did not do until the youngin's had turned in for the evening. ;)


Our chats ranged on all manner of topic, though nothing so far that we'd need to visit the confessional on Sunday morning ;). Alot of our chat was actually on past adventures in camping in our lives, Mjgcamper's tales of his and his brother's adventures in their youth, CTD's tales of his occupational hazards working in corrections, my general mishaps and mis-adventures both big and small, and of course, Food and where to camp
NEXT. :) One big topic that was discussed alot was Reedsport, OR.
As f100jetmechanic wove his tales of dense green forests, cool shade, and abundant waters of fish and crab, we all salivated at the opportunity to go. Mjgcamper, perhaps the most enthralled of this area, inquired greatly about the area and has since forth decided that this may well be his choice of places to finally retire.
We chatted until late that evening, till close to midnight, did we finally call it off and go our separate ways back to our own beds and showers.
Saturday Morning came slow and crystal clear with a tinge of coolness still clinging to all surfaces from the night before's chill. It took many an attempt to roust myself from the nest that I had made of my bedding, to leave that cocoon of warmth and enter into the morning chill that filled my camper.
But, rise I did, to make my morning ablutions and greet f100jetmechanic for a hearty breakfast of hotcakes, bacon and eggs at my camper. Breakfast went down with tall hot cups of strong black coffee and glacier cold glasses of milk. When we had eaten our fill, we packed up the left overs for Mike's brother, and I filled my massive thermos to the top and then some and STILL had coffee left even after Pat had two massive cups.
It is a very RARE day when I awake before others when camping. It was a first that I was actually awake before Mjgcamper. I greeted his bleary eyes at his camper door thermos in hand to help cast out his sleepiness.
We gathered for a while at the picnic table while everyone rousted themselves and woke to the first morning of our fishing endeavor.
Friends of Pat's drove in from down near Klammath falls to bring out their boat. All told we had four boats in the water that day. Mjgcamper manned his inflatable, I manned old Chummin' Chet, Pat manned his canopy topped boat, and his friends manned theirs.
The lake, however, had a little surprise in store for us.
Apparently some kind of fly had just hatched in the area, coupled with the long-lasting snow banks we had on the lake this year, their population was somewhere up in the horror movie levels. You know those little green gnat things that flutter around your yard when it begins to cool in the shade as the sun starts to set? Yeah, that's what was swarming on the lake. They wouldn't have been bad at all, and they weren't past the first day on the water, if we'd had any kind of air movement that day. But, to our misfortunate, the air was dead still.
I putted old Chet from one end of the lake to the other having to wipe my arms, legs and face clean periodically of these little buggers. They didn't bite, just liked to land and swarm on any available surface. The hull of the boat was a crawling mosaic of bugs. Doggedly, I still trolled from the north end of the lake to the south end and then turned north again.
The weather that weekend was up in the 90s the entire time. Shortly before we left the NOAA issued a Heat Advisory for the weekend. Wisely, I gassed the generator up and left her running with the A/C on in the camper before hitting the water. I was grateful for its cool escape later that afternoon when I returned.
Early that day before we all had set out on the lake to try our hands at catching some of the large trout I heard show and tell of from my barber (Whom had gone up Memorial day weekend as a DAY trip and was pulling out 22"+ trout), I offered everyone sunblock, having been sunburned horribly once before on this lake. As it was, I still got lightly toasted myself even with re-applicating SPF 50 sunblock about once an hour.
Sadly, poor Mike chose to forgo the sunblock and by the end of the trip had numerous areas of sunburn dotting his arms and the back of his neck.
Well, we roasted and we toiled and we watched the fish jump all around us as we worked that lake back and forth. After about four hours on the lake, I became too hot to remain on the water any longer and returned to dock and pulled Chummin' Chet out of the lake.
I drove back to camp, refueled the generator (she was gobbling fuel due to altitude and having no where shady to put her and chain her up) and slipped from the 96 degree heat into the 69 degree cool. Procuring a couple bottles of ice cold water from the fridge, I sat back and sipped while I let my body edge away from borderline heat exhaustion.
After about a half hour or so, Pat came around to see if I was back at camp still. He joined me in the camper to get out of the heat and we chatted for a long while about our experiences out on the lake that day.
Apparently Pat's outboard motor had a problem with choking on a flood of fuel after the engine had been run for a while at full throttle. He'd come back to camp with his boat to see about the problem and discovered that the float bowl seal on his motor's carburetor had begun leaking fuel. Lacking the tools needed to pull the motor completely apart to make the repair, he had tightened what he could, but the motor would still leak until he got home to fix it.
We conversed for a fairly decent amount of time till we began to wonder what had become of Ron and Mike. Pat set out to check and returned in a fairly short period of time to report that Mike and Ron were both back and that Mike had slipped off for a nap in his camper while Ron watched the kids over at his camper.
At about this time, Pat choose to slip back to his own camper for a nap and I decided to take a shower. A half hour later, I was feeling better and stepped out to stretch my legs. About this time I noticed that Mike's brother's son was floating around outside by himself.
After chatting with John's son (Mike's Brother is John), I found out that his dad and his uncle Mike had gone down to shore fish for a while and that he had become bored with watching the movie "Robots" over at Ron's camper with his daughter.
So, I asked him if he'd been a good boy and wanted to help make brownies.
Alot of smiling and jumping up and down ensued at this suggestion :p.
So, I sent him over to Ron's camper to inform him that he was coming to visit mine and then we set out to make brownies.
So, off the kids went back to the Redneck Express and the producing of many brownies did occur.
Eventually we regathered at Mike's site for our little "pot luck" and enjoyed a nice dinner.
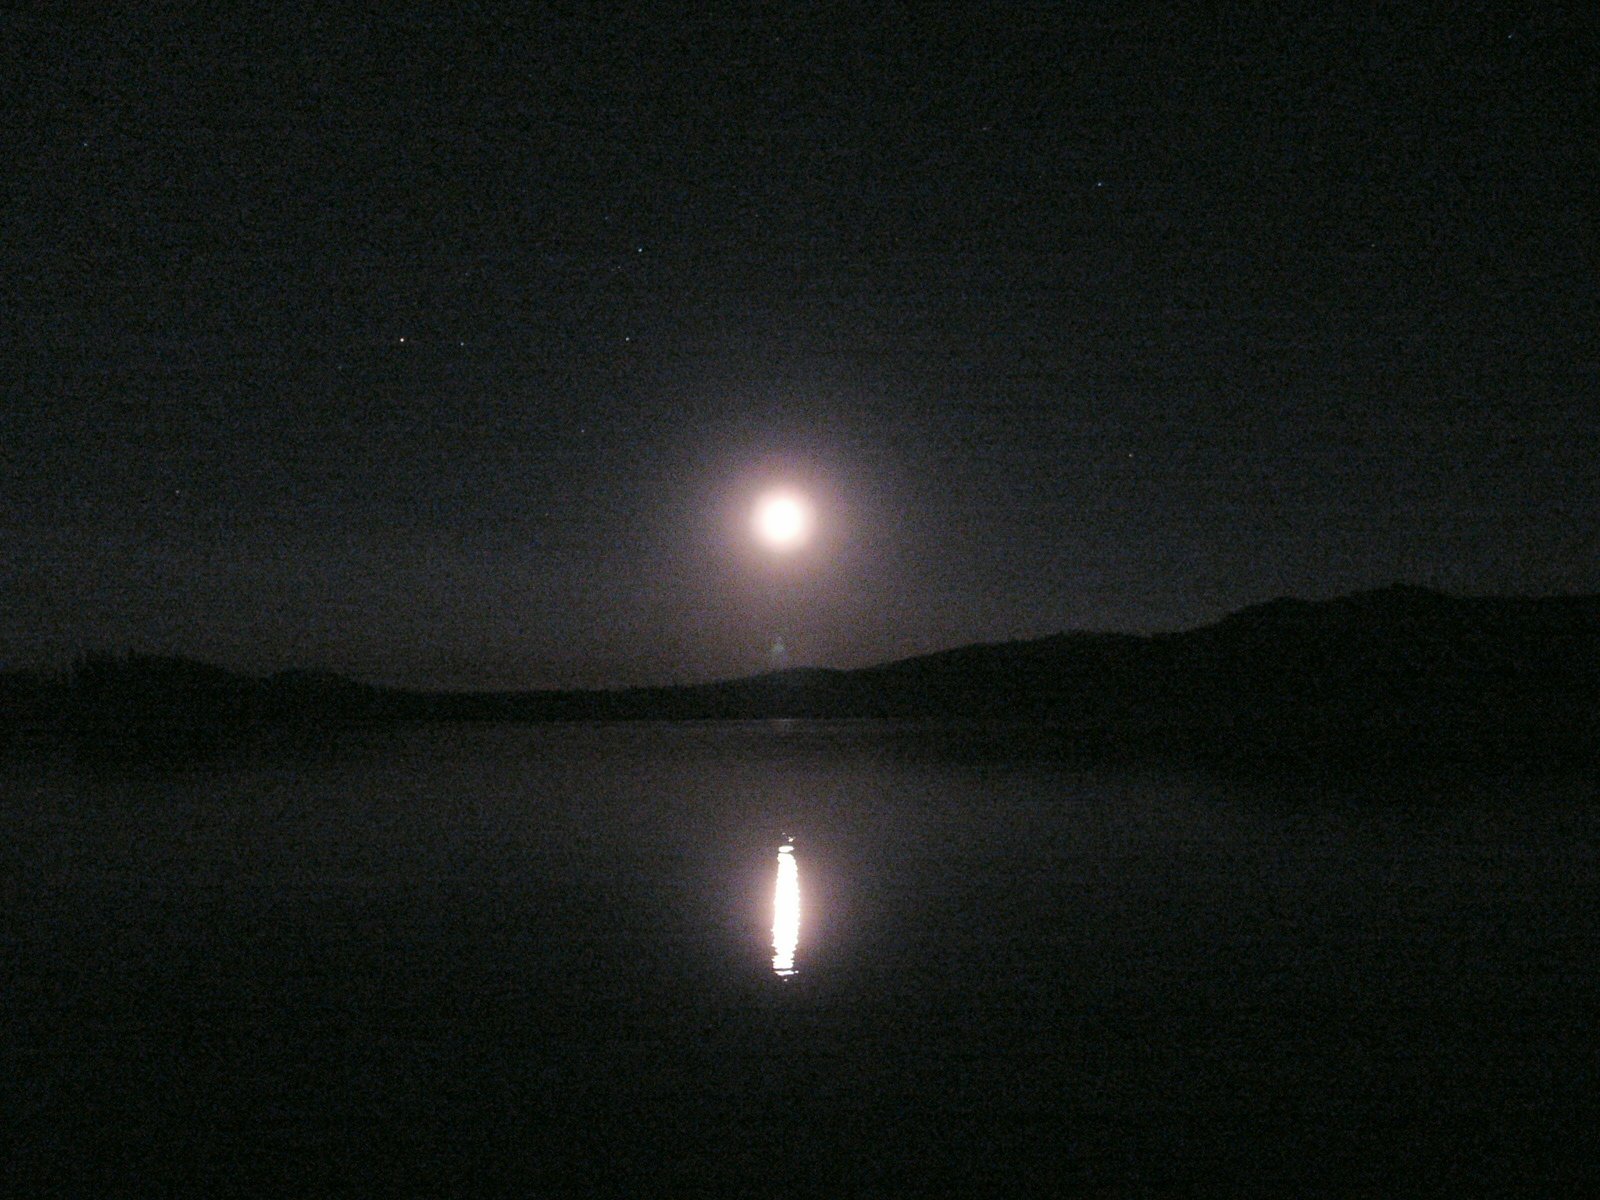
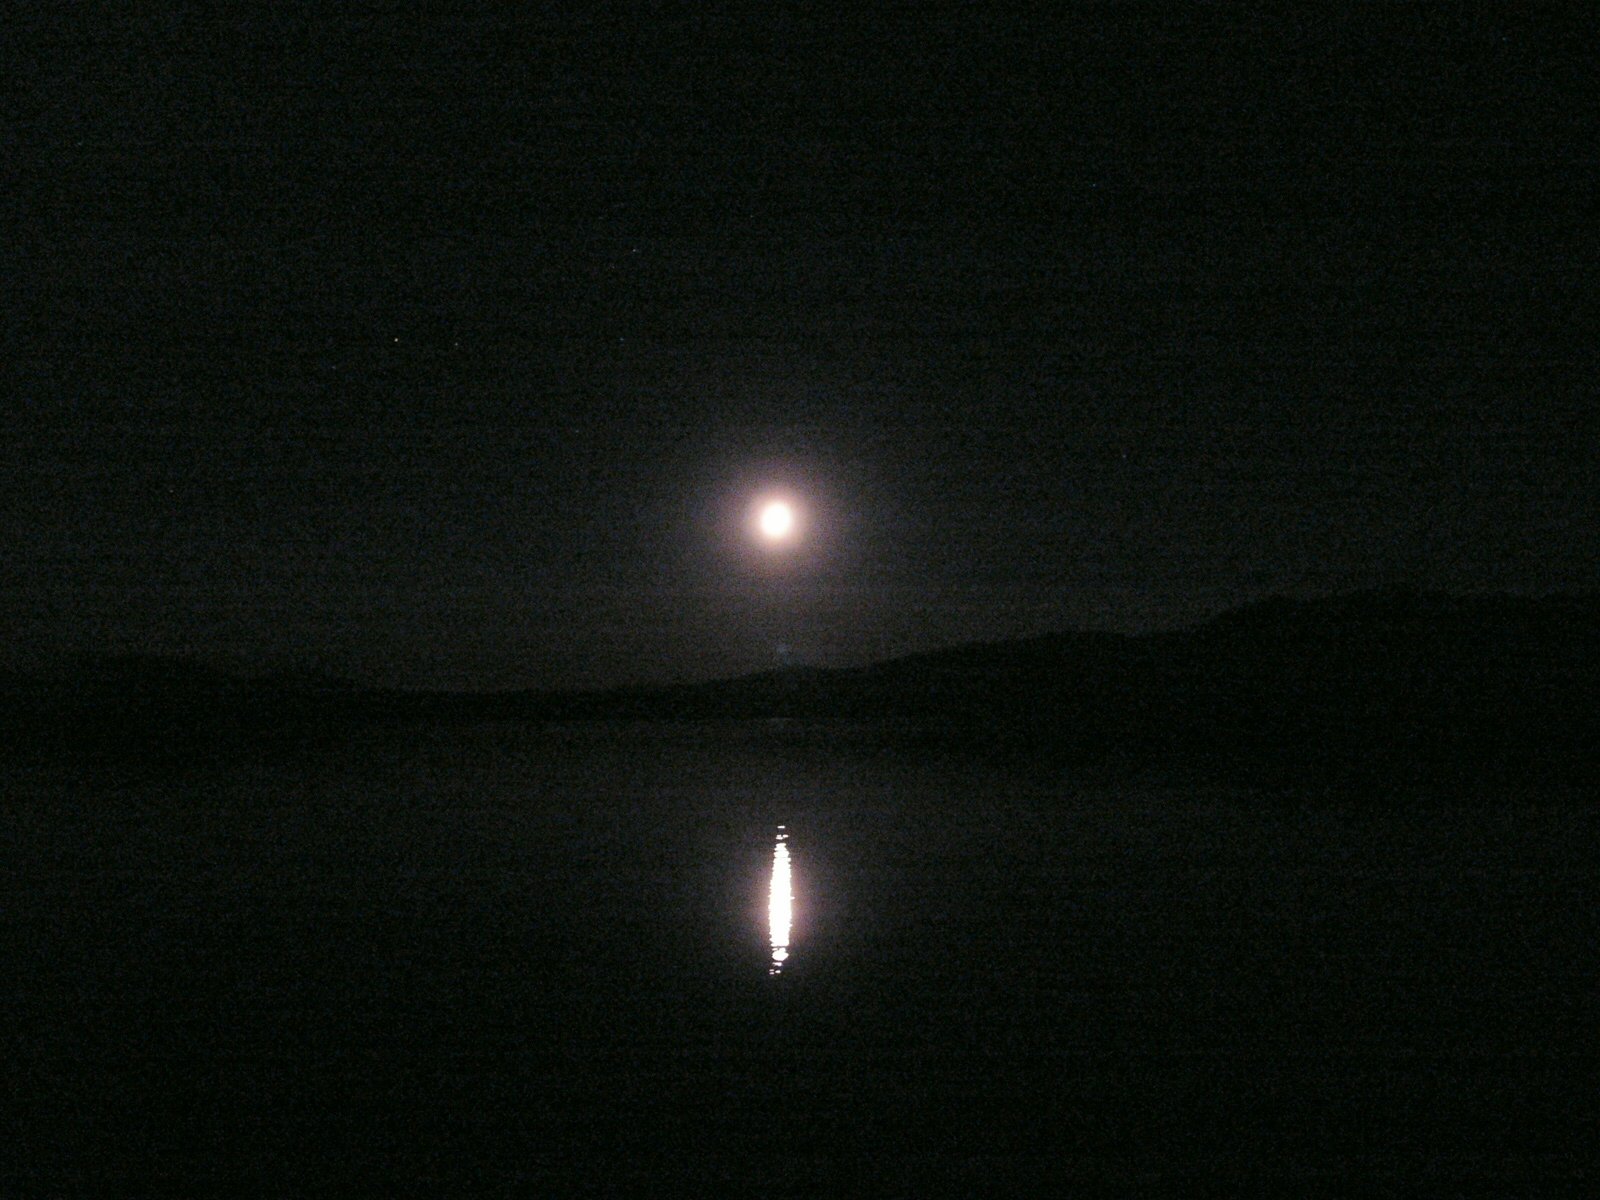
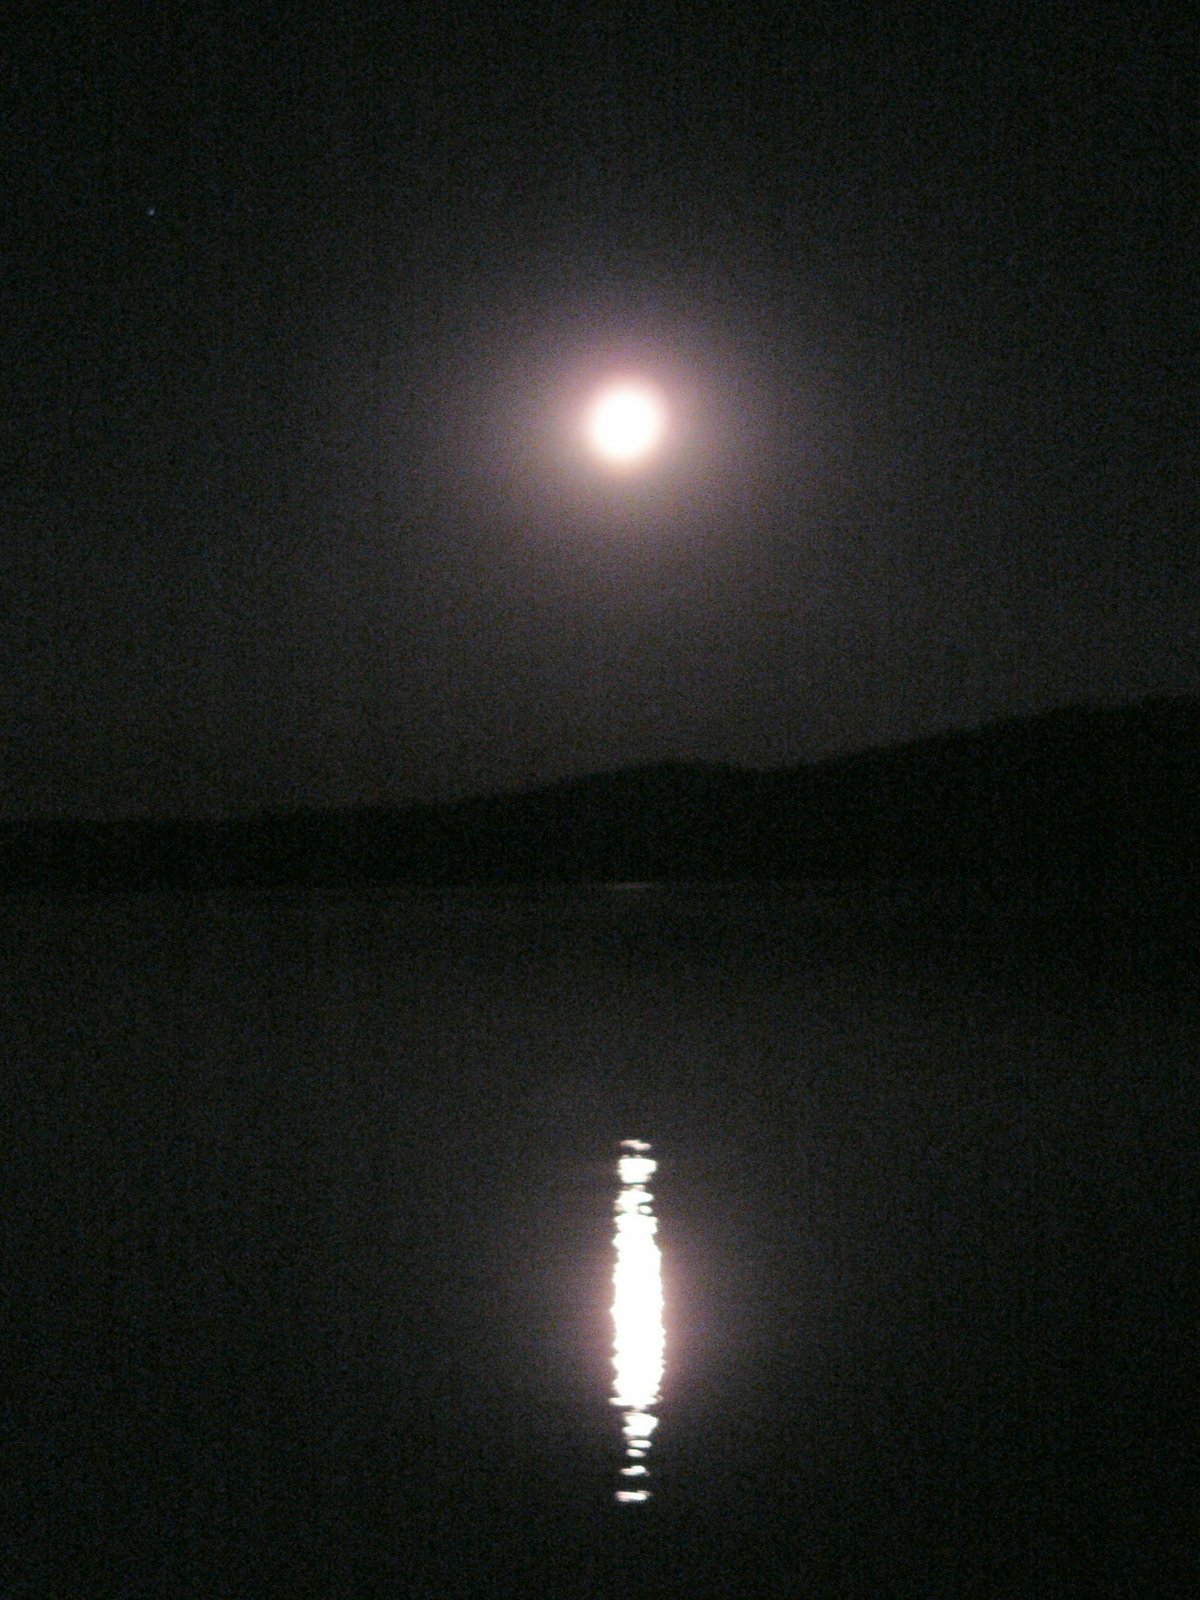
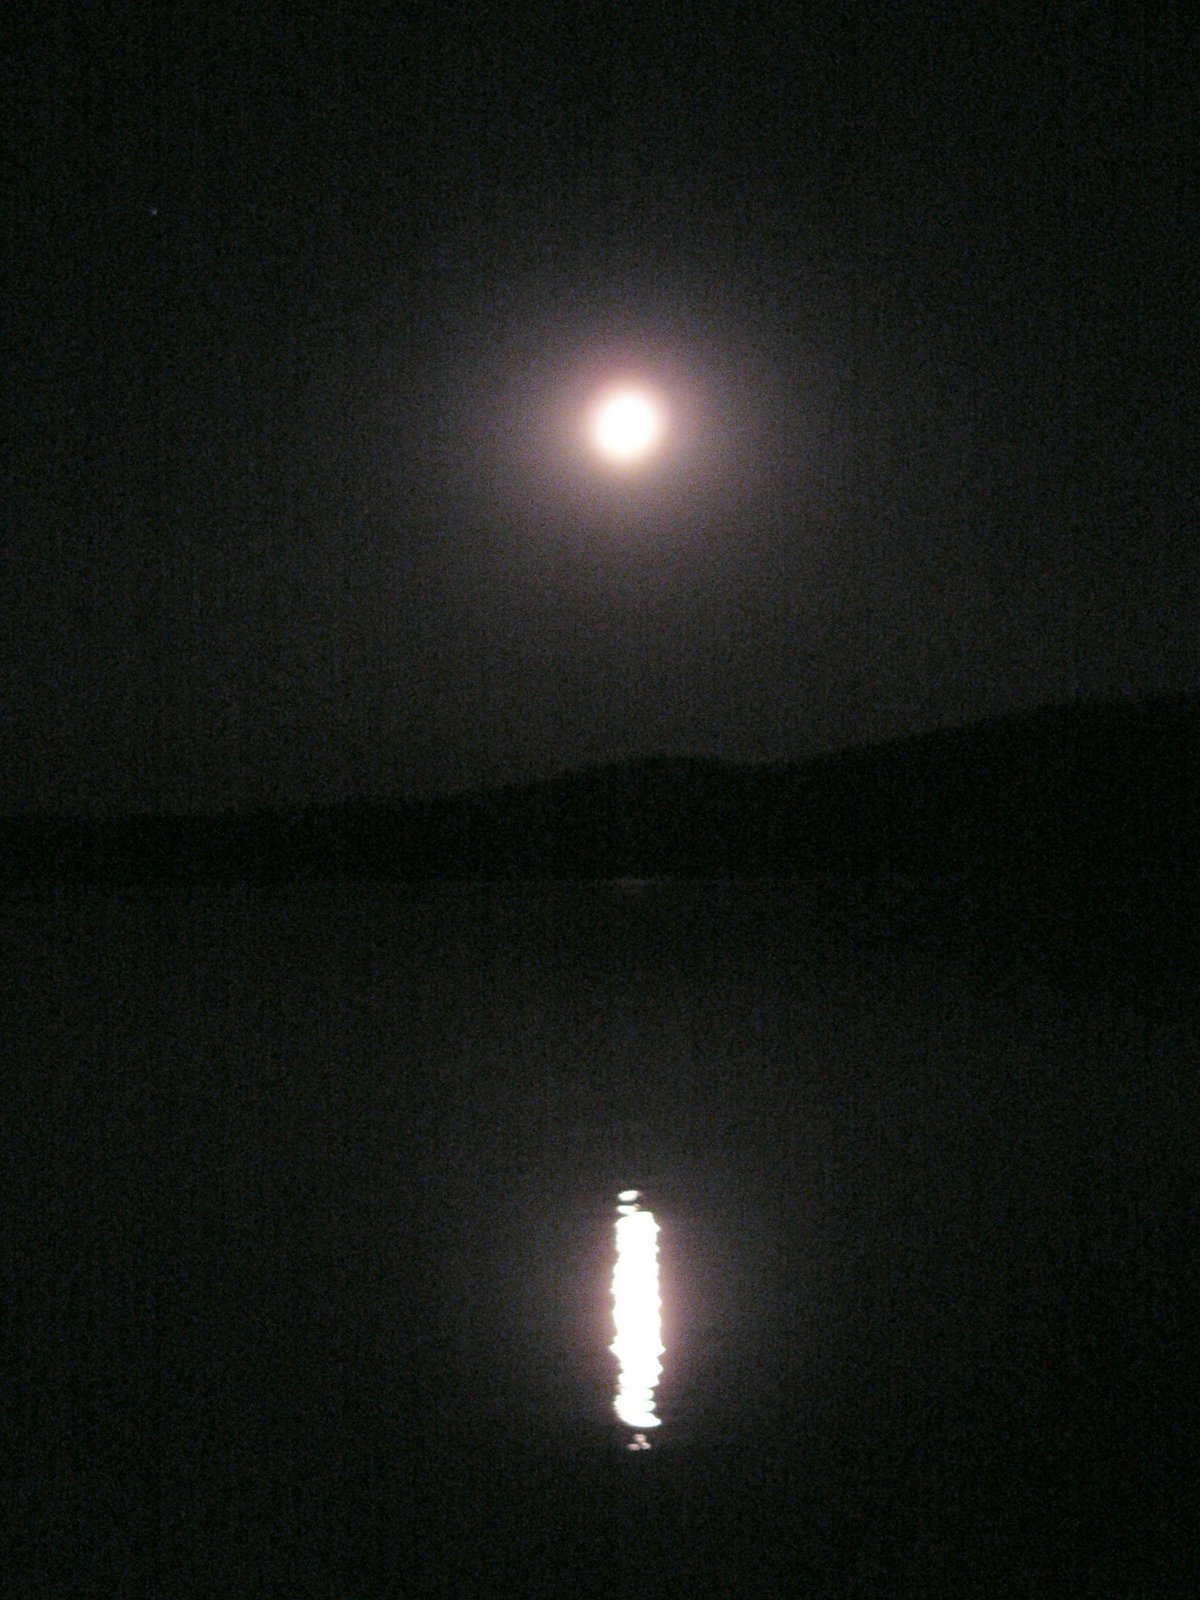
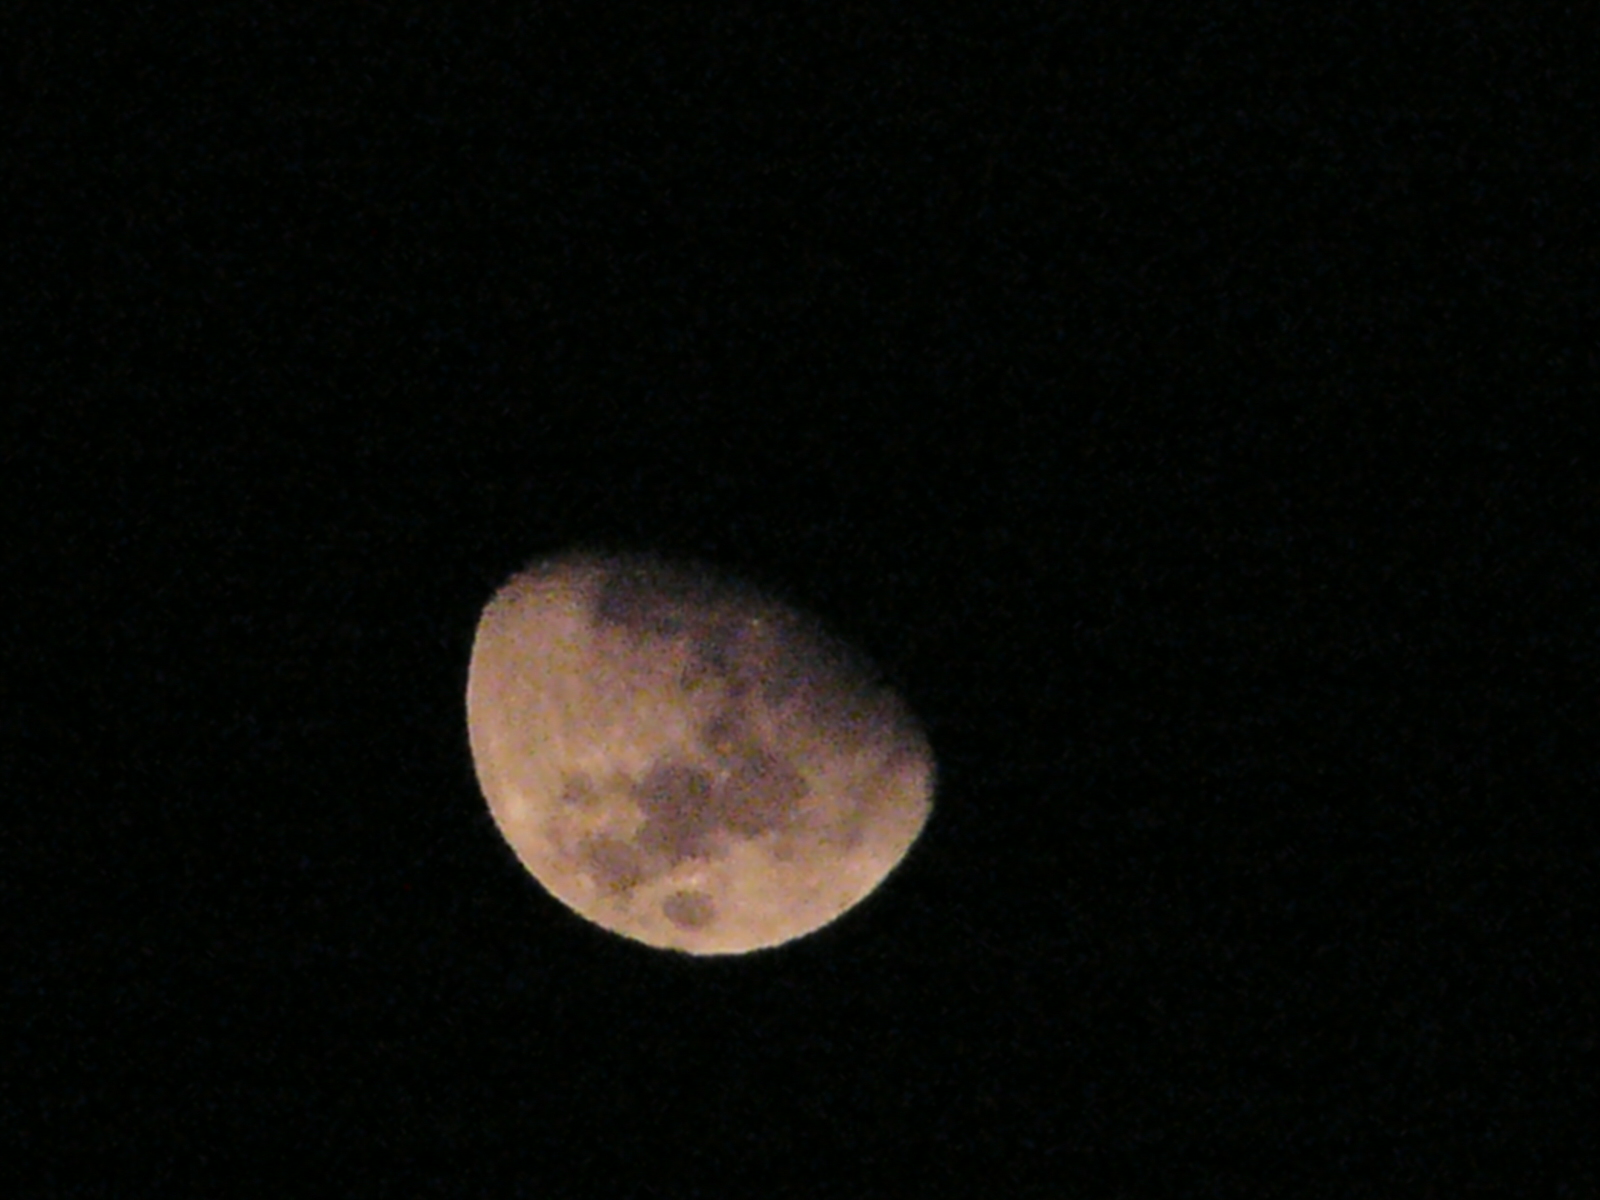
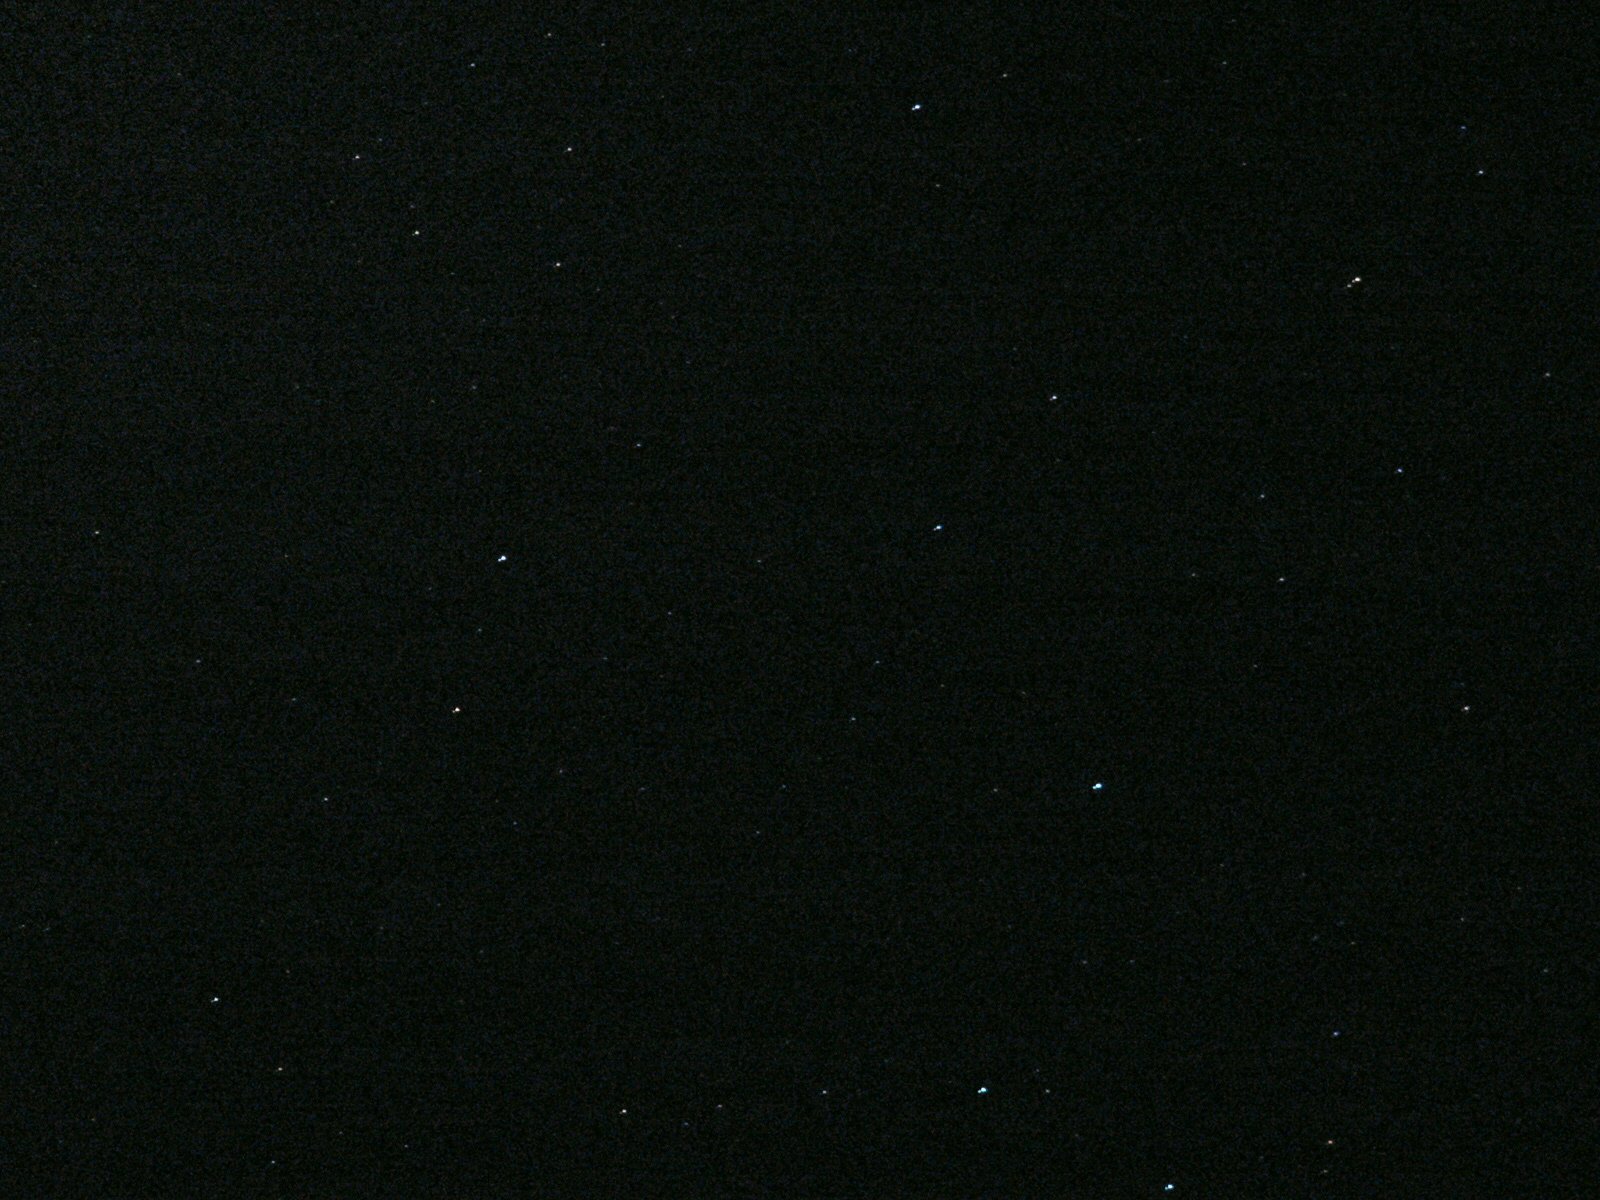
Later that evening, after we'd all said our good nights, I went out to try my hand a long exposure photography.
Here's the star shots that I managed to produce:


Eventually, I too, turned in.
* * * *The following day, I attempted to set back out on the water to try my hand at fishing again by myself this time. This ended in not much fishing being done, as I had to run the boat aground at the boat dock near the lodge, discovering that without passengers in the boat, she ran tail heavy and ended up washing alot of water over the stern and nearly sinking her.
By the time she ran aground on the concrete, there was about a foot of water in the boat and most of my stuff was floating. A little bailing later, I relocated the heavy deep cycle battery and trolling motor to the front of the boat, along with any other weight I could think of and set back out.
By this point I was sweating and getting a good lesson in why I never put sunblock on my forehead. It all wound up running into my eyes and setting them off stinging.
Eventually, I gave up, and turned back to camp to take a shower and recover. I rejoined the others, told them my tale of nearly swamping the little plywood boat and then returned for one last go at fishing with Mike and Pat in Pat's boat.
We brought along the trolling motor as a backup because of the questionable motor issues Pat's boat was having and returned to the area where I had been aiming to fish before.
Sadly, we had no better luck even with a better boat and a shade canopy.
The bugs had made the fish fat and full and completely uninterested in our bait and lures and anything else we could think of trying.
Sure enough, when we went to head back in, Pat's boat motor wouldn't start again, and we ended up using the electric trolling motor to drive us all the way back in, good thing I recharged the battery!
* * * *The next morning, we decided to skip cooking breakfasts in our individual campers and to load up and head over to the lodge to try their food.


Coveting several of the parking spots in the Lodge lot to fit our campers, we sauntered in and ordered breakfast. They managed to get Mike's order wrong twice, the second time not even having the pancakes cooked all the way through.
Pat and I were no more impressed with the food, even though ours came out fine. Comparing the Diamond Lake Lodge's restaurant to Odell Lake Lodge's is like comparing dumpster diving for spoiled sandwiches to a Ruth Chris Steak house.
Just no comparison!
* * * *Sorry for this entry going from its lavish detail down to rather short paragraphs towards the end. I started writing this in 2008 shortly after the trip for posting, but never finished and until the evening of October 29th, 2010 (The date it was actually added to the blog), was never worked on since. Alot of the tale's finer points have been lost with time, mostly due to my very small collection of photos, and I'm thankful that I had written up as much as I did or alot of this trip's enjoyable memories would have been lost forever.


 The results of the first fiberglass coat, looking shiny! We'll fix that with some nice sanding to prep it for the application of coat number two, and the fiberglass cloth around the edges.


![[image]](https://blogger.googleusercontent.com/img/b/R29vZ2xl/AVvXsEhdmbuX9IuzzkI7gfwxMdwoFsT2oaIhyphenhyphenm1VeeRu_CbU6JH3W-6pppGOayMR6nerzGz2_rYlksmL2E4jgXbSto4l2KRQ8LTf0HZesimlHWweLSrub9SqSbcGInHk8My3WOaMYCCRmR2njOs/s1600-h/P1150364%25255B7%25255D.jpg)