


Since I did some of this already without photos, I'm kinda group about 4 days worth of work into one for sake of reading simplicity.
The Bathroom

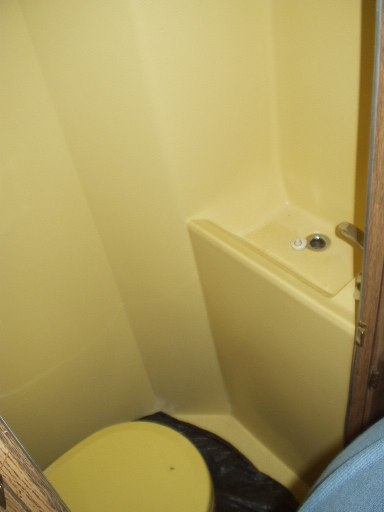
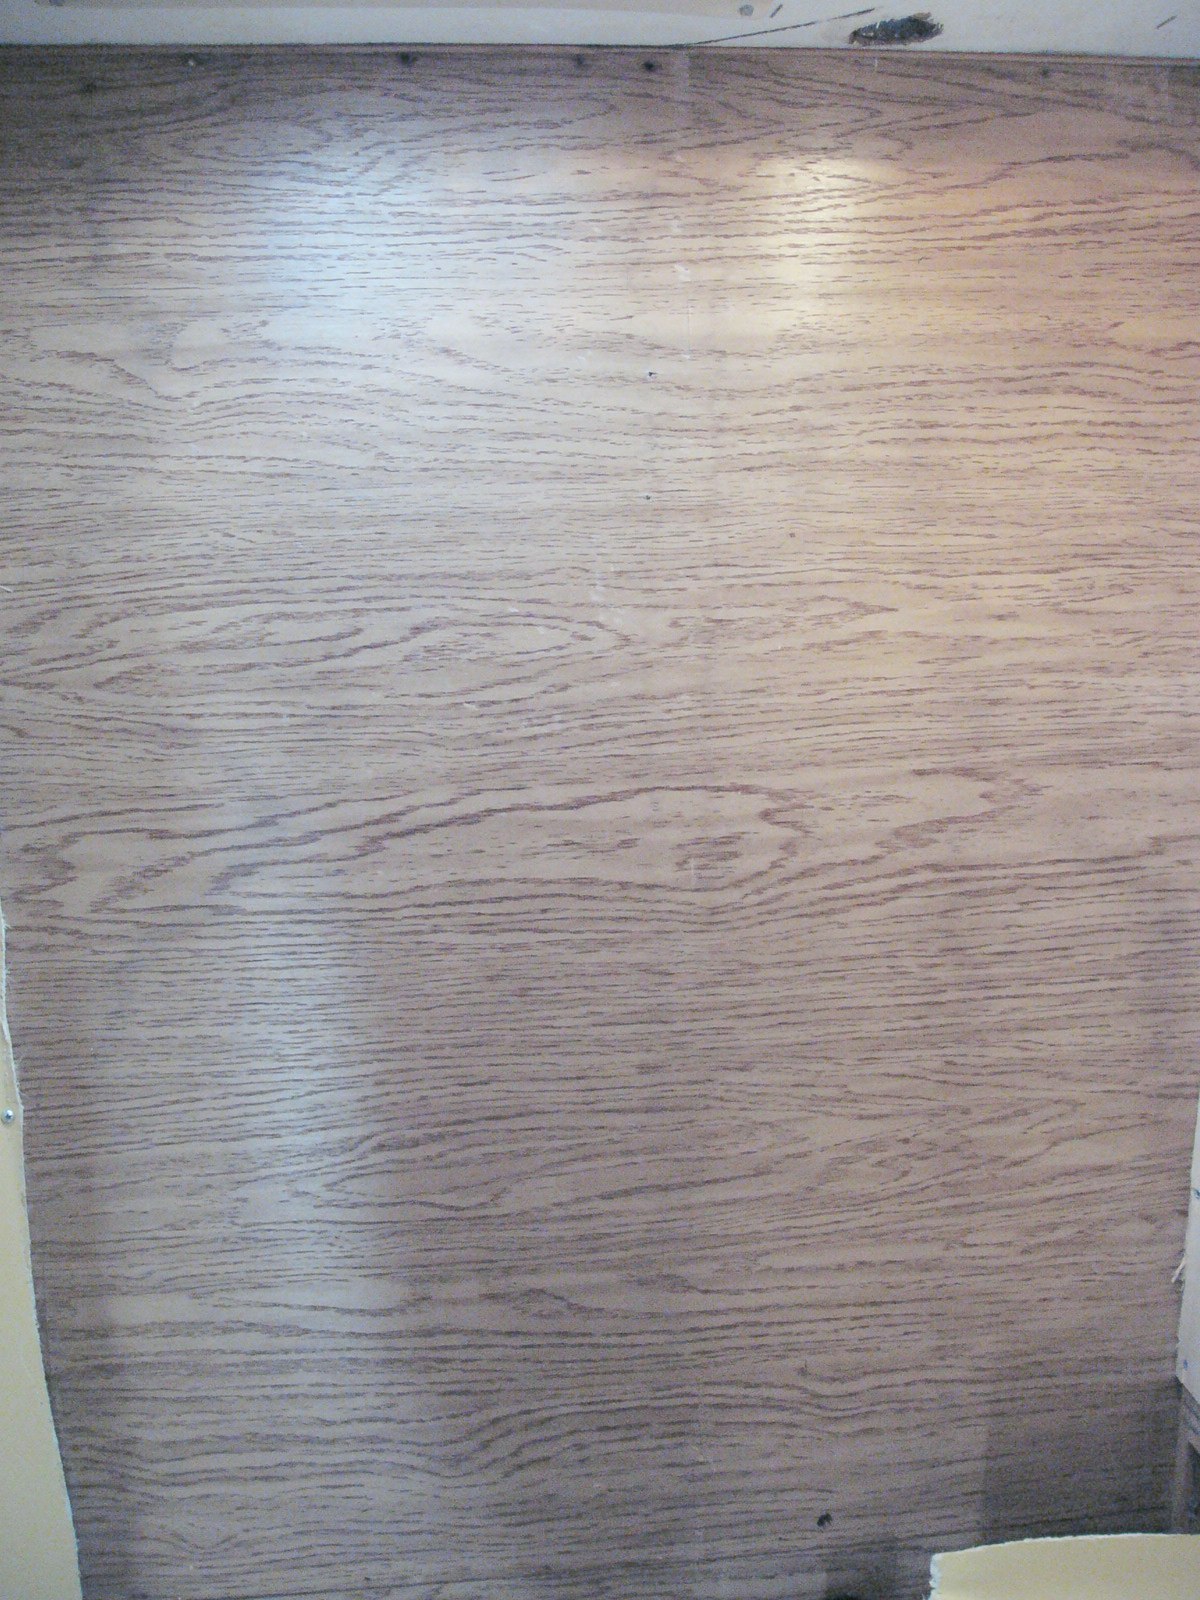
Urine Yellow, that's what I call that color. It was probably something else at one point, but time has performed it usual duty on the 35 year old fiberglass and turned it that shade of yellow.
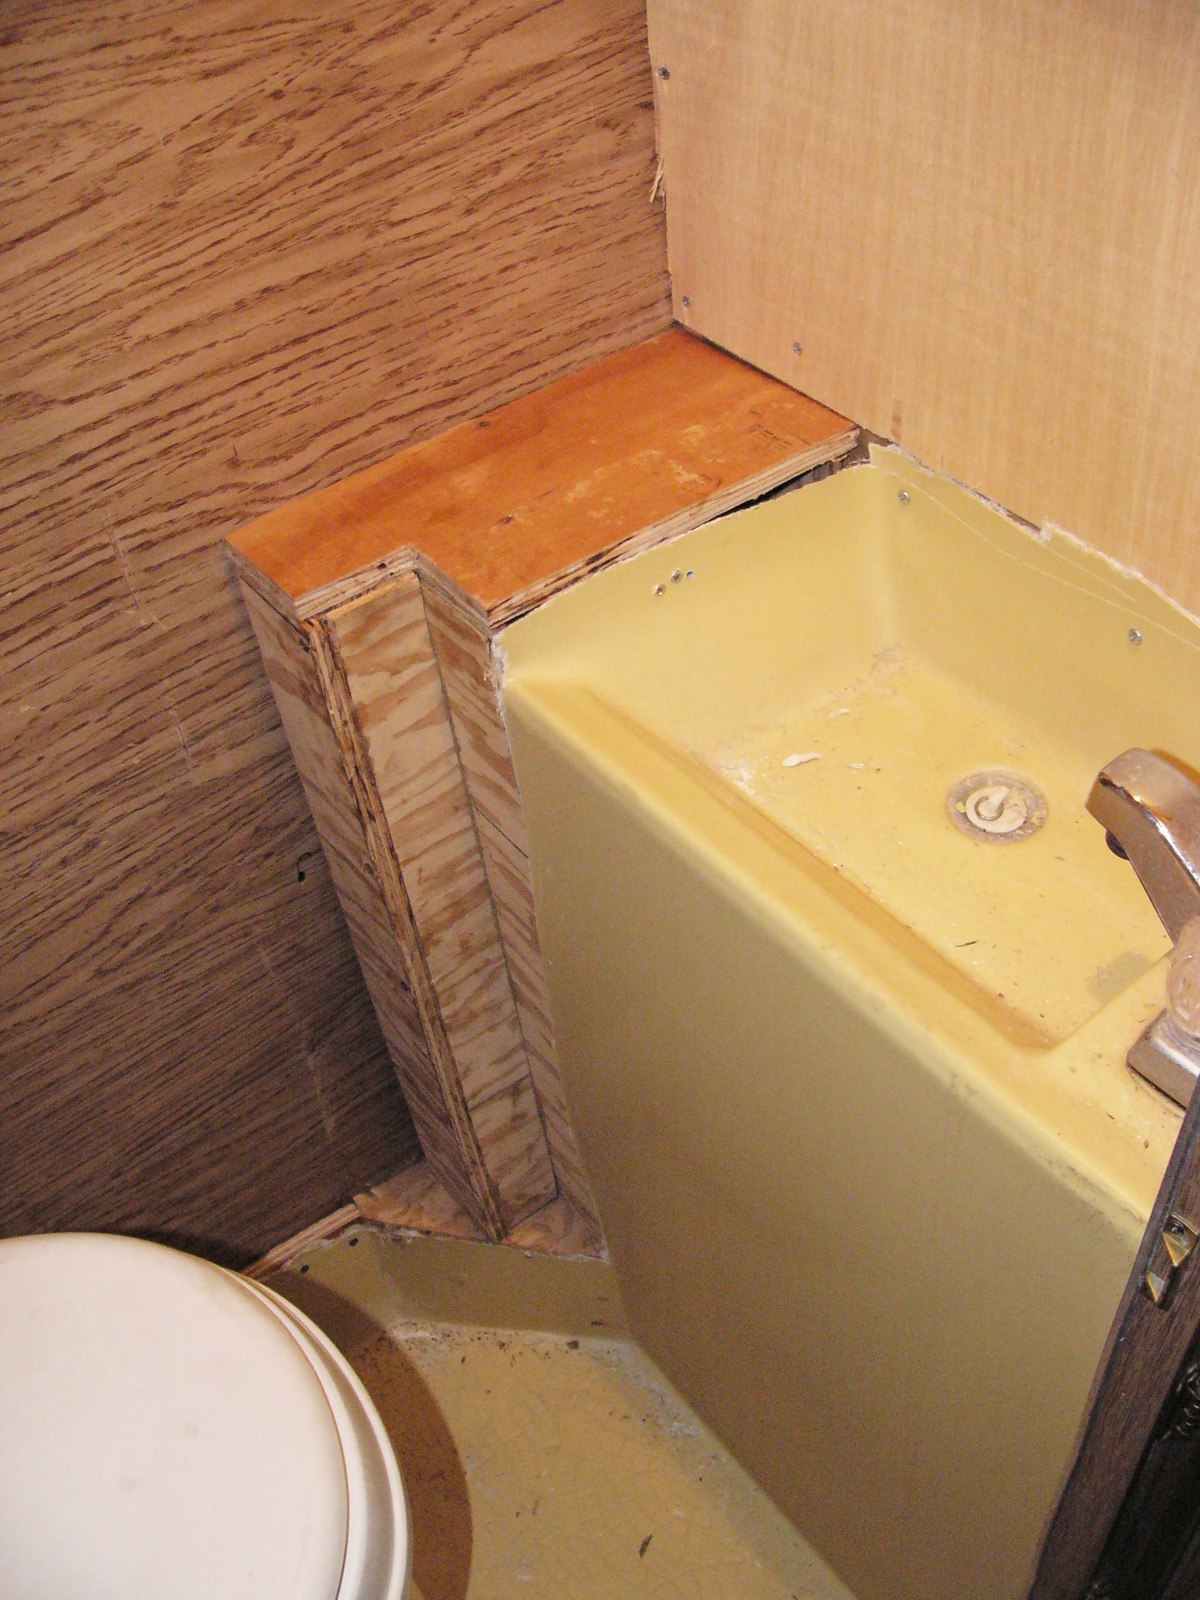
Also, if you'll look at the area next to the sink, that's all wasted space. The only thing back there is the vent stack for the sink and the shower. That's going to be opened up and the pipes framed in as close to them as possible to maximize open space.
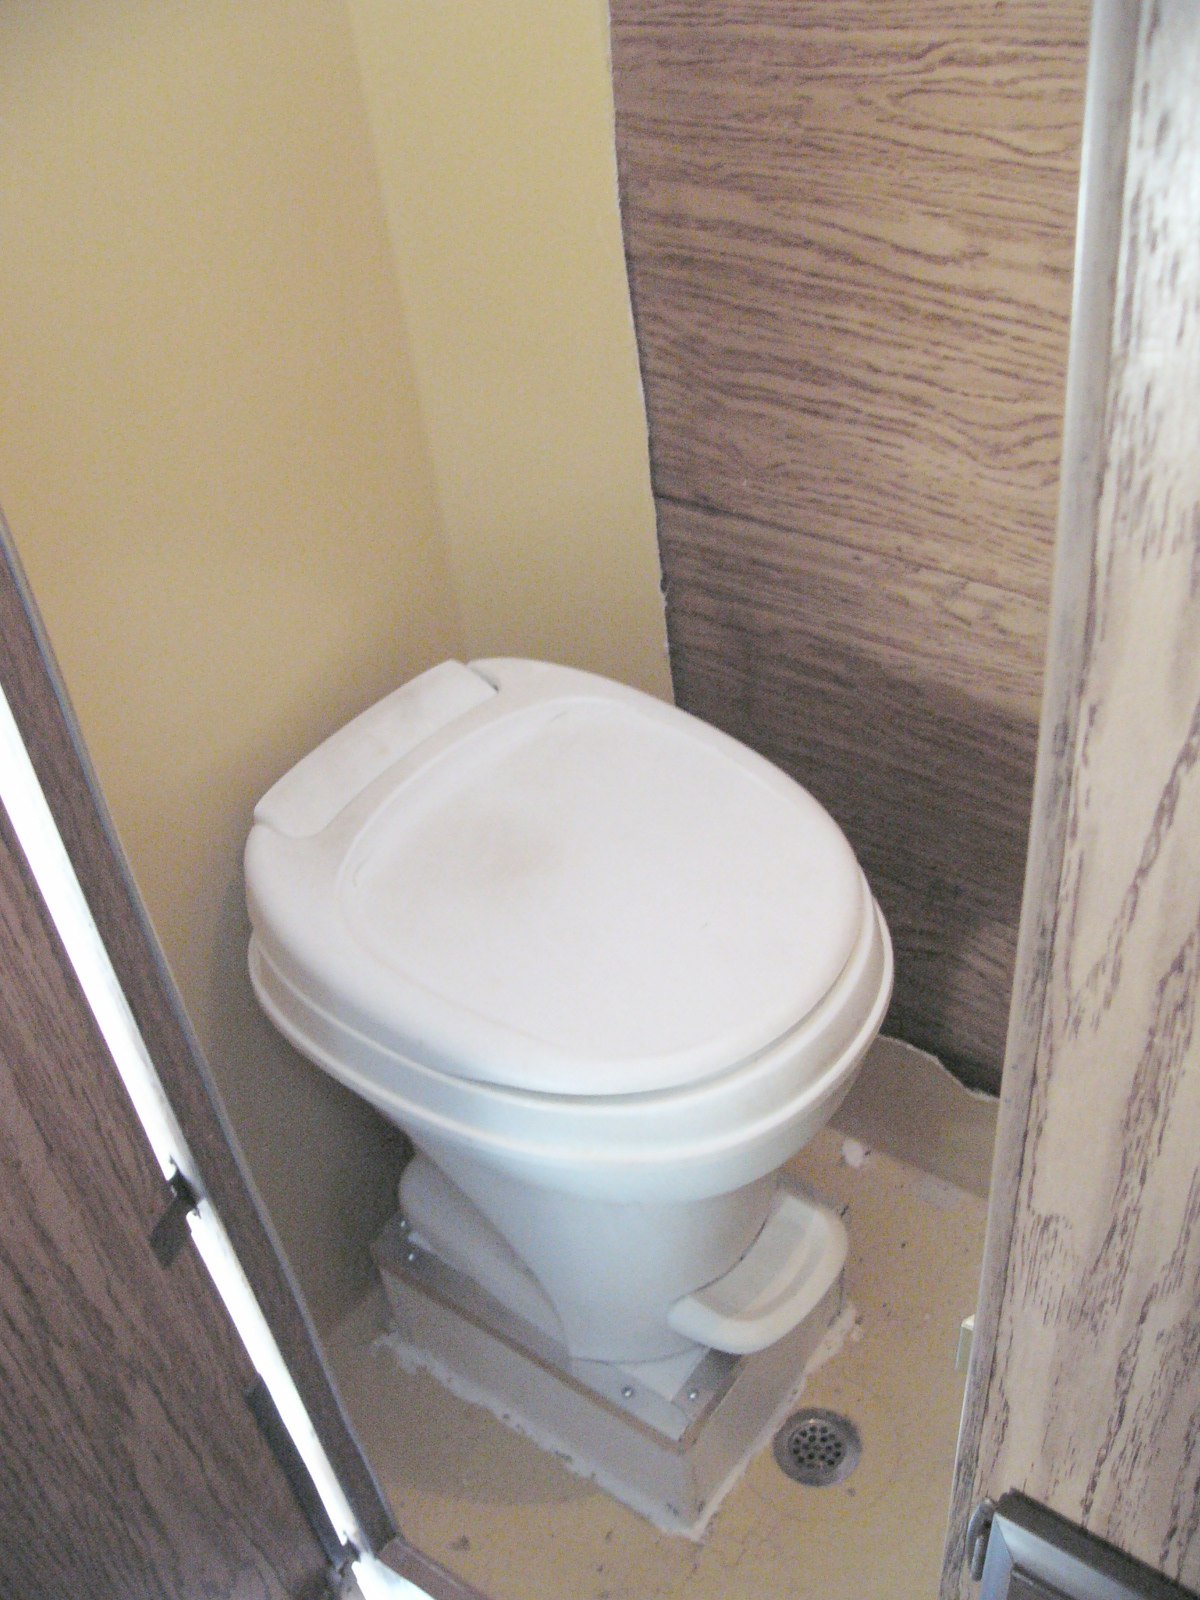
If you'll look at the toilet:
A.) that toilet's not even there anymore, I replaced it last year with a High Profile Thetford Aqua Magic V foot flush
B.) Some genius located it in the dead center of the bathroom instead off as close to the back wall of the camper as possible. Since there's really no way to change the entry point of the drain into the tank, the only option is to relocate the closet flange, which is where my original thread came in when I found 45 degree knock-out flanges and 4x3" offset flanges.
The Tear Out
This was perhaps the most annoying part of the whole project. The only real way to remove sections of a one-piece bathroom in a camper is with a utility knife. Since the walls were rather thin, it wasn't too bad, but I spent the better part of the evening blowing fiberglass dust out of my nose after scoring and snapping the old stuff out.
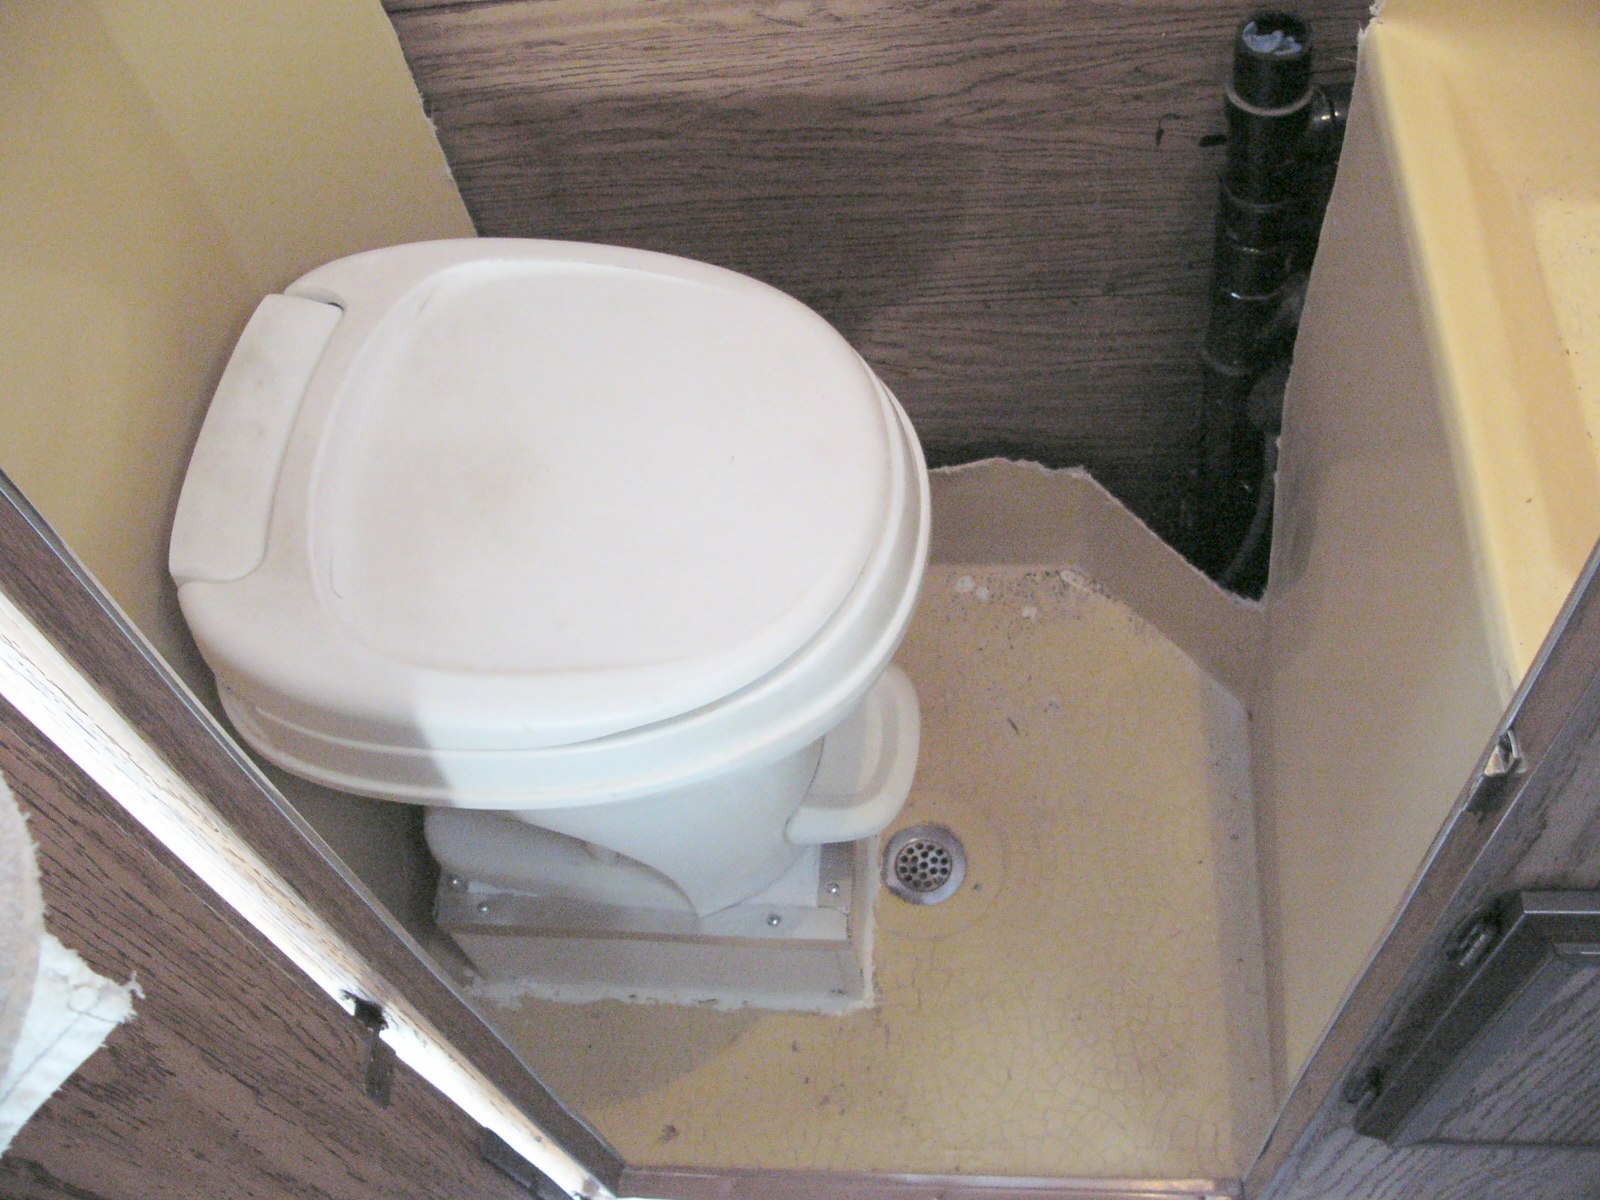
The toilet riser I did a week or so earlier. Its built of 3 hunks of 2x6 plus some 5/8" plywood which is covered in FRP and sealed all around to prevent water intrusion. The riser hides the 6 1/2" rise worth of two 45 degree angles and the new closet flange. One nice thing about RVs is the toilet flange is usually threaded on, so you one you remove the screws that secure it, you can use the toilet's johnny bolts to unscrew it from the main pipe, or at least that's how I wound up doing it.
When I installed that new toilet, it actually wound up overlapping that shower drain in the floor. The new flange is a good 3-4" back from where the original flange was.
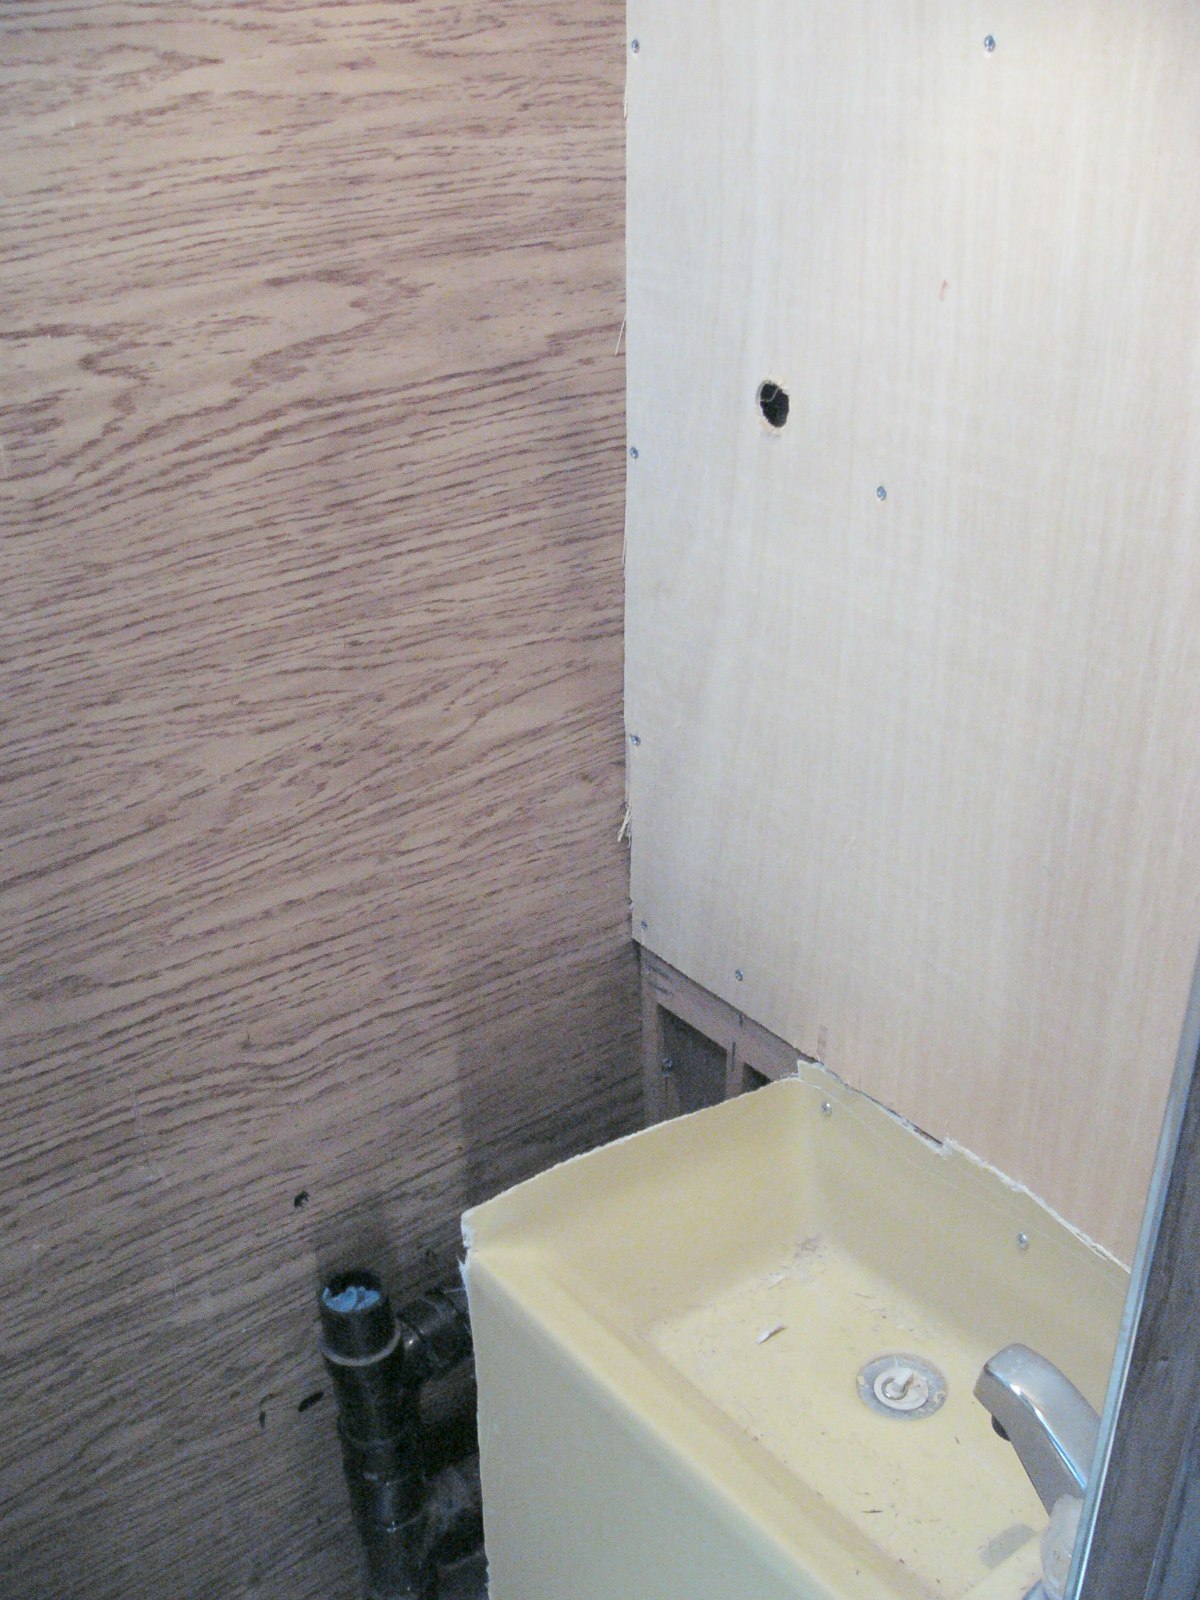
If you look closely at the pictures above you can see the exposed drain plumbing and an opening in my ceiling. I had to redo part of the drain plumbing for the sink in the bathroom so that it wouldn't be in the way when I framed in the corner. They originally ran the pipe diagonally behind the the angled corner.
Also, if you look real close at the hole in the ceiling, you can see a black line on the paint from where the original bump out wall of the shower was.
I decided rather than spend the time of boxing in the entire stack, that the portion above the counter would have two trim rims and be painted a nice gloss white to make it look like a support column vs just a vent stack. I painted the section of ABS with Gloss White Appliance epoxy paint and its currently sitting the garage for the grand reinstallation, which will have to wait till I get the hole cut in the new counter top and the FRP cover on it. The trim rings will be slid on, along with the counter top, then the pipe will be glued back together thus locking them all in place.
The Rough Frame In
This the new corner build up, its made all of 5/8" plywood that's glued and screwed together. It'll be covered in FRP when its ready.
The wall behind the sink originally didn't have a wooden backer panel. It was just open 1x1" wood that was on the other side of the paneling that made up the side of the wardrobe cabinet. I added some 1x2 material to give the medicine cabinet something better to fasten to, then using the old backer off an wardrobe that we converted to an entertainment center (It wasn't staining the right color to match the rest of the wood) I paneled over the wall so that the FRP had a solid backer to glue to (Also whey there's a round hole in it, that was where the cords were supposed to go through on the wardrobe).
The New FRP Wall Panels
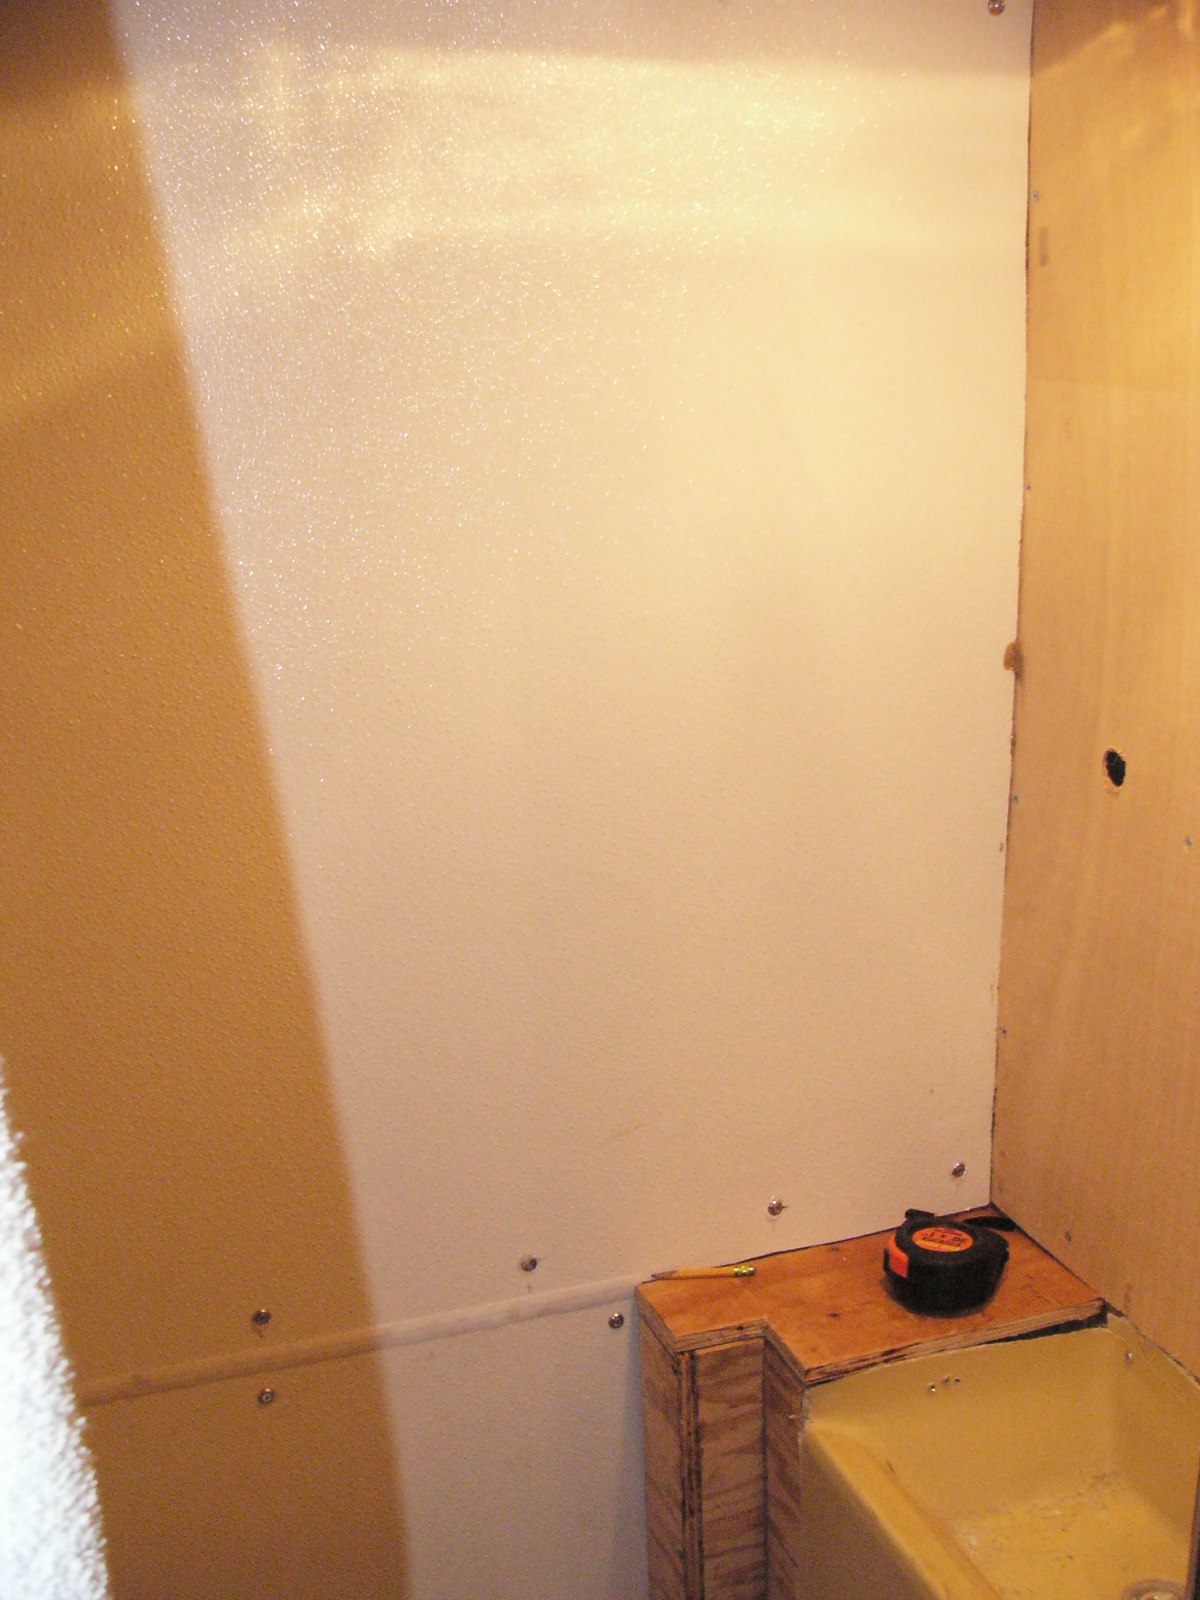
This was as far as I got today, doing the Rough Frame In, and putting in the first two big sections of FRP. Lemme tell you something about that stuff. It may act as flexible as a noodle in a 4x8 sheet, but its like trying to bend iron in smaller pieces. You can get it to curve, but you better have you screws and glue ready to lock in place cause it'll push back at you while you hold it in place.
The below give you an idea of the finished color of the bathroom, with the exception of the floor, and the sink area. The remaining wall of the original material is going to be gone over, I just didn't remove it since it saved work on having to frame in over the other vent pipe that comes up along side the bathroom. A bead of adhesive sealant is laid along the perimeter and the middle is covered with a strong polyurethane construction adhesive, same stuff I used to help secure it to the bare paneled walls. Once this stuff cures, it'll be strong and flexible.

Anyway, that's as far as I got on Saturday, I'll be continuing on Sunday and should hopefully have all the paneling done and then I can start the caulking work to seal everything up good and tight.
Would you like to have a bathroom heater?
ReplyDelete