


As some of you may or may not remember, my poor camper has been plagued with a couple of troublesome leaks over the years. One was the cabover roof vent, which eventually entailed having to completely replace the original vent assembly in its entirity. The other was a leak in the back corner by the dinette, that for the longest time I couldn't locate, even using the Seal-tech method of pressurizing the camper. It was initally believed to be the window, which then later was disproved through process of elimination. The leak was finally traced to a crack in a piece of caulk underneath the edge of a gutter. It was discovered by accident when I went to trim the corners of the gutters back to a 45 degree angle to keep them from cutting through tarps. The gutter moved, and low and behold, I found a failed spot in the caulk .
I've since had no further leak problems, however, the damage was done as the door skin on the wall next to the dinette had wrinkled and started falling apart. For a time, I sufficed with repainting that section of the camper (which also gave the asthetic benefit of brightening up the interior of the camper), however, the wall was still degrading and I really needed to see if there was any major damage to the frame behind it.
Also, at around this time I was preparing to start Semi-Full timing out of my camper, so there was somethings that needed to be fixed. This wall panel was one, the toilet was the other, along with a new medicine cabinet. The medicine cabinet and toilet project will actually never be seen as it was a sweaty, annoying mess, caused in part from how the last owner had resealed the original toliet, and because I had to get in a fight with the moron in the plumbing section of the Home Depot because he had it in his head that RV toilet plumbing was exactly the same as a home toilet.
I decided from the onset that the wall was going to be rebuilt stronger than before. As it was, the wall was flexible and could be pushed outwards fairly easily. The paneling on it was paper thin, door skin barely covers its thickness.
So, the replacement paneling was 1/4" Cedar luwann paneling, which was primed and painted with three coats of paint before it ever was even mounted. The back was left as bare wood so that the glue would be holding wood to wood vs paint to wood. The new paneling would be reinstalled with Polyurethane construction adhesive and screwed back into place, vs the current arrangement of stapling, most of which were loose, or rusty. New window trim was also purchased to replace the original, rather hard traveled trim that was in place. Also, a new curtain rod was purchased to replace the original, which to my best guess was either a piece of junk or the finish on it degraded really easily.
The wall paneling removal was really sad, it took only a box knife and a putty knife to cut the paneling from the wall and pry it off. The staples had little holding power, either from being worked loose, or just pulling right through the paper-thin paneling. The last owner had used glue when he had rebuilt the walls, but either too little, or the wrong kind. Most of it looked like little to none was used in many spots.

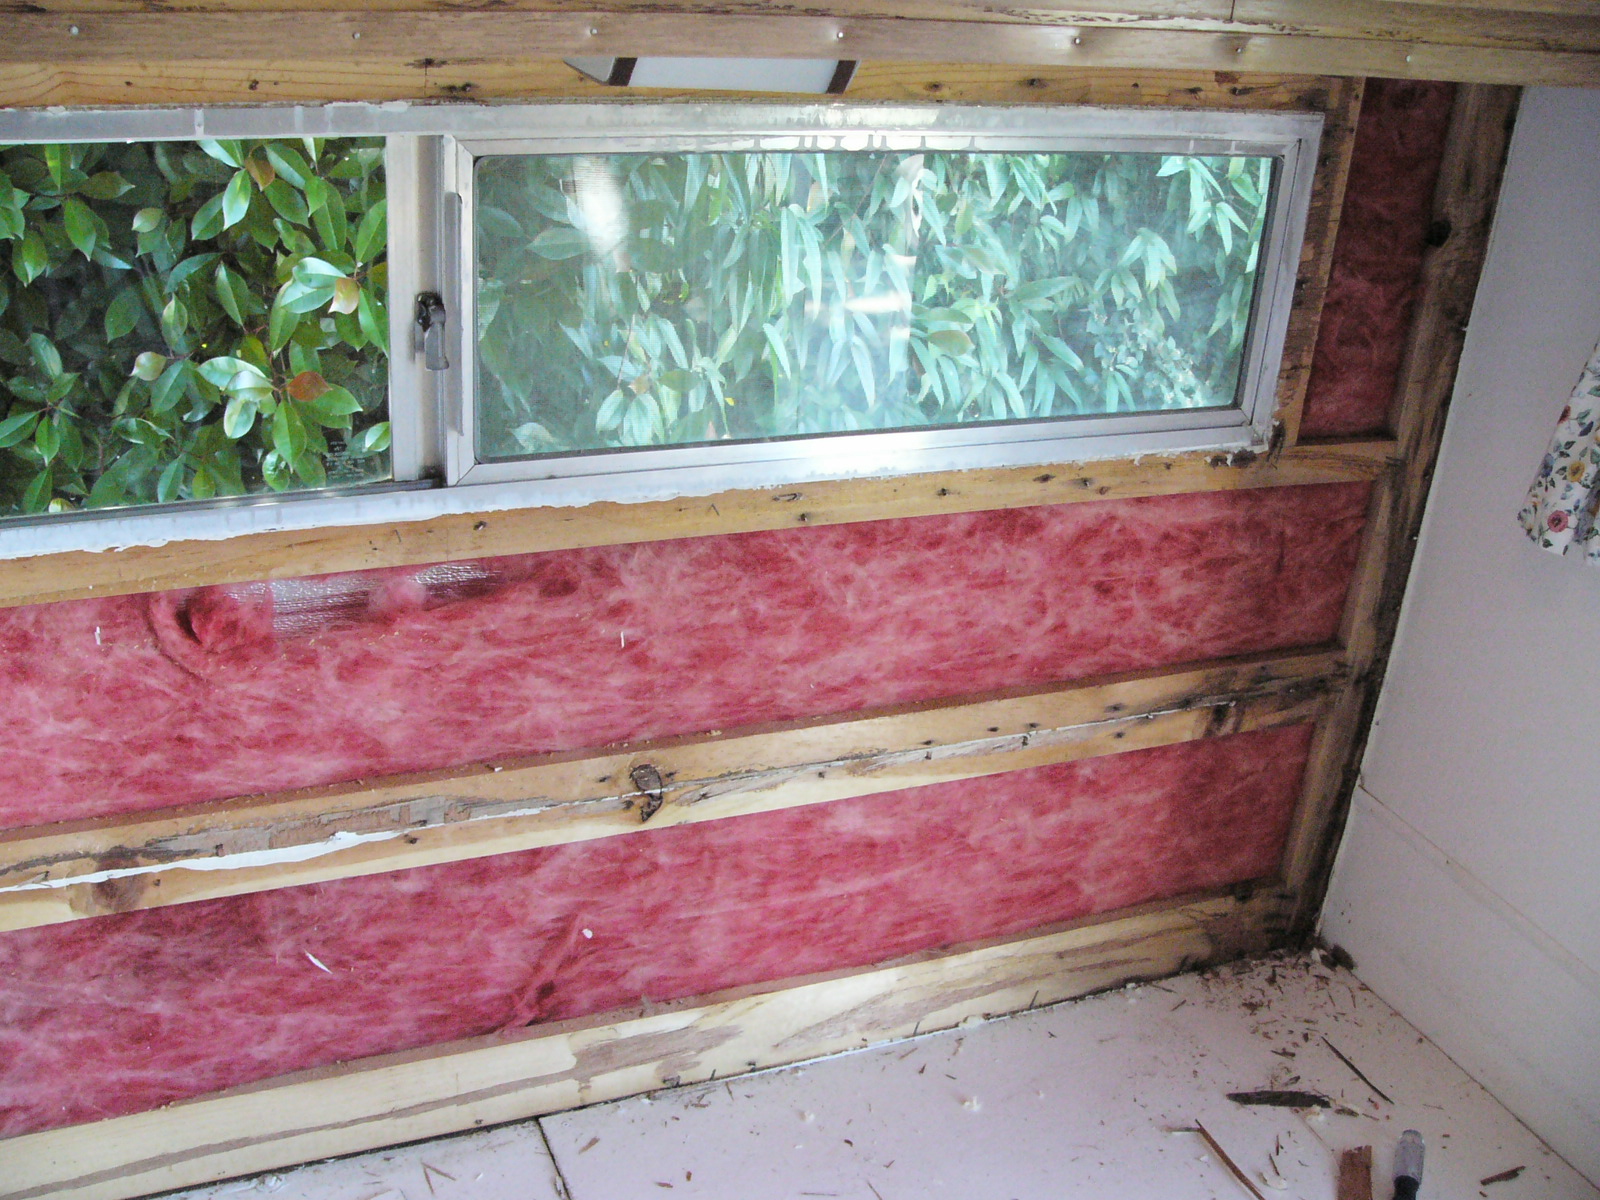
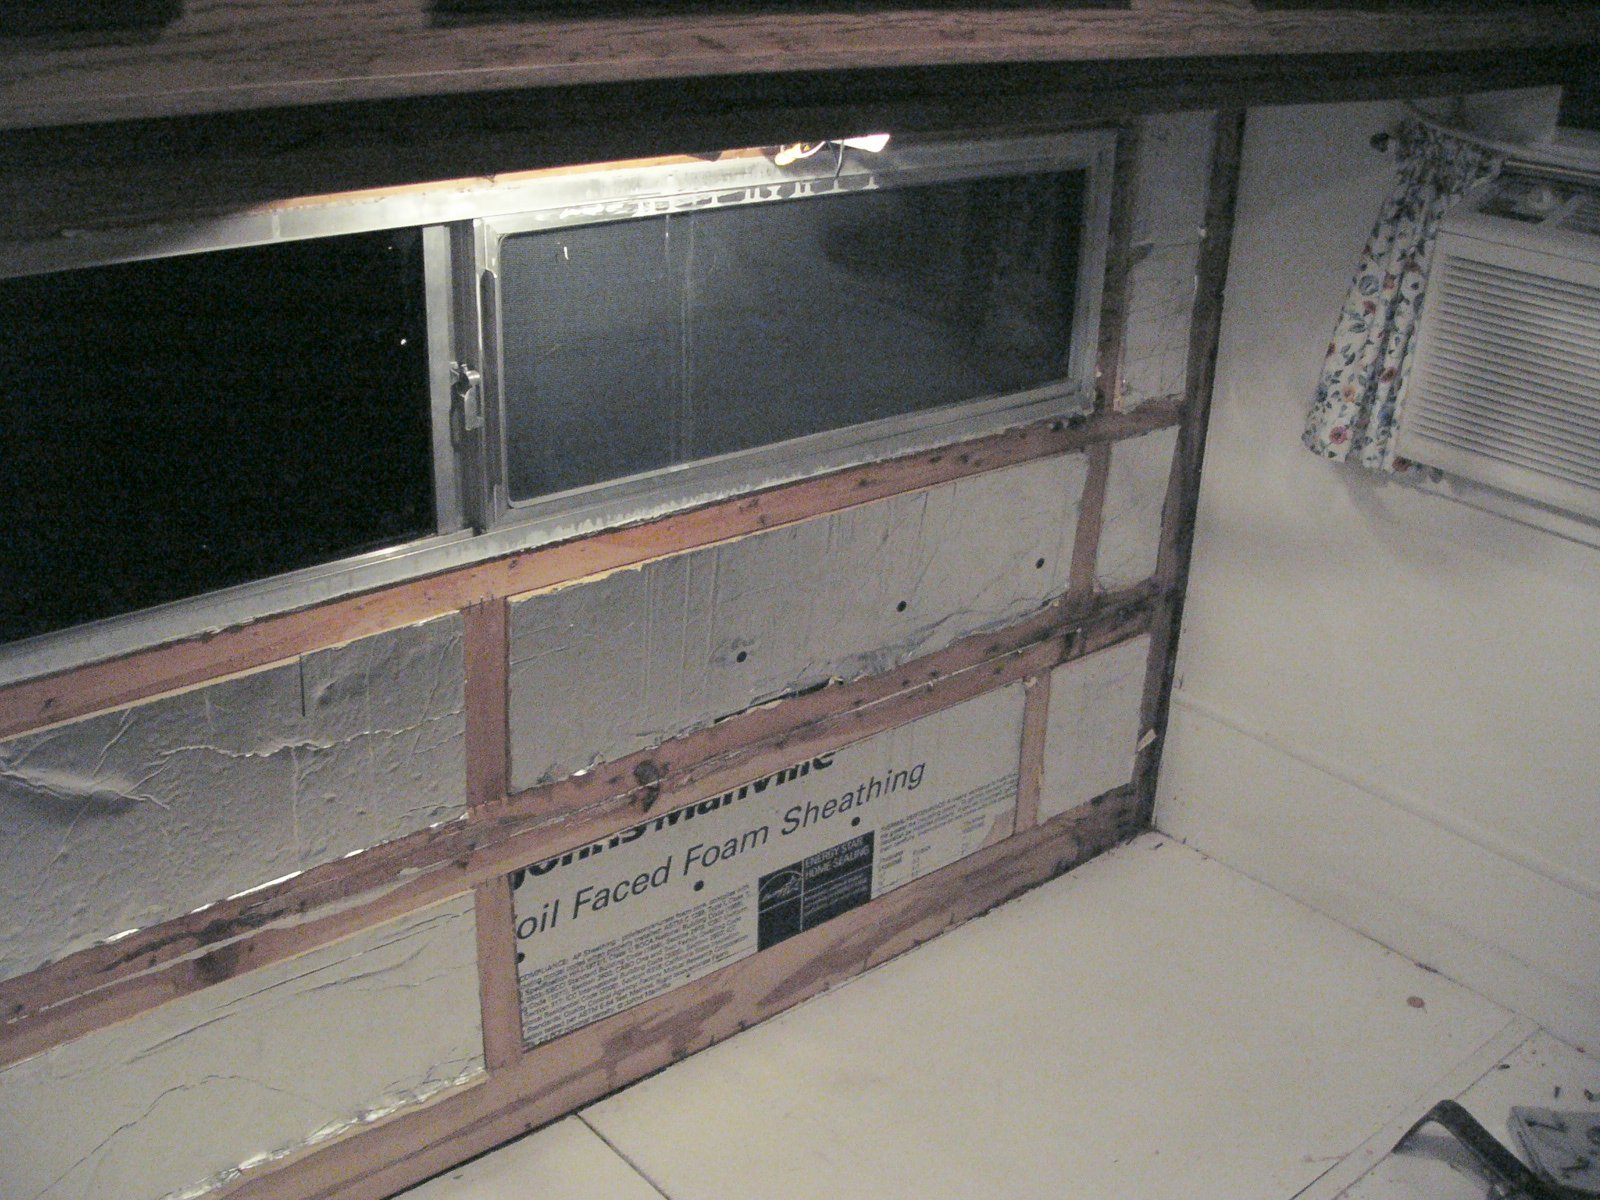
After twenty minutes of demo work, this is what was revealed. No wonder the wall flexed.....
Fortunately, I was in on the good luck train that day. The corner 1x4 was solid and only had surface staining from the water leaking. The paneling had taken the brunt of the damage. I also discovered why the wall never seemed very solid, the guy who rebuilt the unit had only used framers staples to hold the horizontal timbers to the vertical uprights. I could watch them go up and down by using the camper jack to lift and lower that corner.
So, I sent about removing the original, rather worthless, insulation. It had some value, but it was only an inch thick at best and really really thin. A quick swipe of my gloved finger took out the vast majority of the insulation, leaving me this:
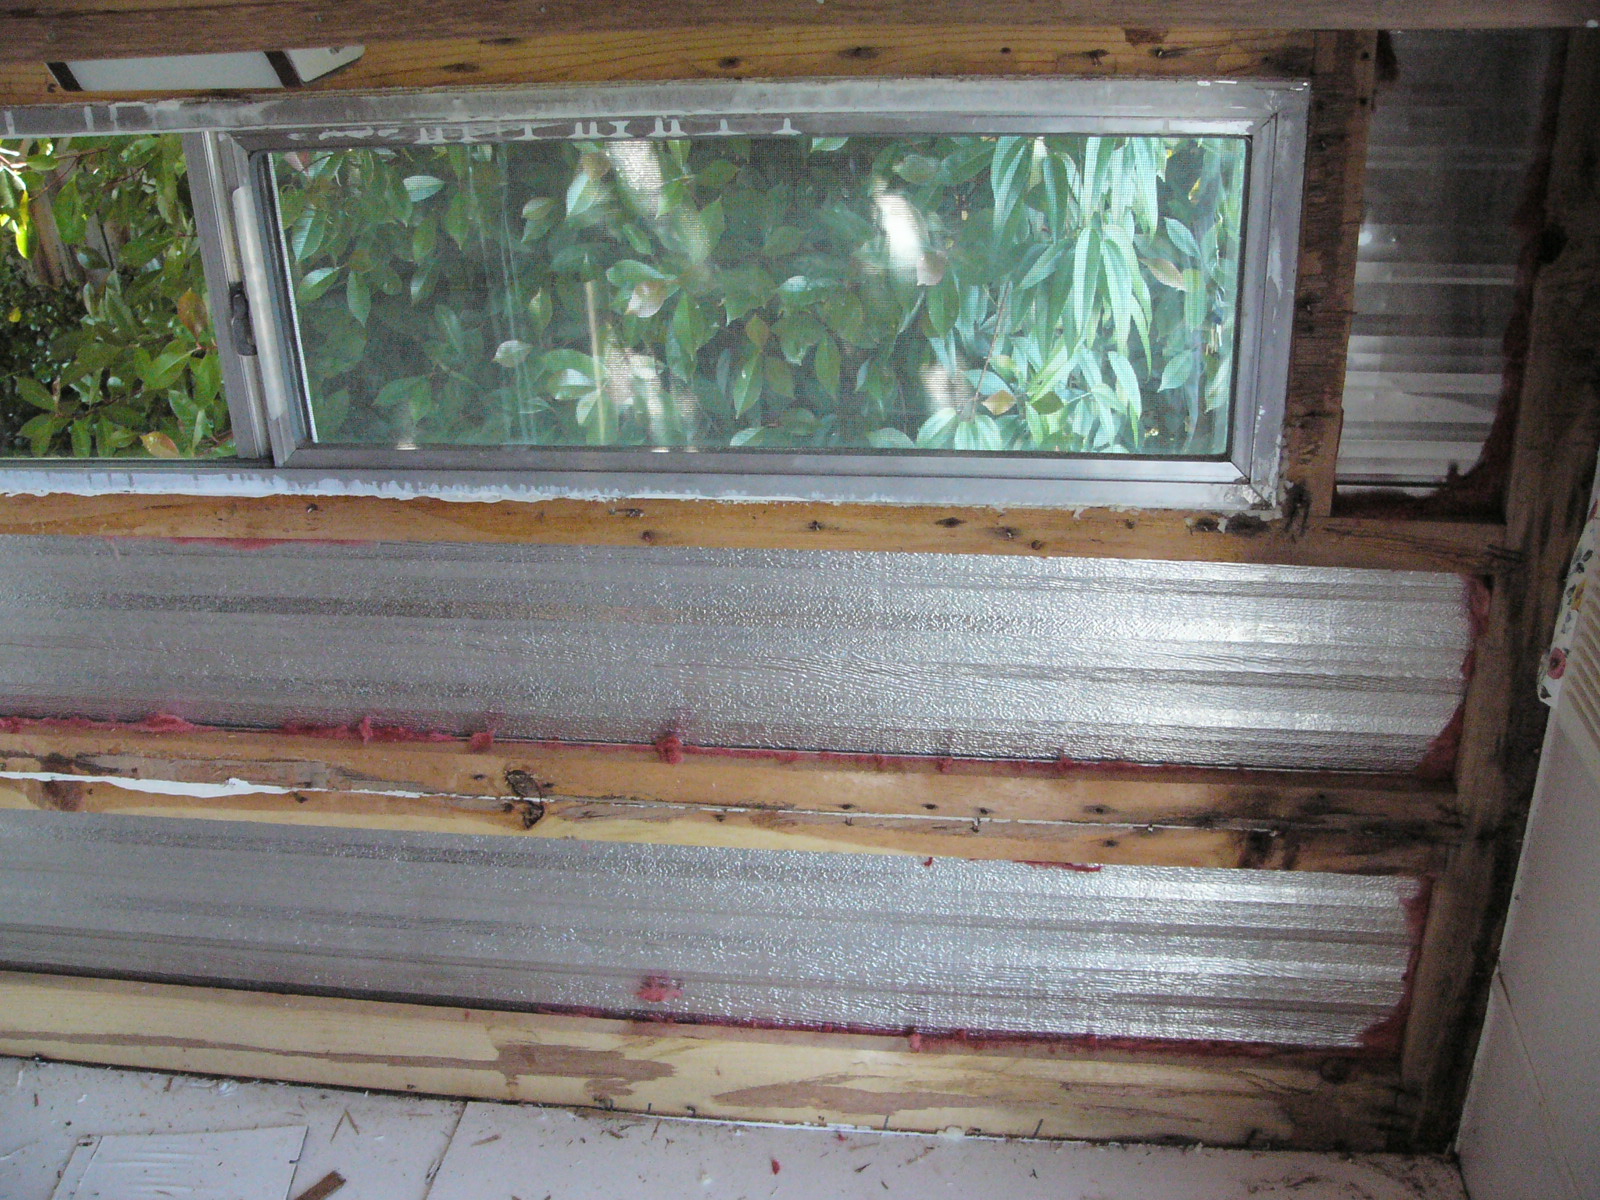
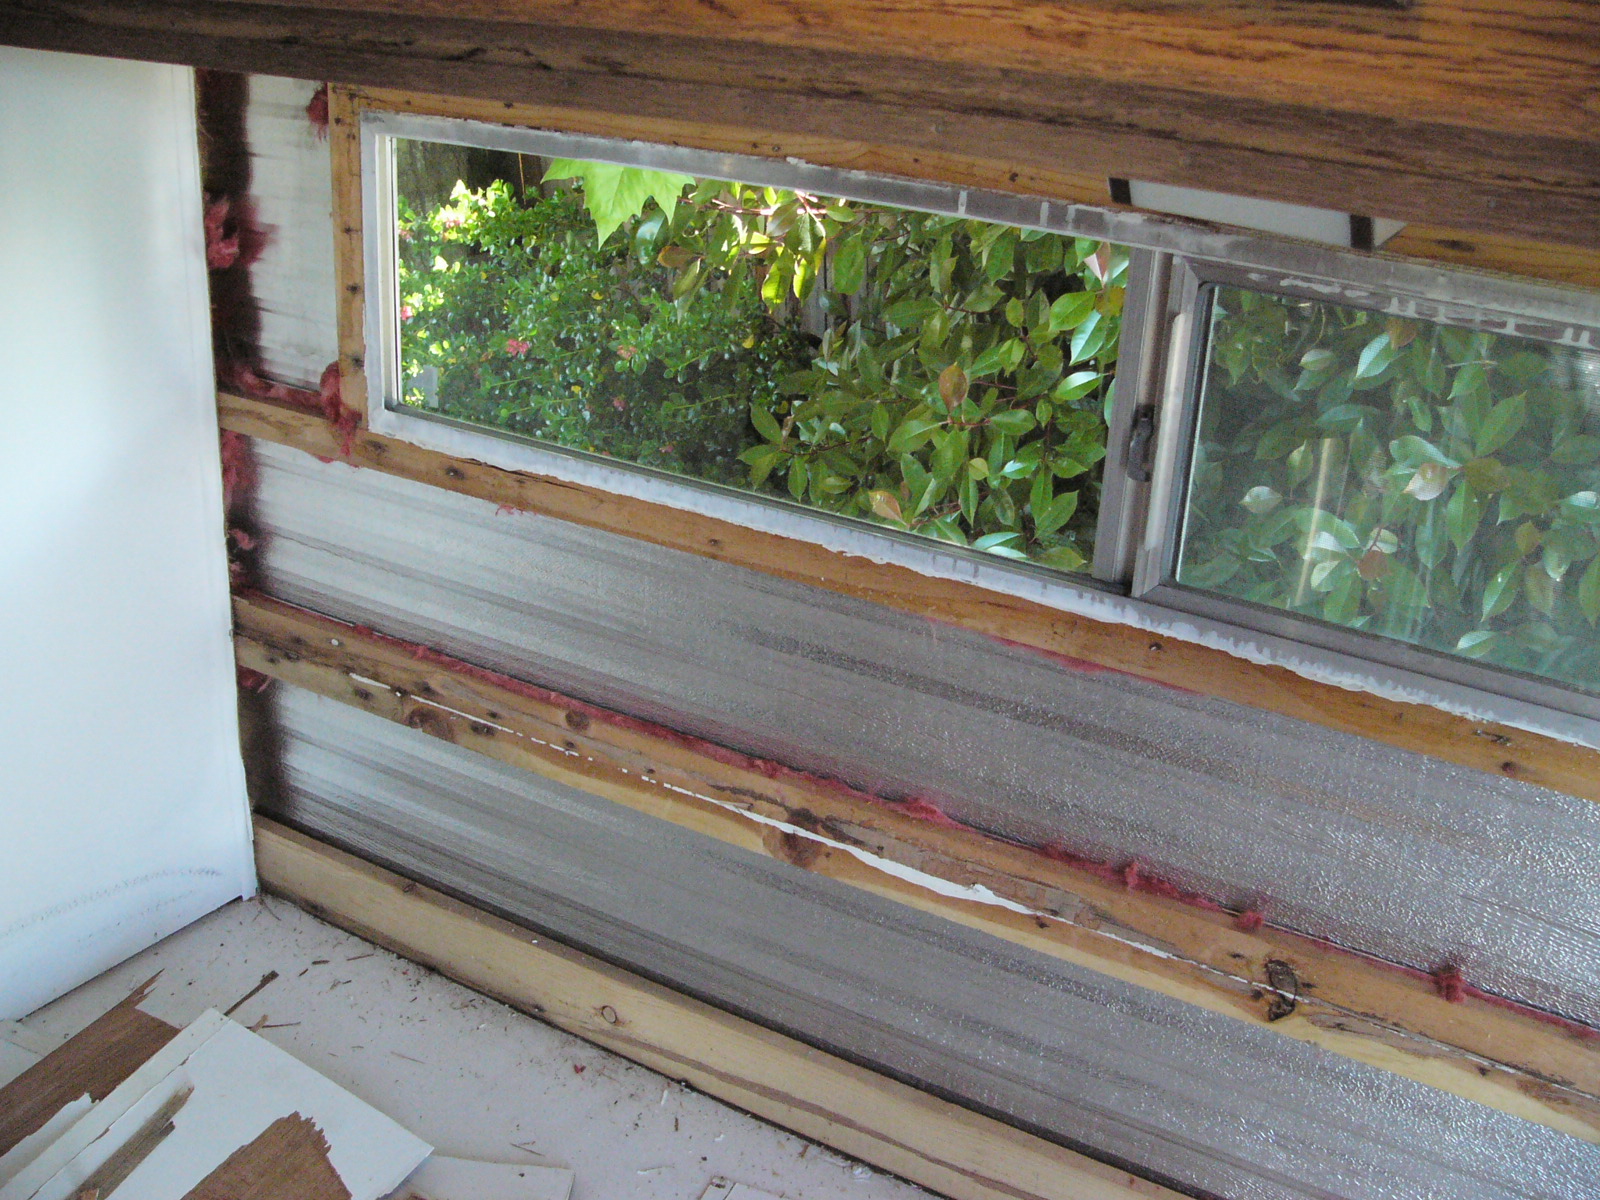
Once the mess was cleaned up, I started snapping measurements and dug into my stock of 1x2 material I had left over from ancient projects that predated the KIT by far. For one, I had alot of 1x2 oak, which I used to create vertical timbers to help shore up the wall and give it some more structure. Each one cut just a tiny bit large so that it would need to be tapped into place and clamp the glue on them tight between the timbers above and below. The horizontals and these new verticals were all pre-drilled then screwed together to help stiffen the wall up. The back corner was jacked up to install the wood, then let to settle back down and use its own weight to bind the wood tight. I left it for over 24 hours to cure, at which point I returned and started cutting the new insulation.

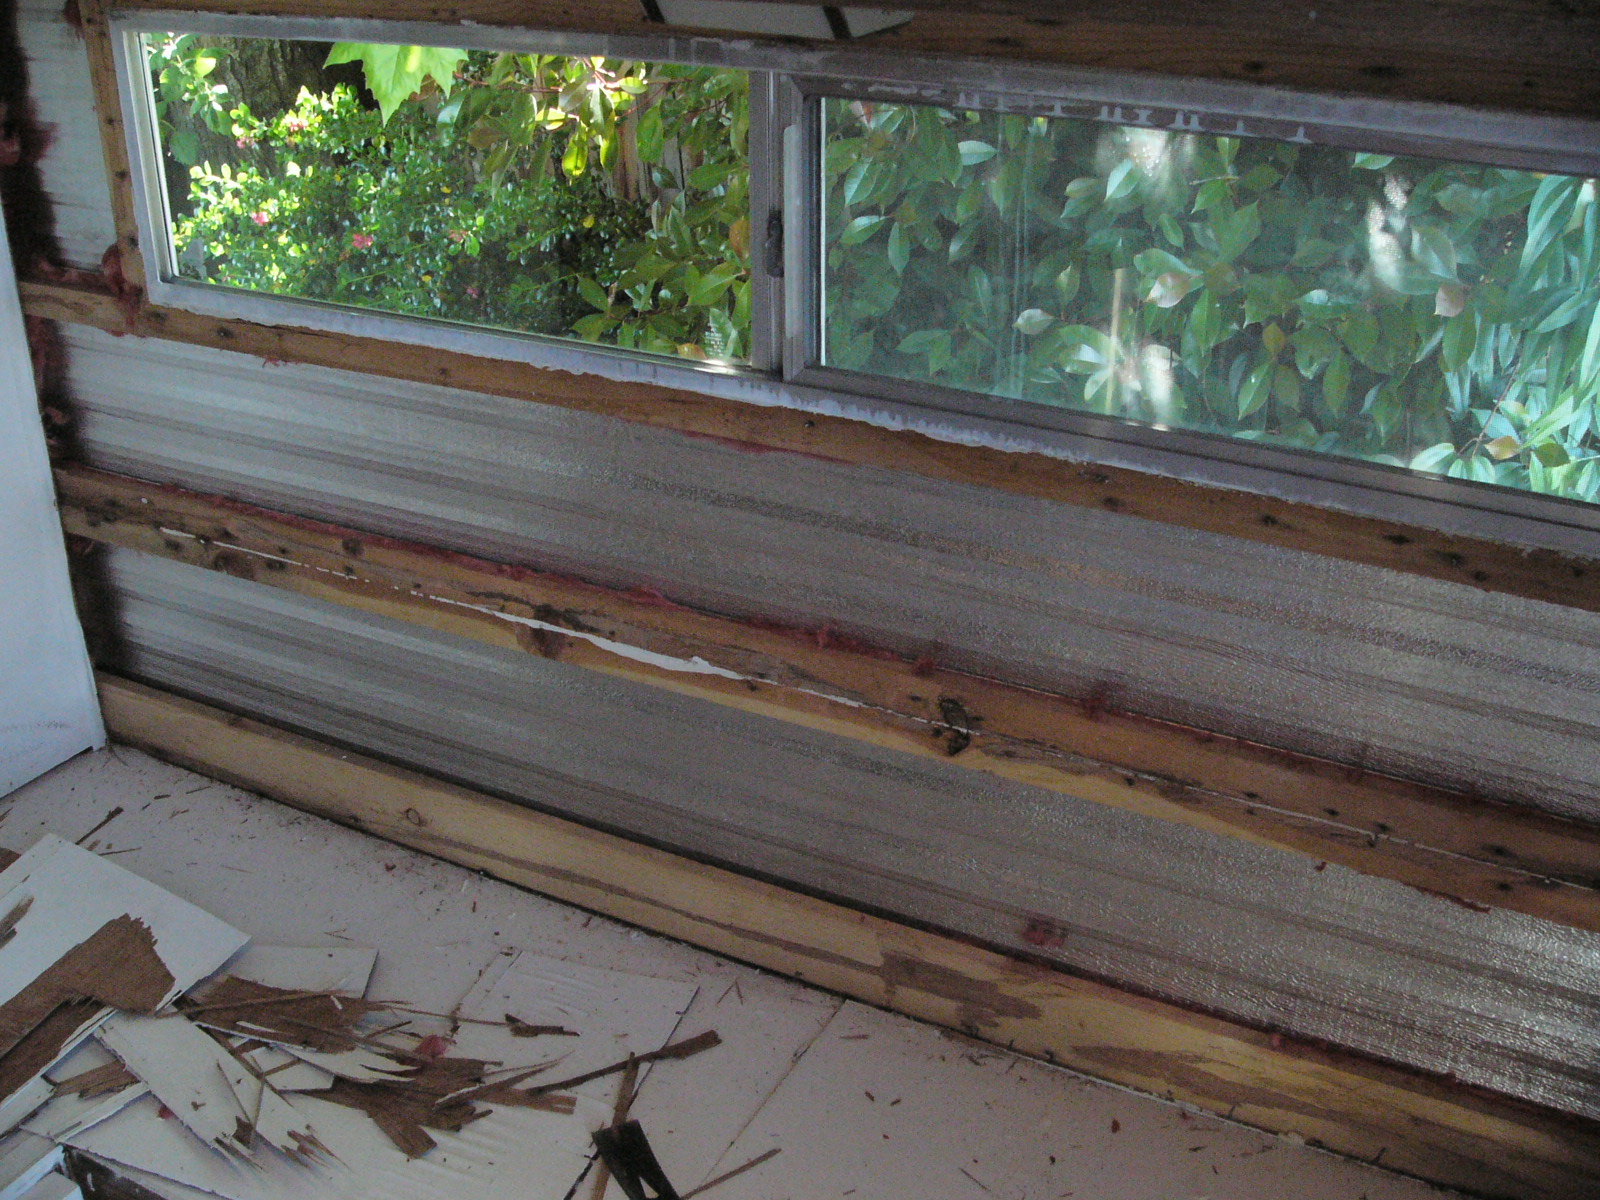
The wall was reinsulated with 1" foil wrapped foam board and on the sections extended far beyond the dinette heading towards the front of the camper to help boost the walls insulation. After this, the new paneling was brought in and dry fitted a few times until it fit perfectly, then every timber on the wall had a bead of polyurethane glue applied and then the panel was screwed into place. It too was left for 24 hours at which point I used laytex painters caulk to fill in any gaps between the old walls and the new and fill in the screw heads.
At which point the whole dinette area was cleaned, then repainted. Once the paint cured, the trim was installed, along with the new curtain rod. The dinette backer was reinstalled, cushions replaced, and I had a very nice, very clean, VERY solid wall. I didn't take pictures of anything past the insulation installation, and now I'm too lazy to take a shot of the finished product
 .
. The wall no longer transmits cold and heat like it did before, I can also lean against the wall while watching tv at the dinette without worrying about damaging the wall.
We’re on their annual plan now and have had zero issues since. Thank you Gauntlet Gutters!
ReplyDelete