Showing posts with label Torklift. Show all posts

Sunday, February 19, 2012

Wobbl-Stopprs Revisited, one year later

It’s been a year since I installed my first set of Wobbl-Stopprs from Torklift International, and they’ve helped to provide a lot of good nights of sleep, but because they were some of the very first units released onto the market, the fit and finish of the units hasn’t held up too well to the Oregon elements. 

P1110805P1110807

They still work just like they did out of the box, but have developed a little rust through Oregon’s never ending rain.  

Also, since the time that I originally installed these, I went from having a Single Rear Wheeled truck to a dual rear wheeled pickup, which meant that as they were now, I had to use a couple 9/16” wrenches to loosen the clamp rings and pivot the Wobbl-Stopprs out of the way to load and unload the camper from the truck (my set didn’t originally come with pivot pieces). 

So, I contacted Torklift to inquire about getting a set of pivots, figuring I’d clean the Wobbl-Stopprs up and repaint them in the spring. 

They said, “Sure no problem!” and sent me another entire set! Surprised smile

Thank you?  Wow! 

So, I got my new set of Wobbl-Stopprs, and unpacked them and was pleased to see that they had undergone some improvements over my original set of Wobbl-Stopprs. 

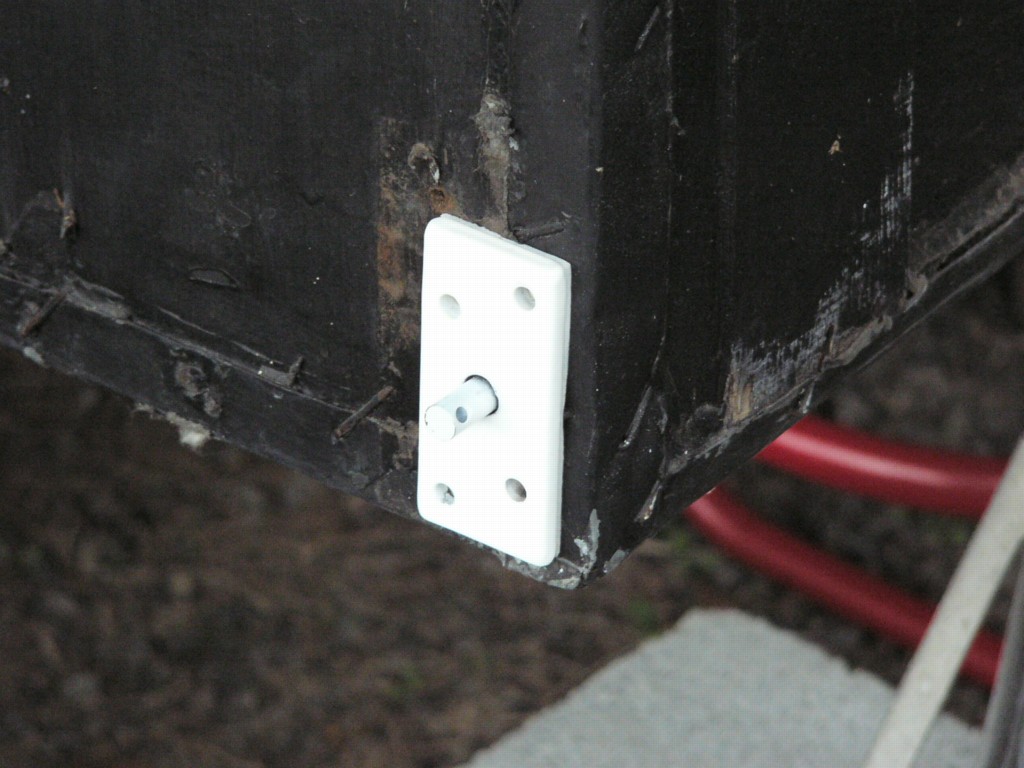
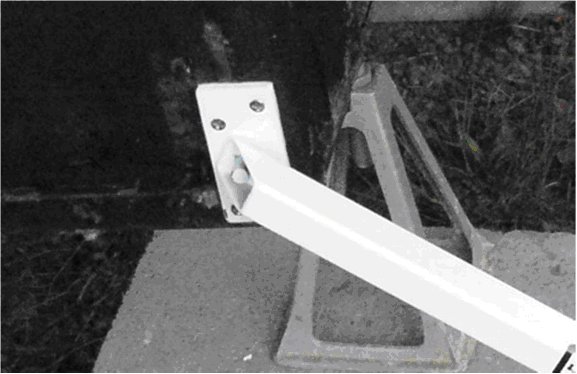
The connection point where it joins to the camper has improved, instead of a single drilled hole through the tab, there’s now a recessed lip that the cotter pin slides over, making it a lot easier to get the pin in place.


P1110810

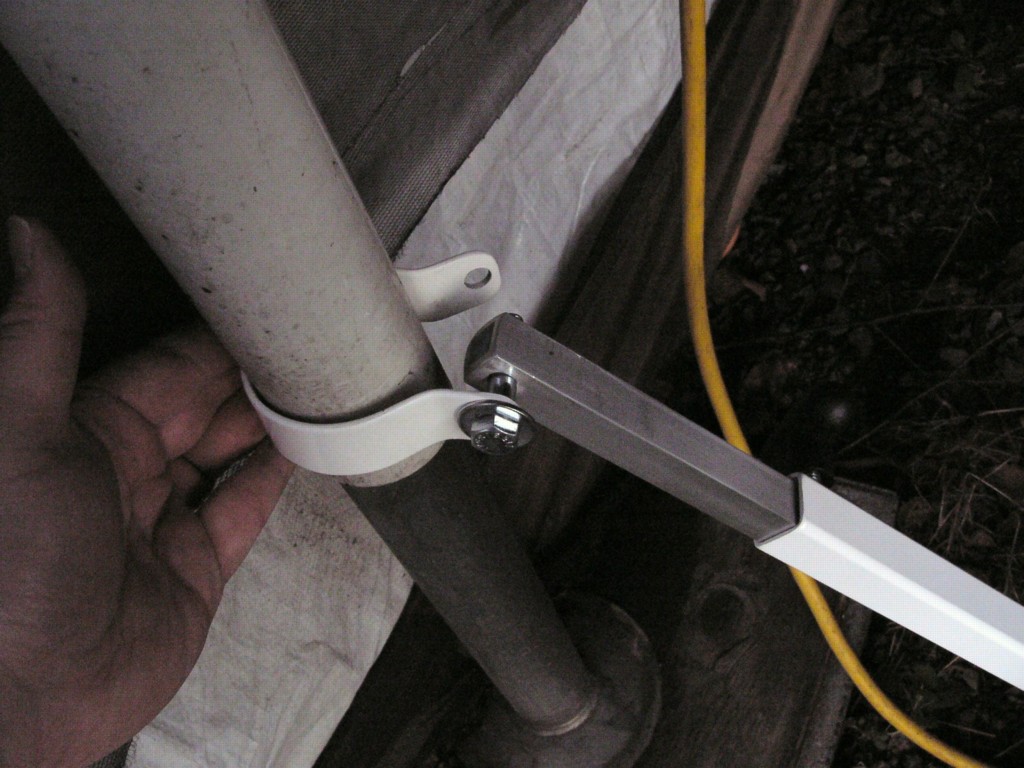
And the jack leg anchor has definitely changed, a whole lot easier to install now, simply hand bolt it all together, carry it over, undo the back bolt briefly, swing one ear up and slide around the jack and bolt it up tight.

P1110816

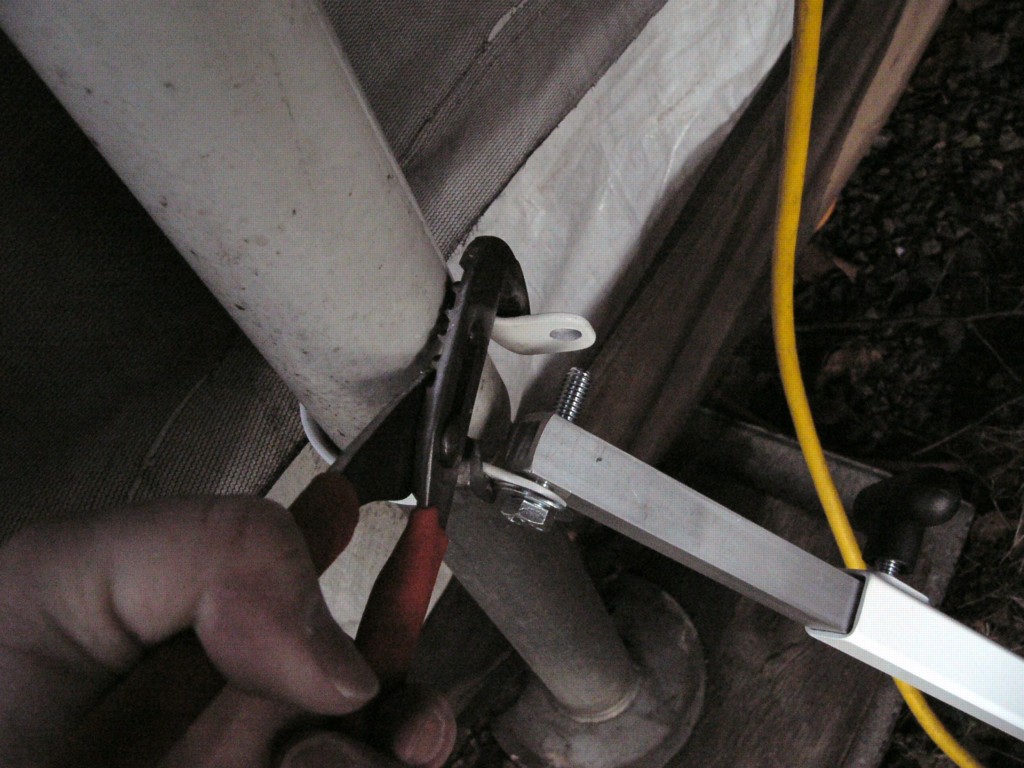
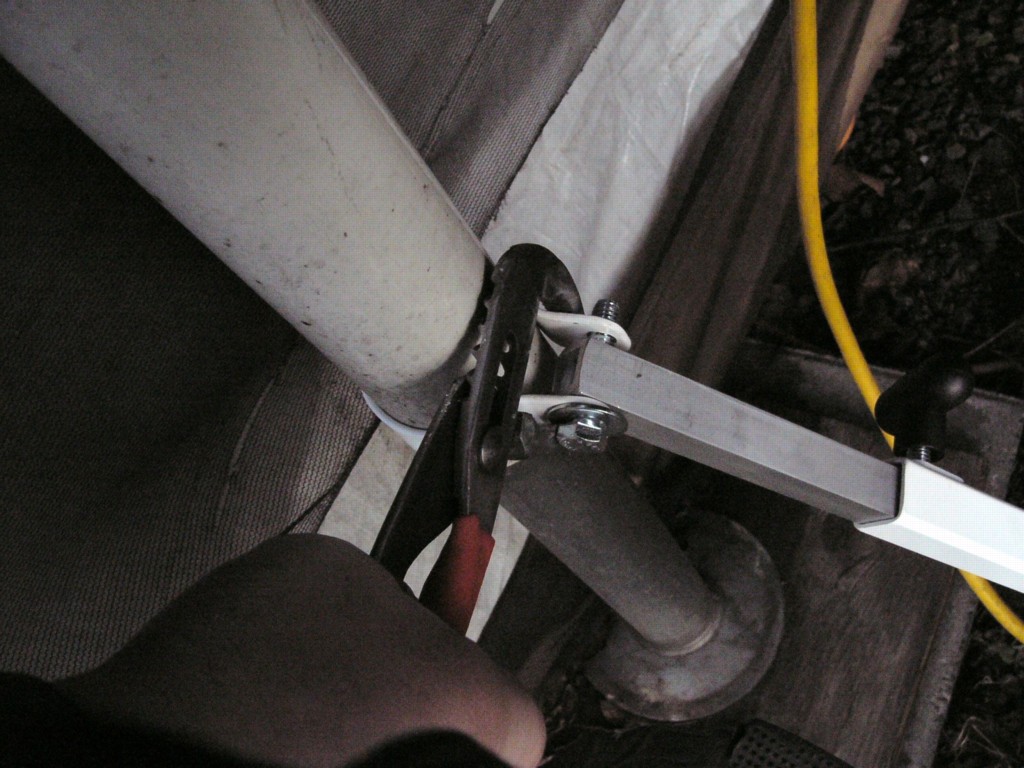
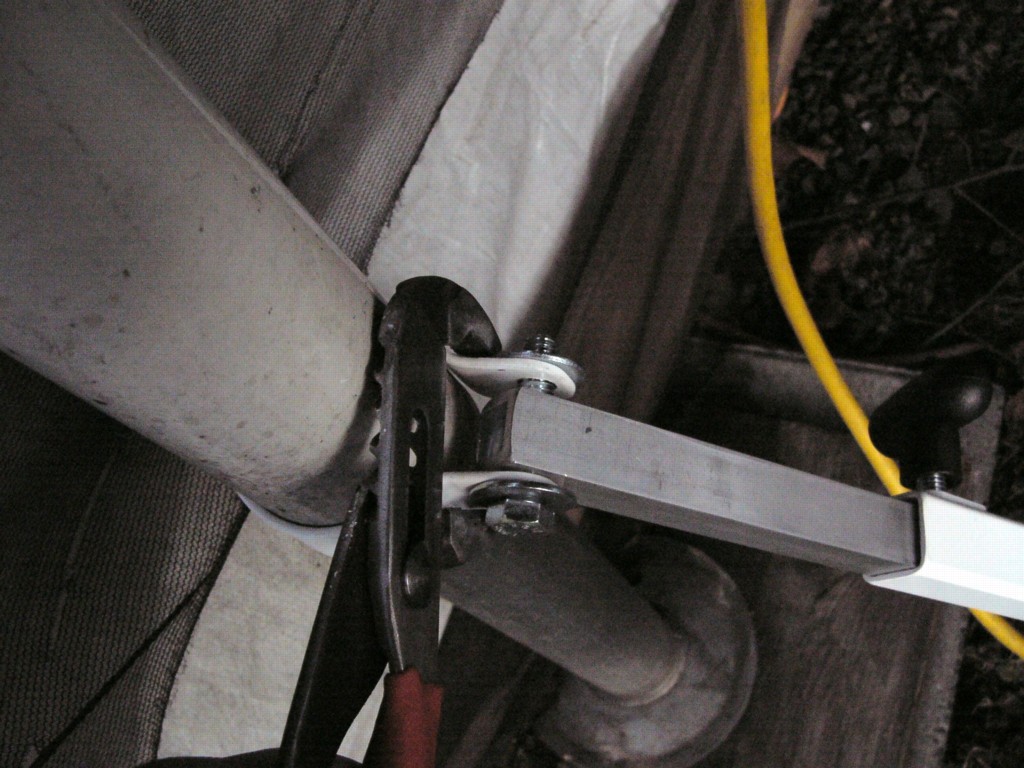
Old securing method, if you revisit my original Wobbl-Stopprs installation post from February of last year, you can see me installing this little clamp rings with a pair of channel lock pliers to squeeze them down.

P1110815


One thing I definitely liked was they packaged a better set of screws with the jacks this time.  Originally, they came with rounded headed screws that didn’t come close to filling up the holes in the tab plates, leaving the only things to keep the tab plates from moving around being the double-sided tape on the back of the tab plate and friction (I ended up using tapered head screws like these in my installation instead of the round heads).


P1110814


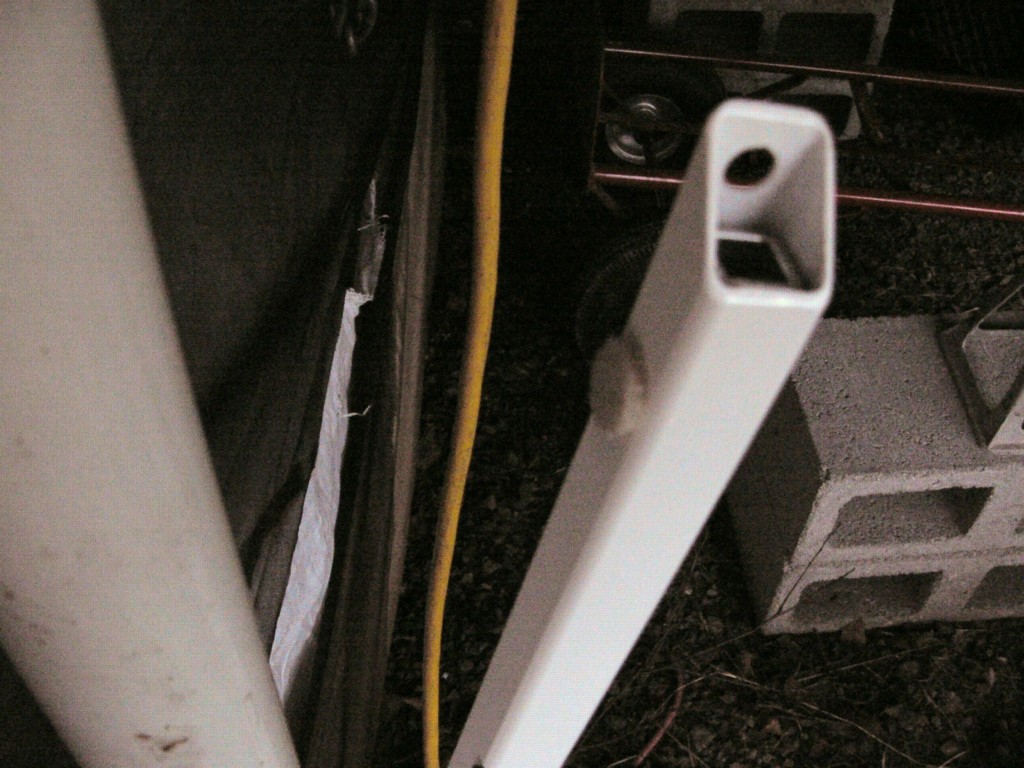
The linking arms that actually join the camper’s jack legs to the tub under went some changes as well, though I’m not quite happy with the taper cut behind the point where the securing knob tightens down.

P1110817

If you look closely you can see how having that cut causes the two sections to arch a little bit at the point where the screw threads tighten down.  The camper is still just as stable, and I suspect the change came as a cost savings move as you can simply cut one after the other off a section of tubing stock with little waste. 

P1110819P1110820


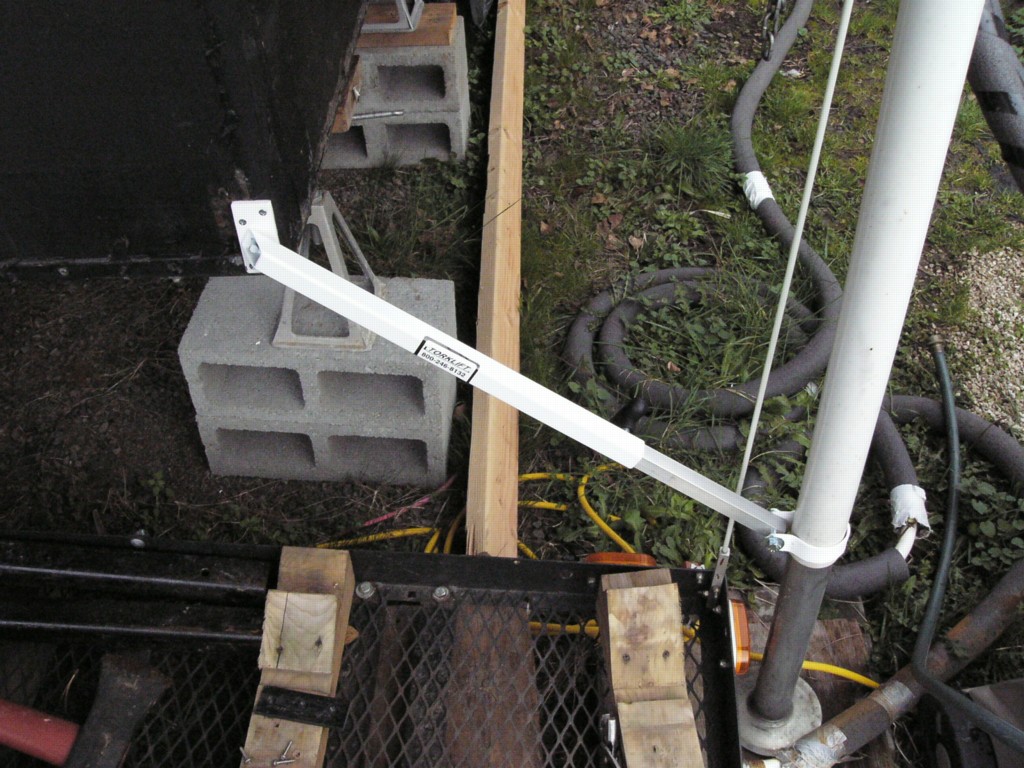
Here’s the new wobbl-stoppr in place. 

P1110818

And here it is in the folded up position. 

P1110821

Sadly, the new wobbl-stopprs also didn’t come with any felt pads like the old ones to keep them from rubbing against the jack tubes, so mitigated this as best as I could by moving the velcro strap up.

Now, yer probably wondering, what did I do with the old Wobbl-Stopprs?

Well, I’m a Redneck, and you don’t waste something that’s still working, so I reinstalled them pointing a different direction to get rid of the front to rear wiggle the camper still had some of after the addition of the swing out brackets (a problem that didn’t exist when I was still a single-rear-wheeled truck.

P1110822P1110824

Coming from the back of the jack legs now, the old brackets are far enough out of the way that they won’t interfere with the truck fenders passing as I load up. 

Worst case, if it looks like there still might be a tad bit of conflict, I can simply slide the top sections of the wobbl-stopprs off temporarily so that the knobs are out of the way. 

So, now, one year later, my camper is twice as stable as before and even in wind storms, the only way I can tell it’s blowing hard by the sound the wind makes as it passes the camper by.

Friday, February 25, 2011

Product Review–Torklift Wobbl-Stopprs

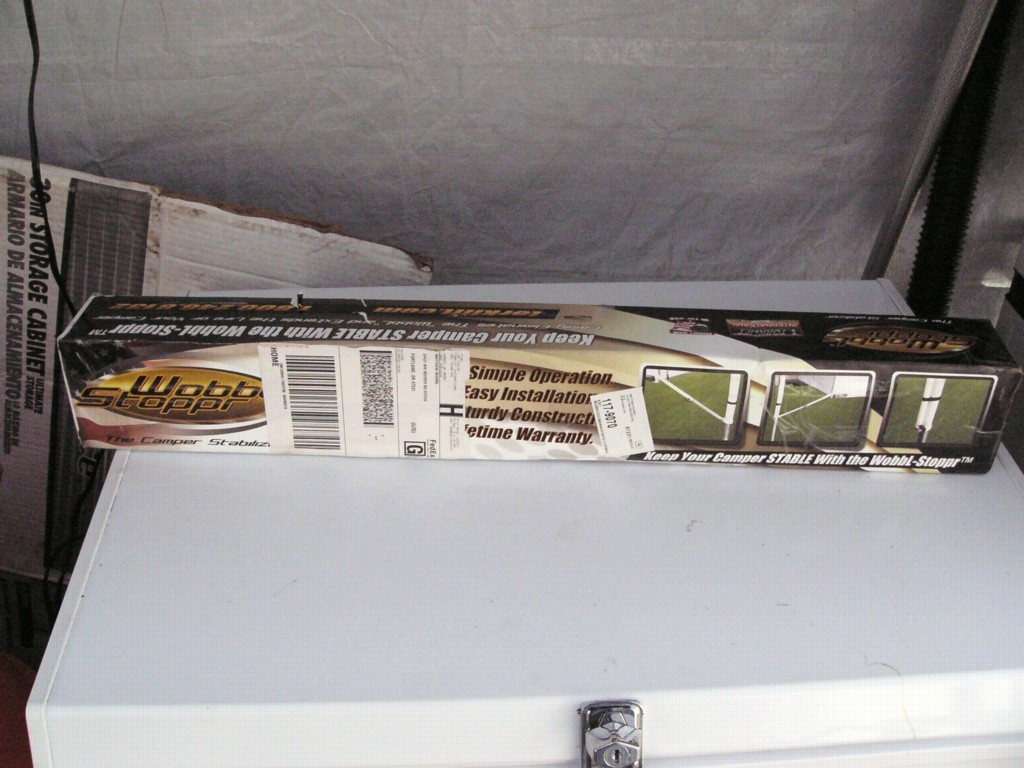
Looks like its time for another product review, courtesy of Torklift International! The last product review I did involved the rather nice tank deodorant, Odor-Eze. This time around, I lucked out in getting a new product that Torklift has out on the market now, Wobbl-Stopprs.

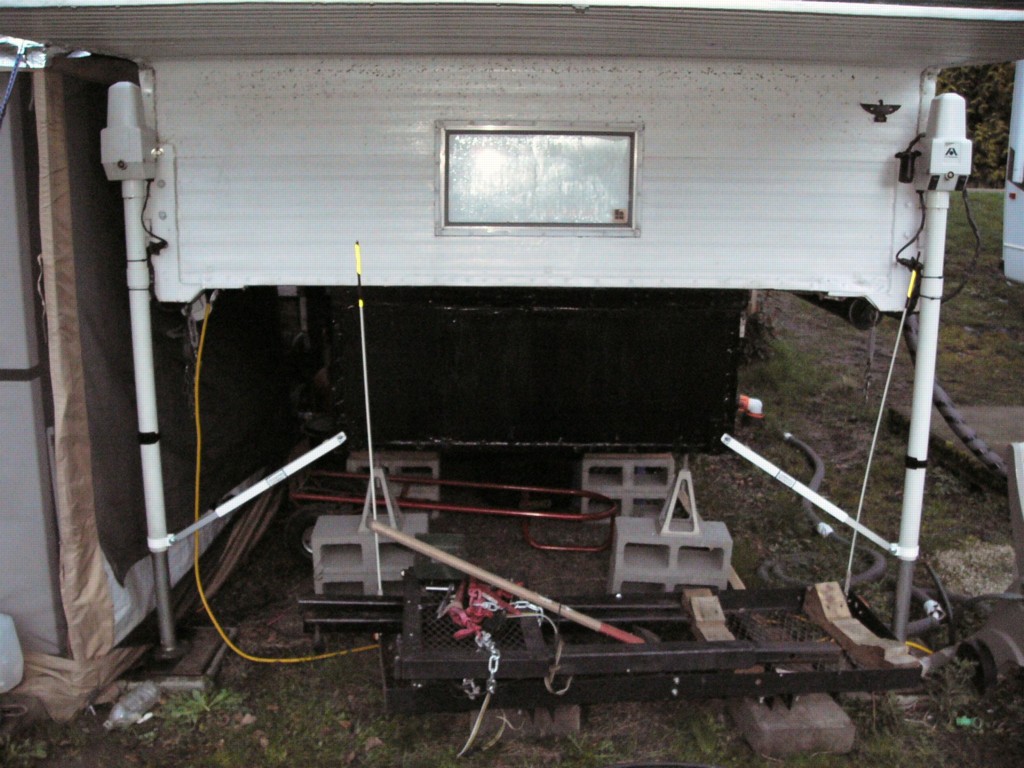
The concept behind it is fairly straight forward. On your average longer camper with a full rear-end enclosure, the rear jacks are attached roughly along their full length to the camper itself. On the front, however, your jacks are only attached roughly at the top most end, allow the camper’s weight to leverage against the jacks far more easily and subsequently inducing sway when you’re in your camper while its offloaded from the truck.

Wobbl-Stopprs work my giving you a removable stabilizer arm that connects from the bottom of the jack’s outer tube, much like when its attached along its length on the rear of the camper, to the bottom corner of the camper’s “tub” (the portion that normally sits in the bed of your truck).

By bracing the camper’s front legs at an approximately 45 degree angle to the camper’s the tub, the front legs are now prevented from flexing against their corner mounts as the energy from the sway is transferred into the tub of the camper. Unless you camp with your camper raised four feet in the air, 90% of the sway or “wobble” that people feel when their camper is off their truck will be eliminated by a single pair of the Wobbl-Stopprs.


A great many home solutions have been attempted for this problem over the years, I use one myself, three pairs of stackable stabilizer jacks that are snugged in place between the tub of the camper and the ground. While they help remove some of the sway, the sway is still present as the jack stands are not rigid creatures, and cannot hope to be wide enough to remove their own natural tendency to wiggle side to side.

Being that I’ve always approached the vast majority of RV accessories with a varying degree of skepticism, I looked forward to giving this new accessory the full-timer torture. If anything could help improve the stability of my camper when offloaded, I thought this might be it.

INSTALLATION

My package arrived, neat and tidy, quick as lightning from FedEx, one of the few deliveries I’ve actually got delivered straight to my site at Island Cove Park. Most times, things never get delivered any further than the local Post Office, even if it was sent via UPS or FedEx, which means the actual date of delivery isn’t always what’s promised on the package tracking.

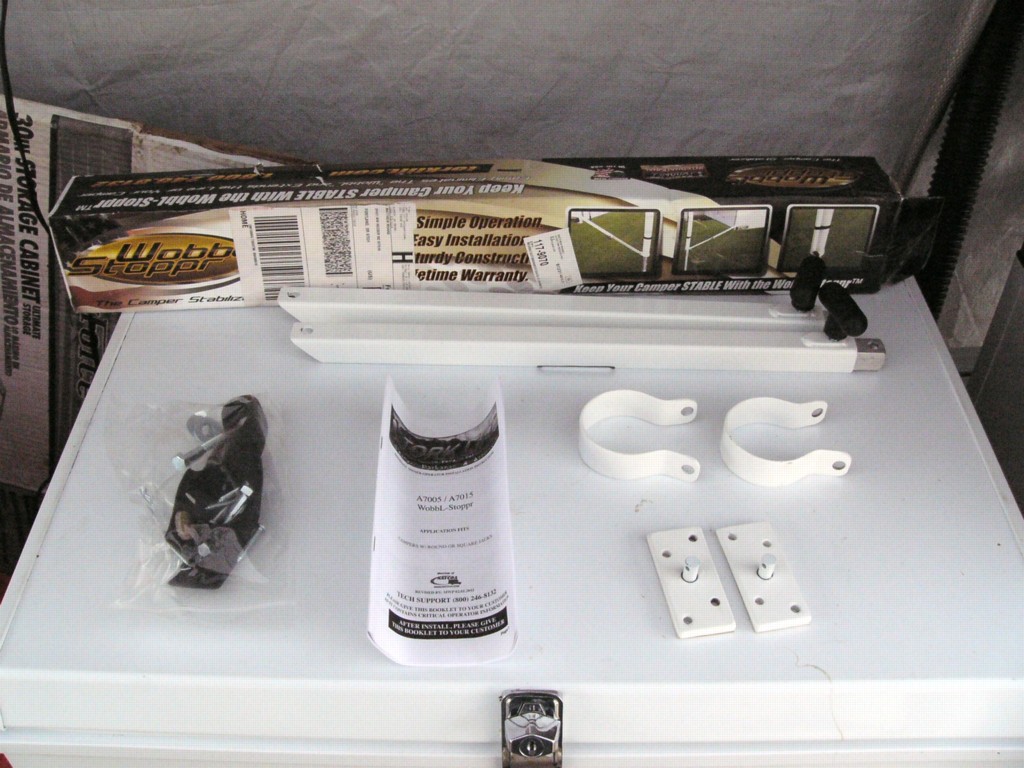
Unpacked my box and sorted out and counted the parts to make certain everything was in order, so far it looks pretty straight forward and simple to install.

The installation instructions for the round tubed jacks left a bit to be desired, the pictures for the round jack assembly weren’t as informative as those for the square jacks, the worded instructions were more useful, but still not as complete as they could have been.

In any event, the assembly of the Wobbl-Stopprs isn’t rocket science, so with a little ingenuity, I figured it out easily enough.

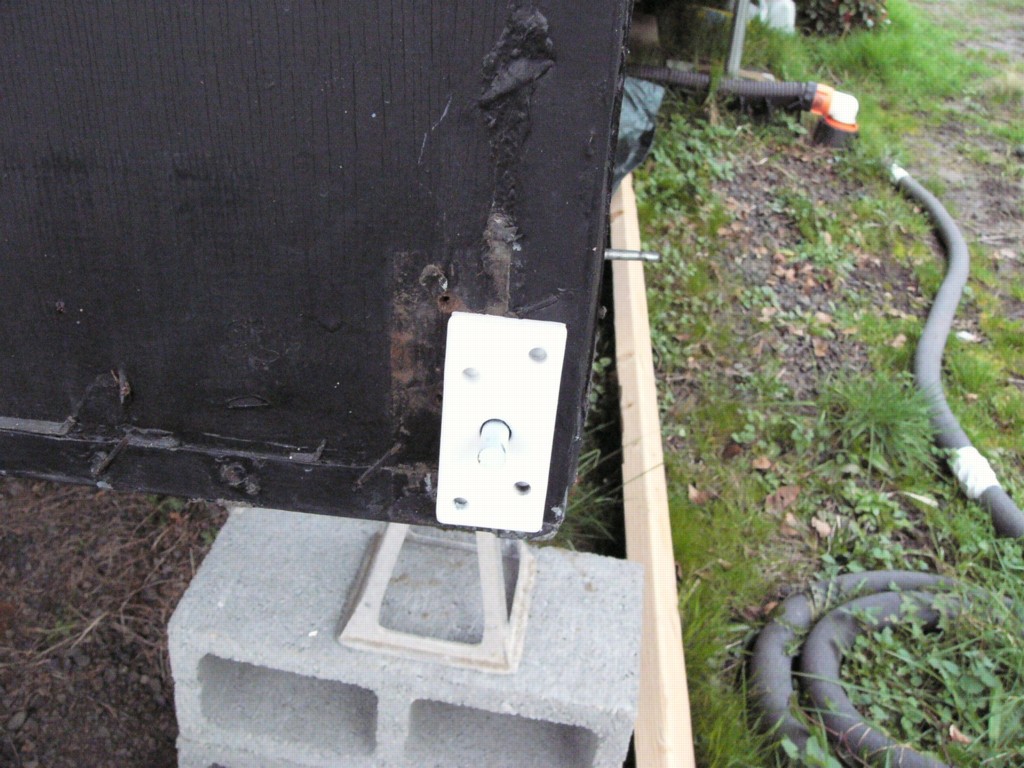
First off, I installed the attachment plates to the camper, first temporarily with the stick on backing tape that is supplied already attached to each of the back plates, (simply peel and stick!) then I secured it in place using several tapered head screws. The original screws that came with were a little long for the frame of my nearly 40 year old camper, and were the round headed variety, which to me seemed odd given the nice taper edged holes that were in the brackets, so I used a similar diameter, cone headed screw that was a little shorter to keep the screw heads from poking through the frame of the camper. These snugged up nice and flush and tight with the brackets.

After installing the front mounting plates, I proceeded next to installing the arms and the clamp rings to the camper jacks.

The rings slide around the leg easy enough, I used a pair of decent sized channel lock pliers to squeeze the ring down the first time to slide it over the bolt, then once more after installing the washer to provide enough thread to tighten the nut on by hand for final adjustment before snugging everything down in its final position.

If one is worried about the finish on the rings, you can prevent damage to the finish by first wrapping the jaws of the channel lock pliers with masking tape.

Once the arms were loosely secured to the legs of the camper, I loosed the securing nuts on the arms and slid them up and onto the pins on the attachment plates that I earlier secured to the tub of the camper.

I then pinned them into place using the clips that came with the kit and adjusted the clamp rings until the clamp rings were square to the brace arms, then using a 9/16” box-end wrench and a 9/16” deep socket wrench to snug the clamp ring down till it was lightly snug against the arms so that they don’t drop down later on when the Velcro straps are removed.

Once the arms were both aligned, and the clamp rings snugged down, I installed the felt pads on the arms:

Then the Velcro Straps:

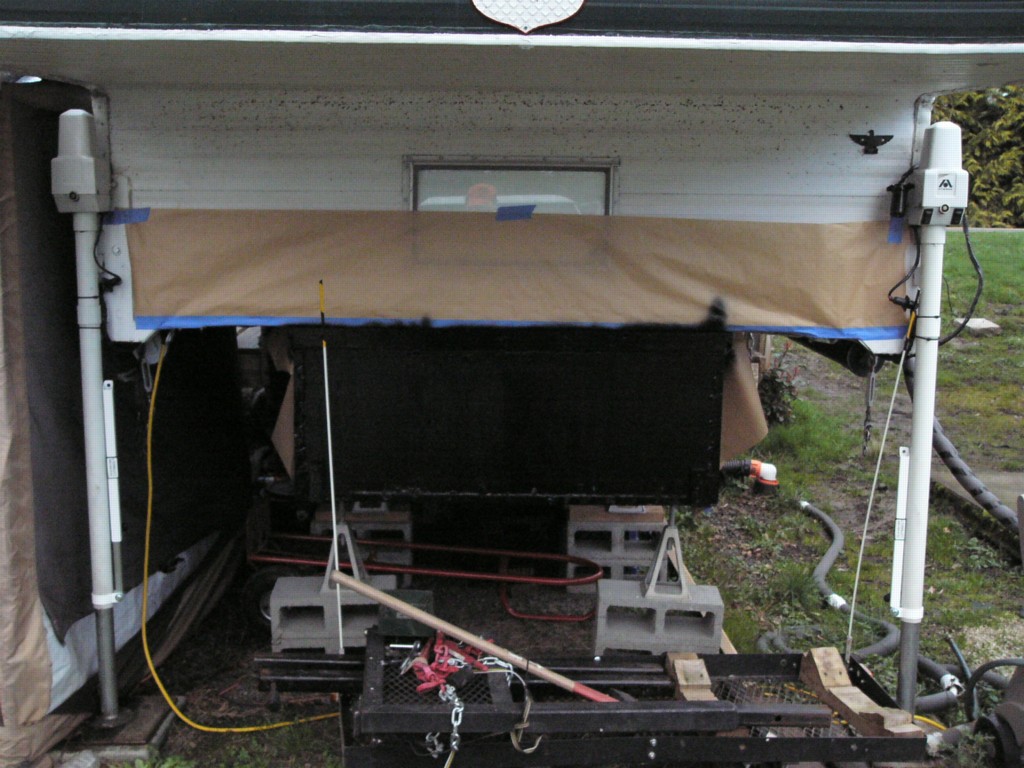
Quick coat of paint to the front of the tub of the camper to touch up the scuff guards/spacers and to blend the attachment plates to the front of the camper:

And the Wobbl-Stopprs are installed!

After the paint had dried and the arms were securely in place, I gave the camper its standard shake test. Normally the camper tends to wiggle side-to-side rather easily either from the wind striking the camper broadsides or from movement of occupants.

REVIEW

After installing the Wobbl-Stopprs the camper has now become as solid as if it’s tub was sitting directly on the ground. I can give the edge of the cabover a decent shove and the camper will hardly move at all, given that prior to the install, the camper could easily wiggle 2-3 inches side-to-side with only a moderate push.

That same evening it got its first weather test. In the past when a good gust of wind broad-sided the camper, it would be brought straight to your attention, either by stirring you fully awake from a sound sleep or startling you by the camper wiggling. This time around, the only reason I even noticed that it was gusting was the sound of the screen room next to the camper moving as it normally does and the flap on the range hood making noise in the breeze.

Over the past couple weeks of use since I originally installed the Wobbl-Stopprs, my quality of sleep has improved in the camper (I’m a fulltimer and live in my camper year round) as I’m no longer stirred out of a sound sleep by rolling over in bed and the camper wiggling side to side.