


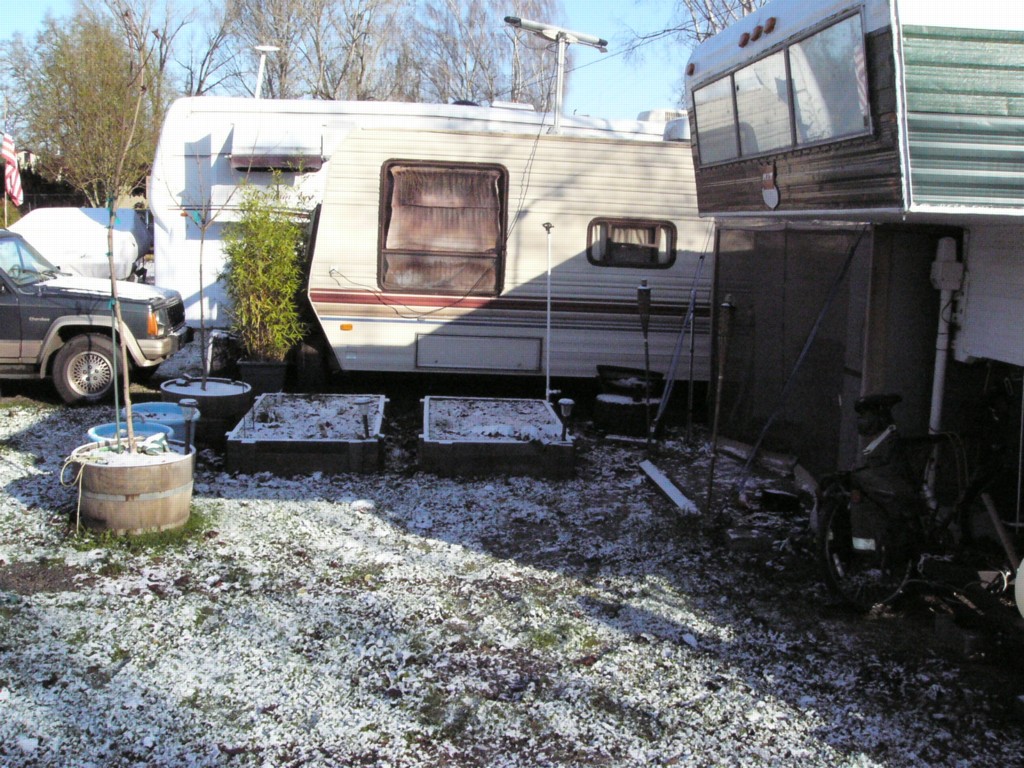
Well, we've had roughly three or so days of hard and constant freezing weather with the temps down in the teens and twenties during the night and more than one night with some fairly strong wind blowing through.
The water coming into the camper via my insulated connection never froze.
The water line going to my toilet on the other hand froze last night. I just finished thawing it out and redoing its insulation.
I'd pulled the insulation earlier in the month to replace the shoring block under the shower floor (The old one had fallen apart, it was made of several 1x2s that had been glued together, there's a nice solid piece of 2x3 in there now), but I guess it never sealed back up well when I reinstalled it because I had this insulation present during the winter of 2008 which had constant cold wind and temperatures staying in the teens and the water line to the toilet never froze up back then.
So, I pulled all of the old pipe insulation after thawing the water line with my heat gun and then installed some new thicker pipe insulation and then wrapped it in a reflectix-based insulation tape to make it as insulated as possible.
The reflectix is a shiny foil sided insulation and works well at reflecting cold away from the line and also reflecting its own heat back in on itself.
With luck, the water line shouldn't freeze up again.
Wednesday, November 24, 2010
Tuesday, November 23, 2010
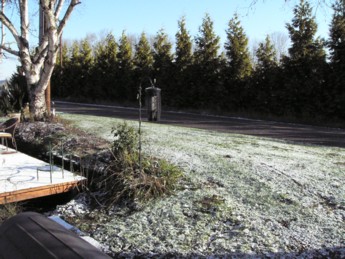
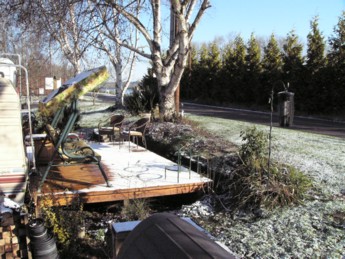
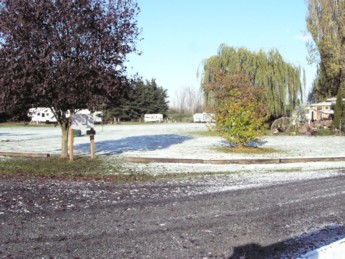
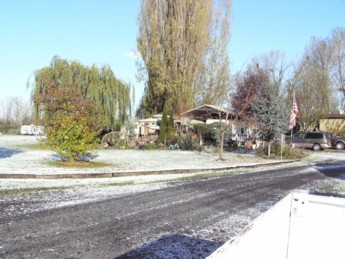
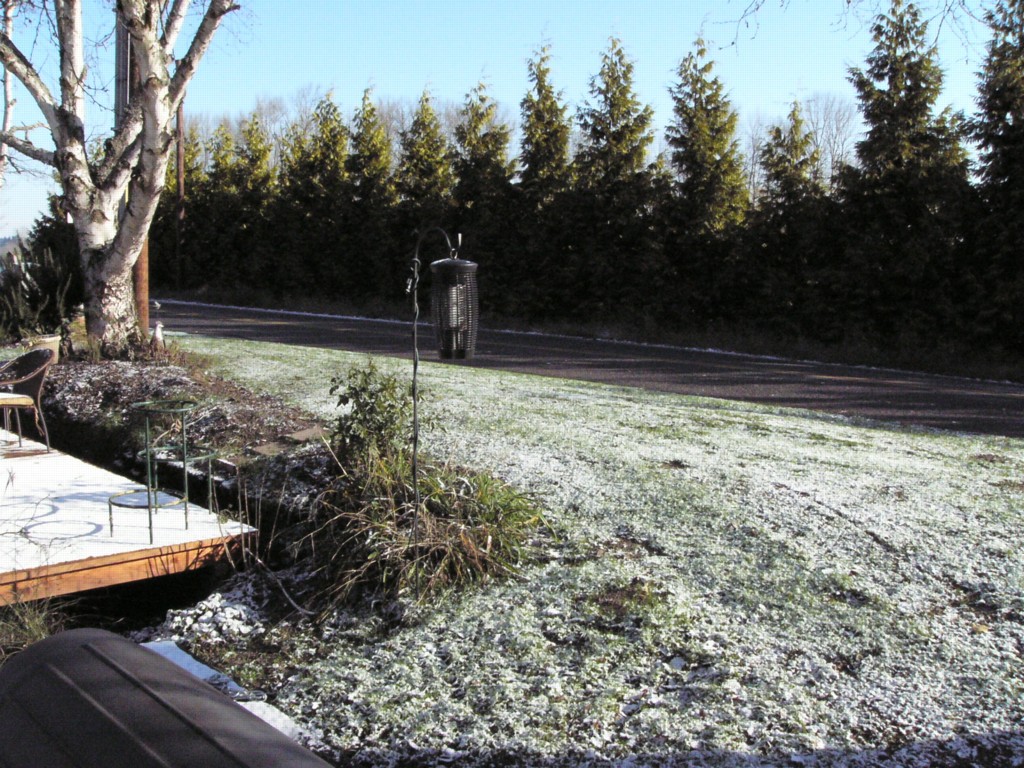
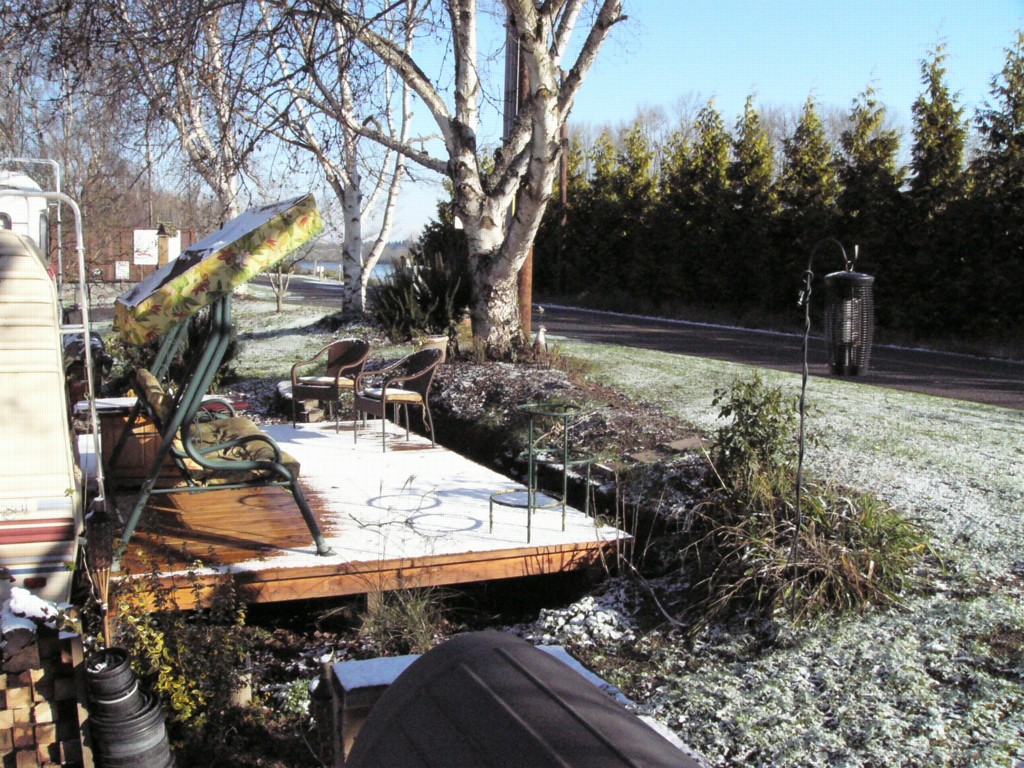
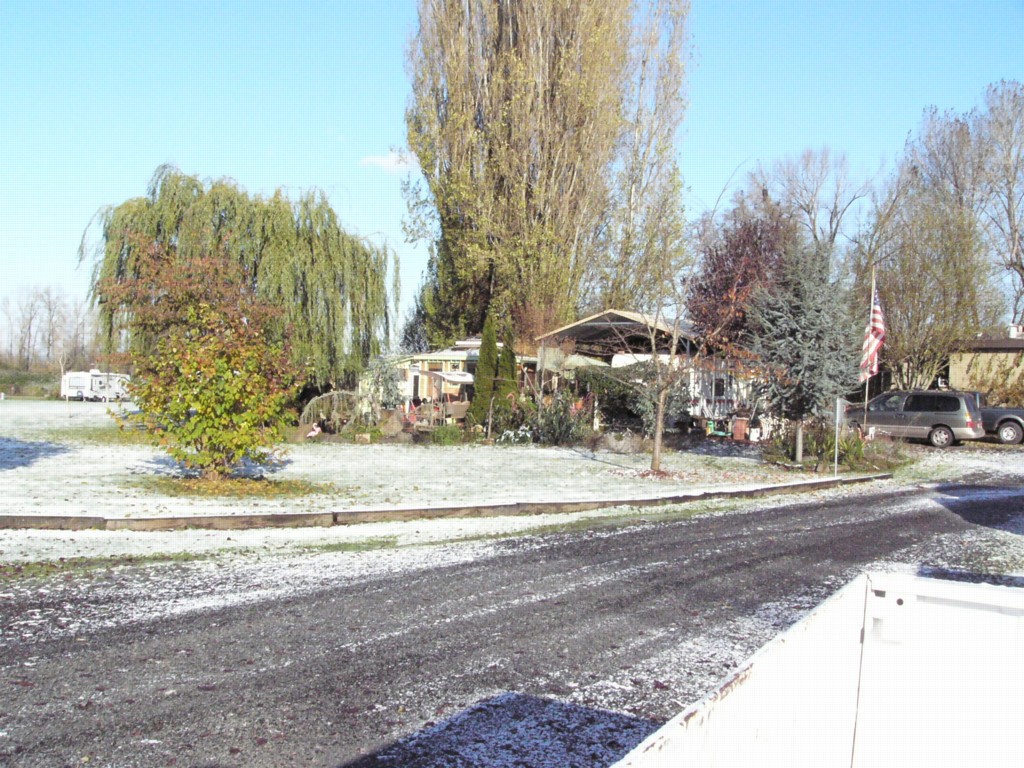
First snow of the year
Well, the first snow of the year came last night, and with it a massive arctic front that quickly turned that little dusting of snow to ice.


Much to my dismay, I discovered that the zipper on the screen room closest to the deck had frozen solid, making it a necessity to go around to the front to enter whenever I wanted to grab something out of one of the cabinets or the chest freezer on the deck.
Ended up driving the truck in to work today, unlike the main highways and city streets, the little two-laner roads on the island don't usually get plowed or de-iced, or even graveled when the snow shows up, and the big off-road M+S tires and four wheel drive on the truck is always a better option than playing slip-n-slide with the Ford on icy roads!
Monday, November 8, 2010
Building a Heated Water connection
As fall's colors slowly give way to winter's grays, a chill begins to fill the air. Following that chill is the fear of all full-time RVers, the Hard Freeze.
We full-timers are particularly susceptible to winter's cold weather as our plumbing is in use all year round. Throw into the mix that alot of RV manufacturers got it in their heads that running all the water lines against the thinly insulated outside walls was a good idea and you've got a quick recipe for disaster.
Some of us, like myself, wound up with rigs that had the plumbing installed in away from the very thin outside walls so with a little extra effort to insulate it, the scare of a frozen pipe can be mitigated.
This, however, still does not solve the greater freeze problem, the outside "City Connection". Unless you don't mind refilling your fresh water tank daily (25 gallons can go really quick!), provided of course that your tank is inside the rig or heavily insulated enough to prevent it from freezing up, and leave your outside connection unhooked, you're still risking a frozen connection or burst line. In addition to the risk of damage to your rig and creating a icy wonderland, RV Parks also are not terribly fond of you cracking their spigot fixtures and the expense of repair.
So, what do you do when you want to have your water supply all winter, but don't want the hassles of tank refilling?
One option is to buy a very expensive heated hose (we're talking hundreds of dollars here for a hose), but if spending $250 or more for a hose that still doesn't solve the freeze risk to the RV Park's water connection doesn't sound like a great plan, then you take the approach I did.
You build your own insulated and heated connection.
First off you're going to need the right parts. If you search any of the popular RV forums you'll find alot of discussion and debate for and against the use of the familiar white garden hose that most RVers use for their city water connection.
The big argument against using them is the fact that the rubber they're made of is not meant for use with heating elements or even hot water. You run the risk of a fire or just bursting your line by melting it are the most common sense facts brought up.
This position is actually backed by the fact that its written in no uncertain terms on the packages of most heat-tapes that they're for use on Pipes Only and not to use them on hoses.

What I did was ask around till I found an RV/Mobile home hose specifically designed for being in either a buried application or used in conjunction with heat tape.
The product is produced by Valterra and is called EbonyLine.


You can obtain the part numbers and lengths available from Valterra's main RV Fresh Water Products Page here.
You'll also need the following items in addition to your EbonyLine:
 First, measure out your heat tape and if possible try and get as close to the total length of your pipe and hose as possible.
Then, starting at the top of the 90 degree elbow, attach the tail end of the heat tape (Then end without the power plug) to the top of the elbow using the electric tape then follow it down over the edge of the elbow and along one side of the hose.
If you have a water pressure regulator, be sure its a metal one, I wouldn't recommend using heat tape with a plastic water pressure regulator.
When you reach the water pressure regulator, and have an adjustable unit like mine you may want to make a spiral around the unit (DO NOT CROSS THE TAPE AT ANYTIME) so that the valve body all the way along has some contact with the heat tape.
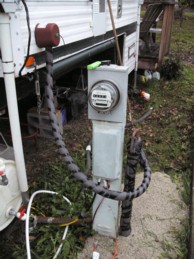
From the water pressure regulator continue on down the park's spigot pipe. At no time should any of the actual heating-element portion of the heat tape ever come into permanent contact with the ground.
Work the heat tape down till the thermostat body (it should be a nice bulged section with a little contact on the back of it that is meant to be in contact with the pipe ) is as close to the ground as you can get it without it actually touching the ground.
Squarely afix the temperature sensing "button" on the heat tape against the park's pipe.
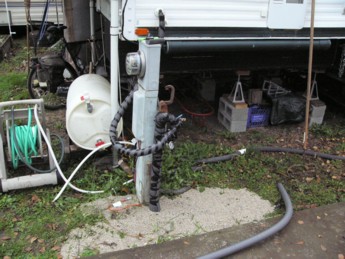
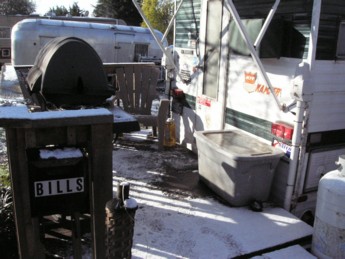
Now, that you've installed your heat tape, begin wrapping the hose and water bib with the insulation, be sure to size your insulation so that it'll fit over the combined diameter of the original water pipe pipe, hose, and added heat tape.
As you can see in my pictures above, I couldn't find a size that was big enough to do the spigot pipe in one solid wrap, so I layered one over the top of the other and bound them snugly together with the electric tape.
You will likely need to custom cut pieces to fit around your water pressure regulator and any odd shapes or curves in your spigot pipe.
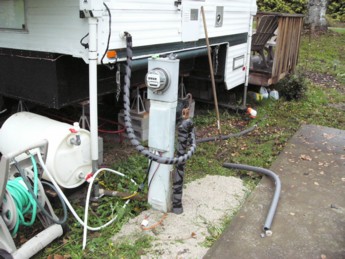
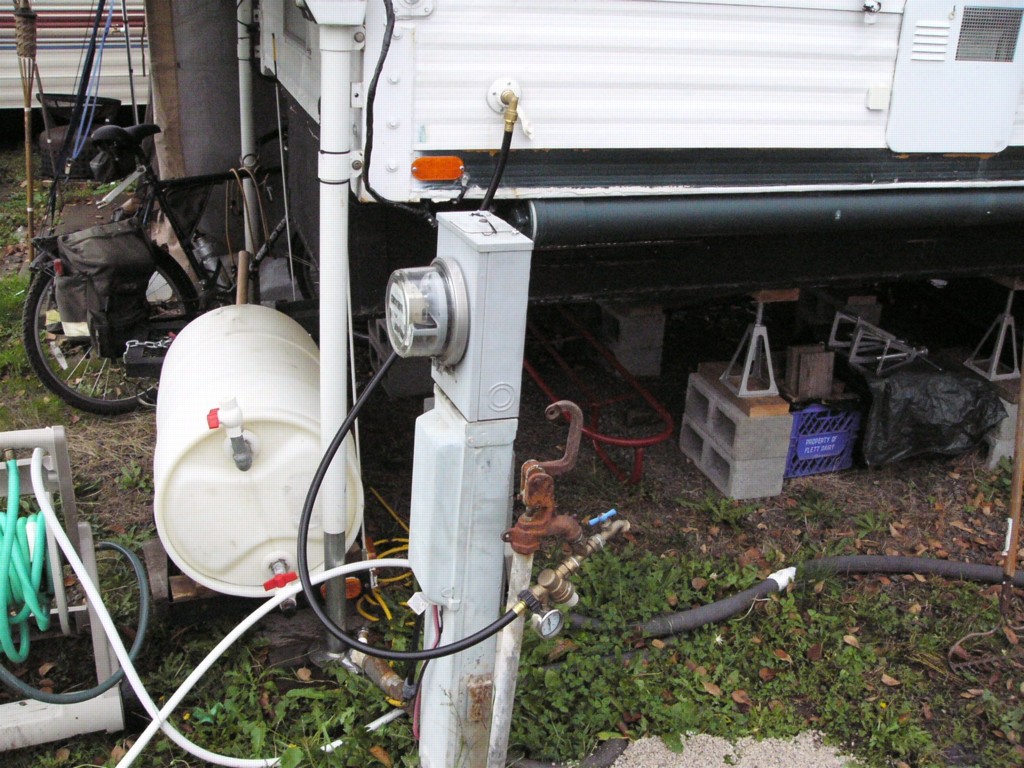
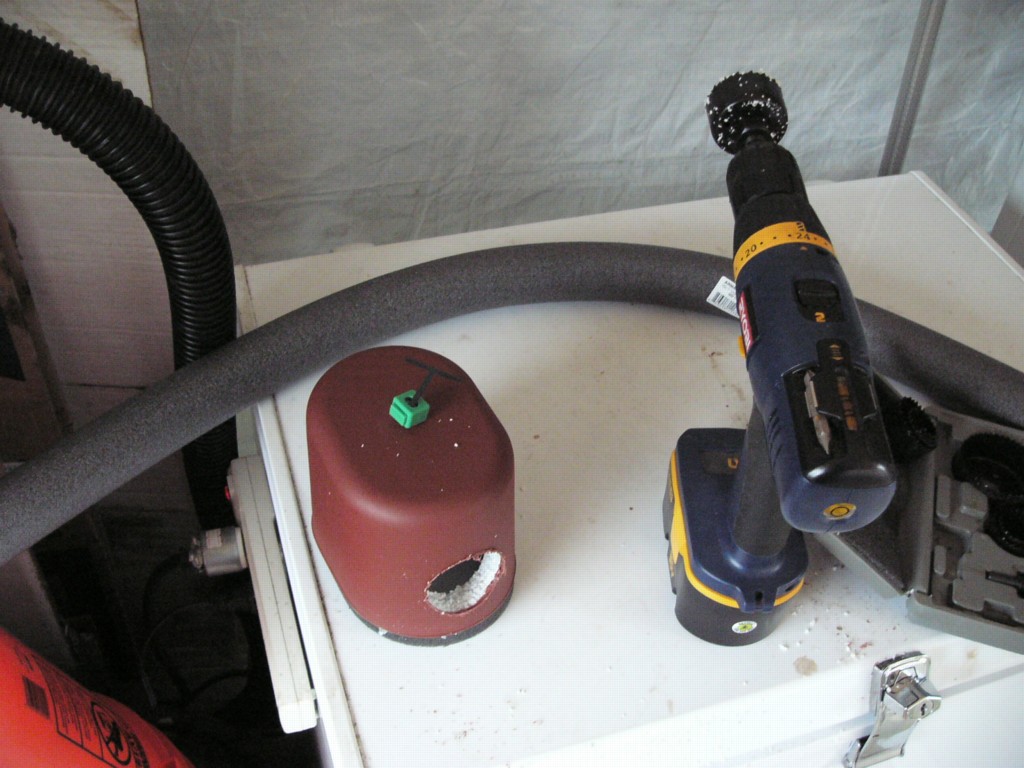
Now, that you have your hose and spigot pipe all insulated and heat tapes, its time to protect the most common freeze-up point on an RV, the actual city water connection.
For this you'll need a hole saw and a drill, size the hole saw to a tiny bit smaller than the diameter of the pipe wrap insulation, you want it to be a somewhat snug joint to keep the cold air from leaking in around the entering hose.
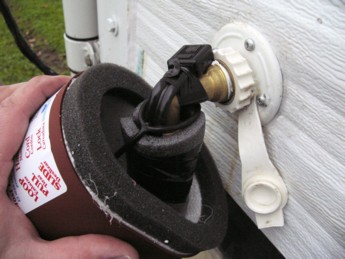
After positioning and cutting the hole in the bottom of the faucet cover with the hole saw, slide your hose through the opening and then slip the rubber loop from the draw string for the cover over the elbow that will connect to your RV. Be certain to position it so that when its pulled taut the loop is not resting on the heat tape itself.
My picture shows otherwise, but I had a bit of insulation stuck under the lip and was trying to hold it in one hand and photograph it with the other.
Once you've secured your water connection and checked it for leaks, slide the cover up into place and snug the draw string till the faucet cover is fast against side of your RV. The foam ring that adorn most of these covers should help fill any gaps in the shape of your RV's siding.
Congratulations, you've just finished protecting your water connection for your RV and now, so long as the electricity is on, you should be able to use the city water at your park all winter without hassle.
You can also use these wonderful heat tapes to help protect those exposed sewer drain valves and drain lines from freezing up solid as well.
Thanks for reading, I hope this project helps you survive full-timing during a cold winter!
We full-timers are particularly susceptible to winter's cold weather as our plumbing is in use all year round. Throw into the mix that alot of RV manufacturers got it in their heads that running all the water lines against the thinly insulated outside walls was a good idea and you've got a quick recipe for disaster.
Some of us, like myself, wound up with rigs that had the plumbing installed in away from the very thin outside walls so with a little extra effort to insulate it, the scare of a frozen pipe can be mitigated.
This, however, still does not solve the greater freeze problem, the outside "City Connection". Unless you don't mind refilling your fresh water tank daily (25 gallons can go really quick!), provided of course that your tank is inside the rig or heavily insulated enough to prevent it from freezing up, and leave your outside connection unhooked, you're still risking a frozen connection or burst line. In addition to the risk of damage to your rig and creating a icy wonderland, RV Parks also are not terribly fond of you cracking their spigot fixtures and the expense of repair.
So, what do you do when you want to have your water supply all winter, but don't want the hassles of tank refilling?
One option is to buy a very expensive heated hose (we're talking hundreds of dollars here for a hose), but if spending $250 or more for a hose that still doesn't solve the freeze risk to the RV Park's water connection doesn't sound like a great plan, then you take the approach I did.
You build your own insulated and heated connection.
First off you're going to need the right parts. If you search any of the popular RV forums you'll find alot of discussion and debate for and against the use of the familiar white garden hose that most RVers use for their city water connection.
The big argument against using them is the fact that the rubber they're made of is not meant for use with heating elements or even hot water. You run the risk of a fire or just bursting your line by melting it are the most common sense facts brought up.
This position is actually backed by the fact that its written in no uncertain terms on the packages of most heat-tapes that they're for use on Pipes Only and not to use them on hoses.

What I did was ask around till I found an RV/Mobile home hose specifically designed for being in either a buried application or used in conjunction with heat tape.
The product is produced by Valterra and is called EbonyLine.
You can obtain the part numbers and lengths available from Valterra's main RV Fresh Water Products Page here.
You'll also need the following items in addition to your EbonyLine:
- Two or more Rolls of good Vinyl Electric Tape (depends on how long your connection is)
- Several lengths of Pipe Insulation - if available get the rubber based insulation that has a pre-glued lip that you remove a plastic strip from so you can seal the the insulation around the pipes and hose.
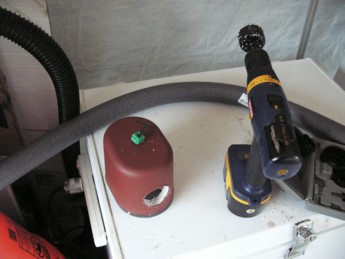
- Plastic Housed Facuet Cover - They cost a little more, but the rigid molded plastic body will keep the cover from falling apart and make it easier to use the hole saw later on to make the entrance hole in the bottom for the insulation wrapped hose.
- Electric Heat Tape - Get a length appropriate to the length of your hose and spigot pipe (If you don't mind keeping them together, like me, otherwise, get two, one for the spigot pipe and one for the hose).
- Brass 90 Degree Fresh Water Connection Adapter - Brass is more durable, and you'll need this elbow in order to connect your hose to your RV and for it to be able to exit out the bottom of the faucet cover.
Step 1 - Install the Heat tape
 First, measure out your heat tape and if possible try and get as close to the total length of your pipe and hose as possible.
 Then, starting at the top of the 90 degree elbow, attach the tail end of the heat tape (Then end without the power plug) to the top of the elbow using the electric tape then follow it down over the edge of the elbow and along one side of the hose.
If you have a water pressure regulator, be sure its a metal one, I wouldn't recommend using heat tape with a plastic water pressure regulator.
When you reach the water pressure regulator, and have an adjustable unit like mine you may want to make a spiral around the unit (DO NOT CROSS THE TAPE AT ANYTIME) so that the valve body all the way along has some contact with the heat tape.
From the water pressure regulator continue on down the park's spigot pipe. At no time should any of the actual heating-element portion of the heat tape ever come into permanent contact with the ground.
Work the heat tape down till the thermostat body (it should be a nice bulged section with a little contact on the back of it that is meant to be in contact with the pipe ) is as close to the ground as you can get it without it actually touching the ground.
Squarely afix the temperature sensing "button" on the heat tape against the park's pipe.
Step 2 - Insulate the Hose and Water Bib


Now, that you've installed your heat tape, begin wrapping the hose and water bib with the insulation, be sure to size your insulation so that it'll fit over the combined diameter of the original water pipe pipe, hose, and added heat tape.
As you can see in my pictures above, I couldn't find a size that was big enough to do the spigot pipe in one solid wrap, so I layered one over the top of the other and bound them snugly together with the electric tape.
You will likely need to custom cut pieces to fit around your water pressure regulator and any odd shapes or curves in your spigot pipe.
Step 3 - Installing the Faucet Cover on your RV

Now, that you have your hose and spigot pipe all insulated and heat tapes, its time to protect the most common freeze-up point on an RV, the actual city water connection.
For this you'll need a hole saw and a drill, size the hole saw to a tiny bit smaller than the diameter of the pipe wrap insulation, you want it to be a somewhat snug joint to keep the cold air from leaking in around the entering hose.
After positioning and cutting the hole in the bottom of the faucet cover with the hole saw, slide your hose through the opening and then slip the rubber loop from the draw string for the cover over the elbow that will connect to your RV. Be certain to position it so that when its pulled taut the loop is not resting on the heat tape itself.
My picture shows otherwise, but I had a bit of insulation stuck under the lip and was trying to hold it in one hand and photograph it with the other.
Once you've secured your water connection and checked it for leaks, slide the cover up into place and snug the draw string till the faucet cover is fast against side of your RV. The foam ring that adorn most of these covers should help fill any gaps in the shape of your RV's siding.
Congratulations, you've just finished protecting your water connection for your RV and now, so long as the electricity is on, you should be able to use the city water at your park all winter without hassle.
You can also use these wonderful heat tapes to help protect those exposed sewer drain valves and drain lines from freezing up solid as well.

Thanks for reading, I hope this project helps you survive full-timing during a cold winter!
Subscribe to:
Posts (Atom)