Ms. Merry is continuing to look more like a usable camper with each update ![]() . This time around, we’ve been working on getting the sewer plumbing in place, allow for at last, the installation of Merry’s new holding tank and the sewer and vent lines that go into Merry’s new bathroom
. This time around, we’ve been working on getting the sewer plumbing in place, allow for at last, the installation of Merry’s new holding tank and the sewer and vent lines that go into Merry’s new bathroom ![]() !
!
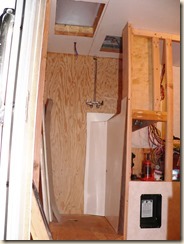
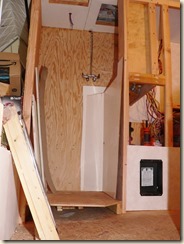
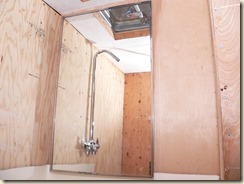
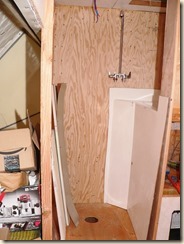
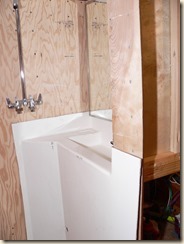
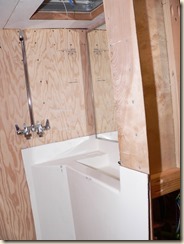
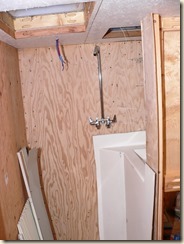
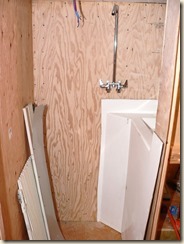
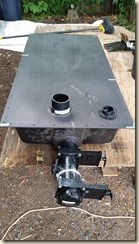 The first step we had to tackle was getting Merry’s new holding tank in its final position and the inlet flanges located for the new toilet and the vent line that would be going up through the shower (Painted white like a column, similar to how we did it in Mr. KIT in The Great Bathroom Remodel. The difference in Merry being her vent pipe will go from floor to ceiling, where-as in Mr. KIT, it only had to go from counter top to ceiling.
One thing I love about Ms. Merry’s new holding tank is unlike Mr. KIT’s whose was made of polypropylene and required spin welding to attach anything, Ms. Merry’s is ABS plastic, which simply requires cutting the holes for the flange and then gluing it in place, much much easier!
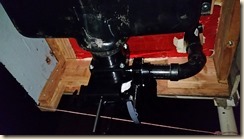
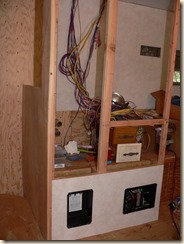
You’re likely wondering what the white compound is around the outer dump valve, that is water proof (below water line) epoxy putty, which was used to pack in the remaining gap between the flange the T- fitting between the two main valves. I had hoped when I removed the studs and glued the valve on that it would be a tight enough fitting that it would be water tight, sadly, it still leaked a little bit, which the epoxy took care of.
The valves are currently in the wrong alignment in the picture, they’re going to all be repositioned so that the pull handles point down so that the handles can extend through the floor of the heated compartment and are accessible underneath so they can be accessed without having to add a second hatch to the compartment floor that might come open during travel. The main valve bodies will be up in the heated and insulated tank compartment, allowing them to remain warm during winter use.
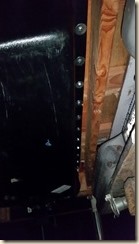
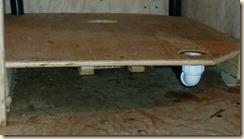
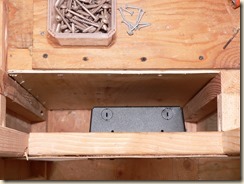
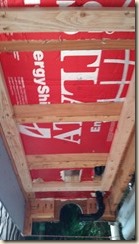 Once we got the flanges in place, the next step was to install the floor insulation, cut out the pass through holes for the pipes and install the spacer ring to the underside of the floor that the tank would be anchored to. The spacer was necessary to give the flange on the top of the tank and the bottom of the offset flange enough room to be able to fully join, as the flange extends down an additional inch and a half below the floor.
The offset flange was needed to allow the toilet to be fully situated back near the wall in the bathroom, and keep the whole valve and dump connection assembly to remain inside the tank compartment and kept warm. During winter use, we’ll likely need to make a water proof packing ring to stuff in around the sewer hose as it comes out through the compartment hatch so that the warm air being suppled by the furnace isn’t lost to the outside entirely.
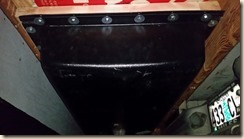
In the picture, only the initial screws were installed to hold the spacer in place while the tank was being positioned for flange installation. Once the flange work was done, the tank was removed and additional 3” screws were drive in all around the spacer to fully anchor it into the floor. The tank was then later reinstalled to this spacer ring with lag screws and wide fender washers all around its perimeter to permanently anchor it into place securely enough to handle the liquid movement force of a full holding tank while the camper is moving.
Once the toilet flange and other pipes are in place, the tank will then be filled completely and left full for 24-48 hours to check for leaks an anchor failure.
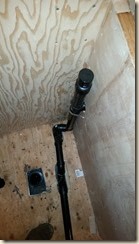
With the tank finally in its permanent home, we started plumbing the lines going into the tank, starting first with the grey water lines going up through the floor, where the first T connects the pipe to the drain line come from the shower before going up to a second T that takes the feed coming from the bathroom sink and then later traveling on to the kitchen sink at the front of the camper.
Originally, I had planned to use a HepVo valve instead of a standard P or U trap on the shower’s drain line, however, after unpacking the HepVo valve, it was very clear that the membrane in it would end up slowing the shower flow too much to work properly and with the spacer ring providing additional space between the floor and the tank, there was more than sufficient room to simply cut an additional hole in the floor for the U Trap to drop into above the tank, allowing for the use of standard plumbing practices instead of the rubber membrane HepVO valve. A Inlet valve or “Cheater Valve” was installed at the top of the drain line, though the access hole still needs to be cut so that it can be serviced if at some point in the future it fails.
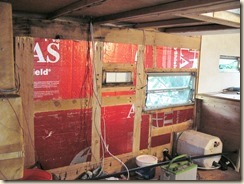
The use of a inlet valve in this space, allows for the air inlet to be inside the camper, a second one will be installed on the line going to the kitchen sink, allowing for the complete removal of one of the roof vent holes in the roof, allowing me to permanently patch that spot in the camper’s roof and reduce the number of potential leak points on the camper’s roof. Ms. Merry’s original ceiling showed the signs of water entry around the original vent when we were demolishing the original interior.
As the pipes were installed, standing full pipe water tests have been performed to ensure that none of the joints in the new system leak. A final full system standing water test will be done once I pick up some test plugs to make sure that the there are zero leak locations.
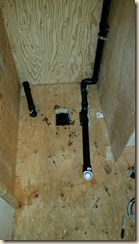
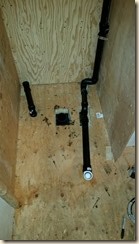
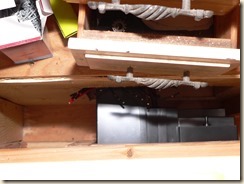
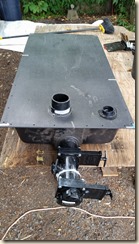 The pipe coming up through the floor on the left is the tank vent, which the tank inlet can be seen in the picture of the unmounted tank.
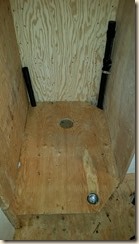
You can see more clearly why the offset toilet flange assembly had to be used in order to connect the toilet to the tank without losing vast amounts of precious bathroom floor space.
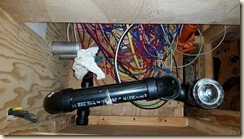
The white piece of pipe on the end of the long pipe running across the floor on the right, is a piece from the Hepvo valve kit that I reused, as it fits the threads of the new stainless steel shower drain and threads right into a standard inch and a half FPT connection. The Valterra drain unfortunately will not directly thread into a FPT connection and a comparable match from the hardware store has the same issue, neither is designed for direct threaded connection, unlike the original flanges the camper had (The shower flange broke into pieces during removal as all the original flanges were made of plastic), necessitating the use of the elbow assembly from the hepvo as a normal slip fitting with a regular elbow is too tall to fit in the narrow confines below the shower floor.
You can see the elbow more clearly in the second picture below. I will be building a little access hatch into the bottom of the front walls of the shower so that I can easily access the shower drain flange for servicing in the future.
I ended up needing to add a 3/4” spacer to the floor frame to lift it up even with this so that the drain line going the shower had a proper downhill slope to ensure proper drainage. Like the other fittings, this too, was standing water tested and fed water as fast as I could pour it in to make sure that the drain did not slow. The water on the floor underneath it is due to the fact that the fittings on the drain were not fully tightened at the time of testing as I did not want to weaken the seal on the rubber O-ring that seals the elbow to the drain by fully tightening it until it was time for final permanent installation.
The shower floor will need to be removed at least a couple times more to allow for the installation of the heater vent line and wiring for the “See-Level” tank sensor system for the holding tank. Once those two parts have been completed, the holes for the carriage bolts that will permanent clamp the shower floor in place will be installed, and the aluminum flashing installed around the perimeter so that the floor and side walls can be fiberglass sealed in place. The final floor finish will be made of a sheet of FRP “orange peel” texture which will be epoxied into place over the top of the underlying fiberglass coating.
I will also be working the floor area in the front section with a grinder to properly slope the pan down to the drain so that all water is directed into the drain. The pan as a whole is sloped already via the underlying floor framing, however a low point needs to be still made to help the final water direction into the drain. The opening was already recessed for the drain flange and will be sloped down to that.
A 2x2 support lip will be glued and screwed to the underside of the front of the floor once all under floor work is done, this will then be anchored into the remaining bathroom walls so that the floor is fully supported and strong enough to take my weight. As I wasn’t able to completely eliminate the rear butt sag, the shower pan’s support structure was designed to compensate for the sag in the rear so that the bathroom toilet sits level, but has just enough slope to allow for water to be directed properly to the drain. I modeled the slope degree and direction after the original shower pan that had come with the camper.
And that’s it for “The New Loo – Part 2!” ![]()
