Sunday, February 22, 2009

Project #16 - Front Cargo Rack

Basically, a couple years ago I purchased the larger-sized Hitch Haul you could get at Wal-Mart. At the time, I had planned to use it in my hitch extension to haul a few smaller things that didn't weight a whole lot in some place other than the inside of the camper.


However, because of how far back it was, I wound up adding wheels to the underside of the hitch haul to keep it from scraping on the ground every time I exited via a driveway. The thing also had an enormous amount of slop in the size of its reciever tube and would wobble side to side.

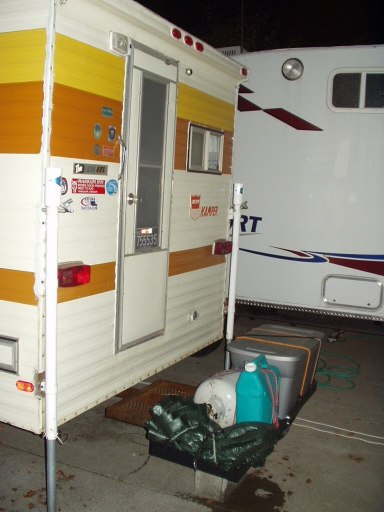
So, because of alot of the annoyances of the thing, I wound up towing my little cargo trailer alot more than I used my hitch haul, which took away some of the convenience of the Camper.

I finally changed that a few months ago, when I decided to do away with the hassle of the trailer and the wobbly hitch haul and have a custom dual tube front cargo rack made.

(Click on any Image to view a larger version)


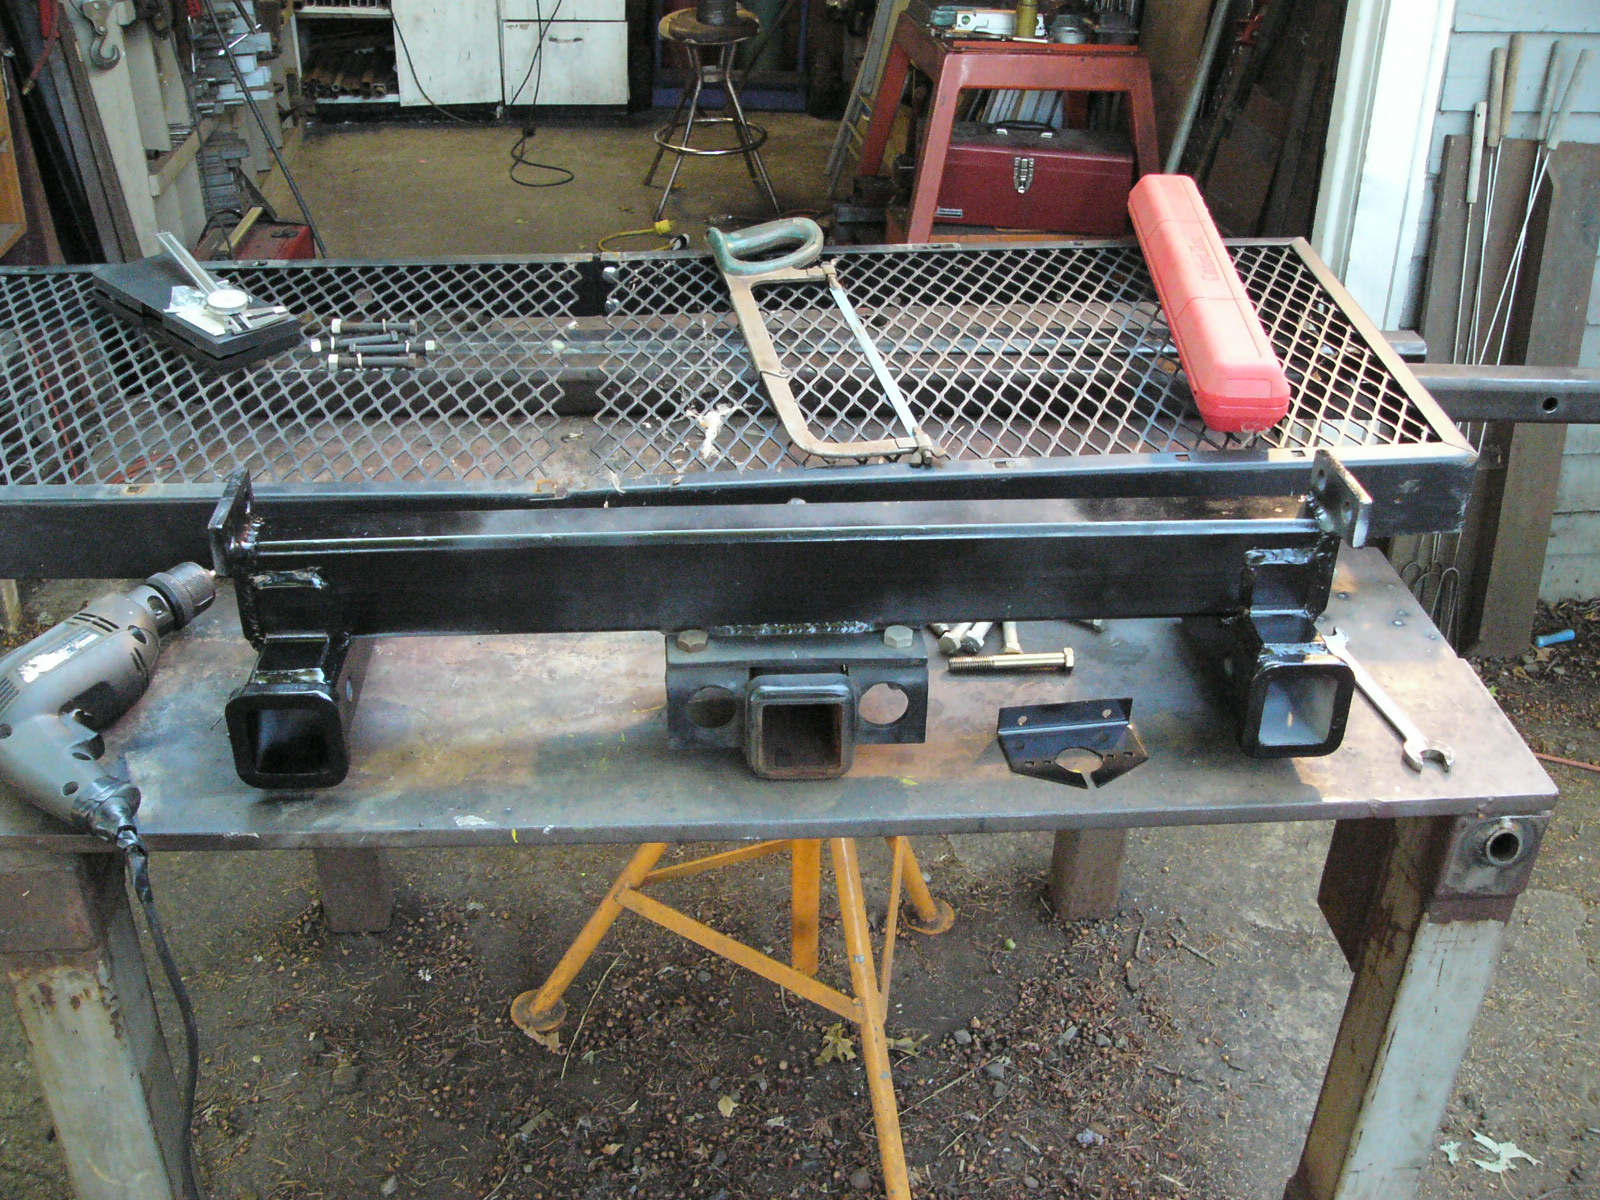
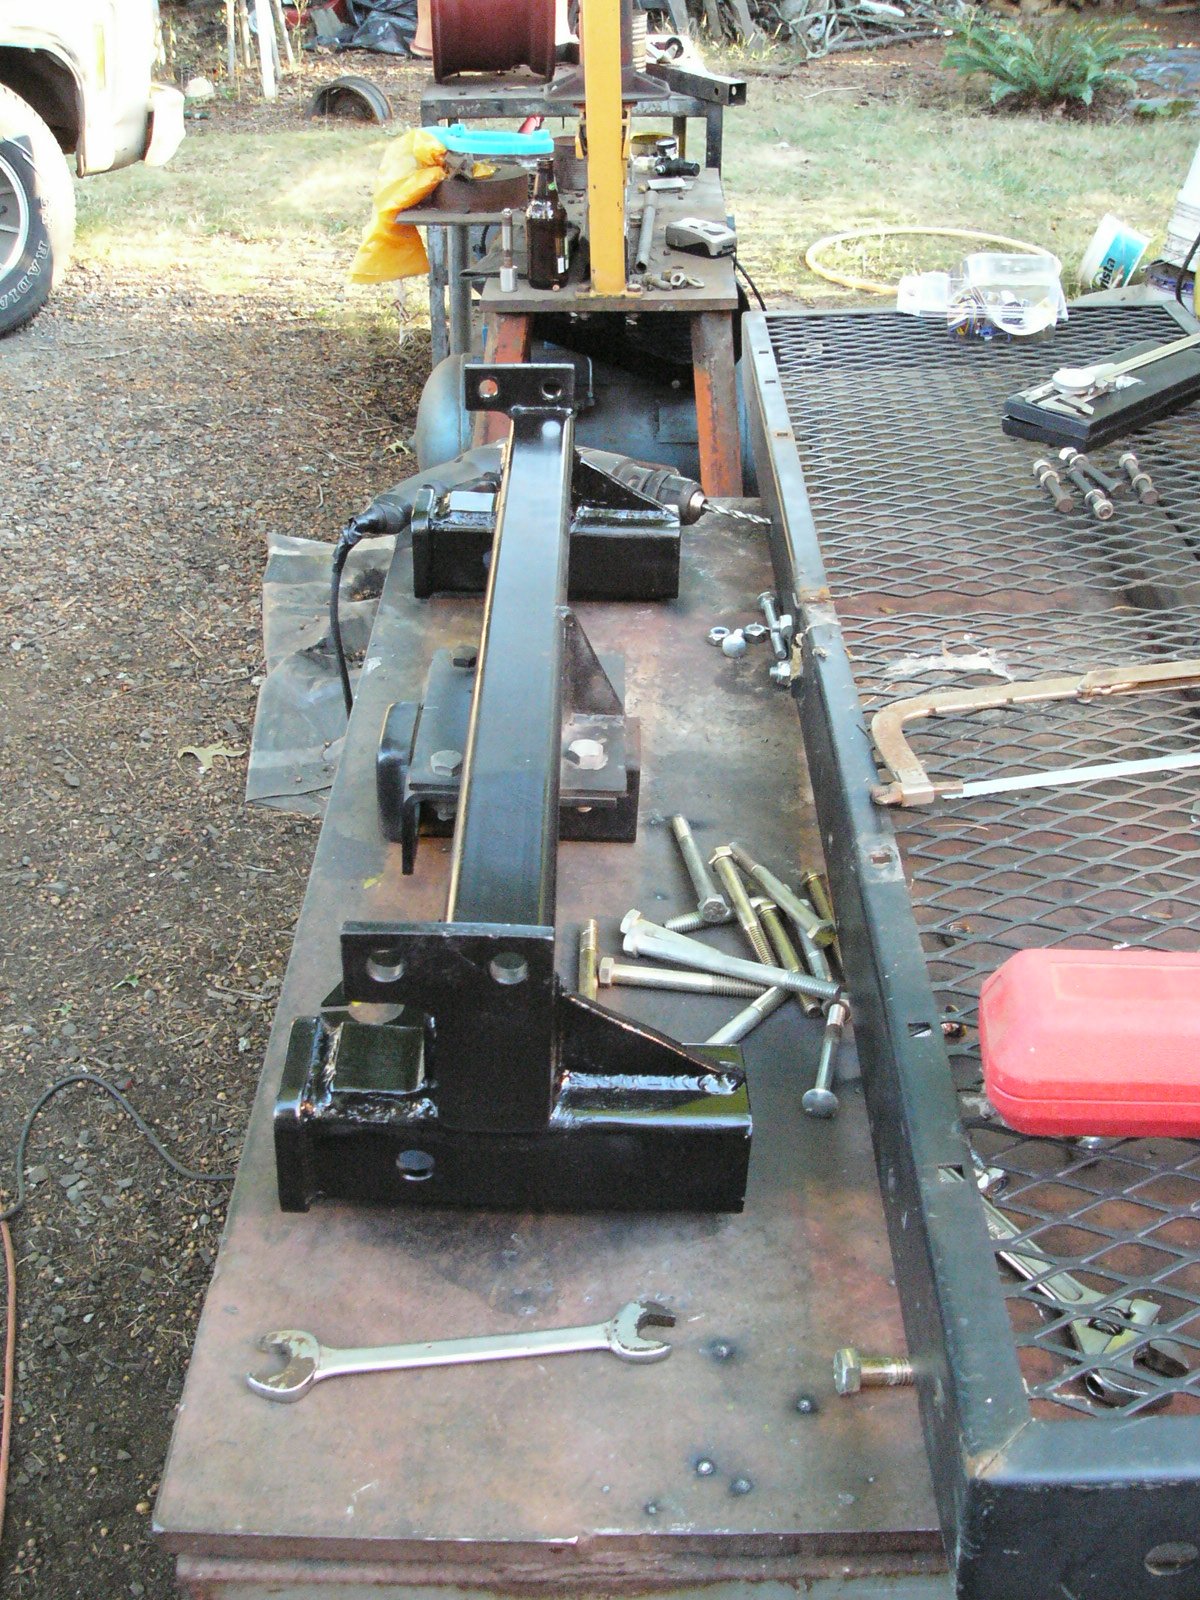
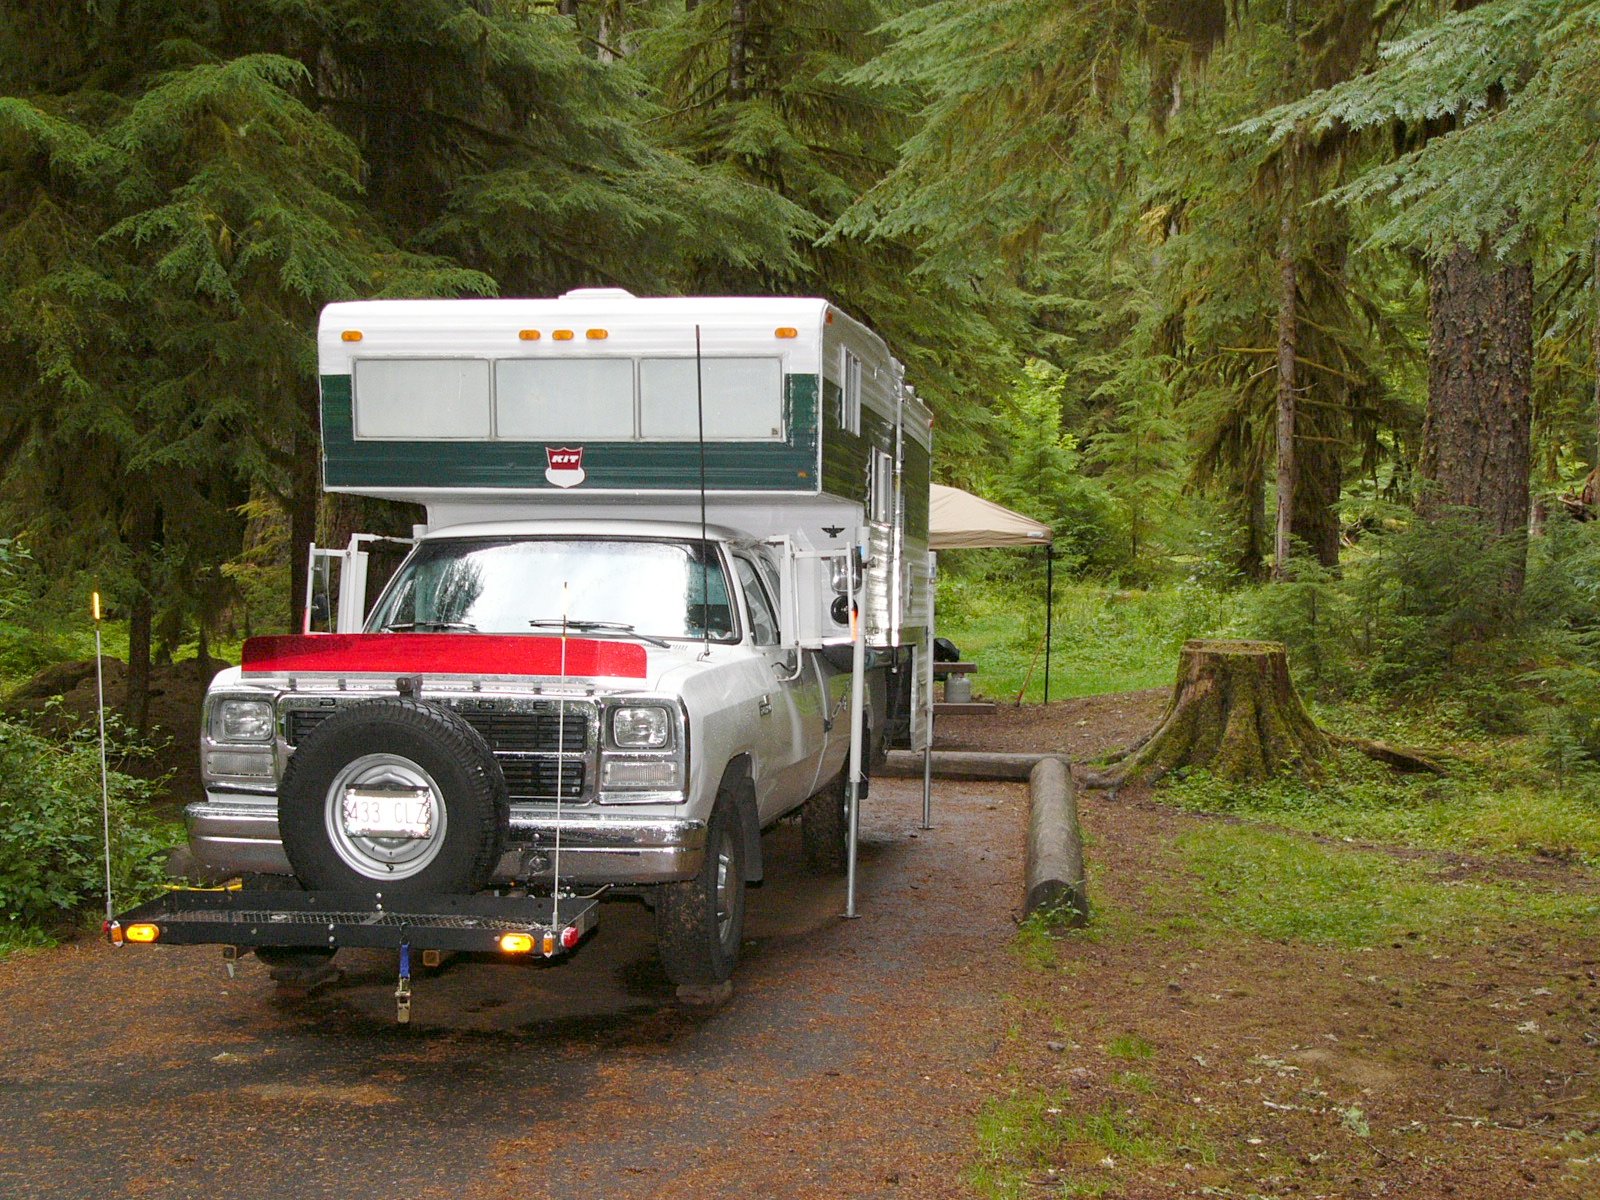
The front reciever is a custom build that I had had made a while back to facilitate the addition of a reciever on the front for my tire carrier/bike rack.

It was overbuilt in the event that I later wanted to add on a front cargo rack. So, when the time came the only thing that needed doing was to add the two additional recievers to the existing reciever assembly and bolt it back up.

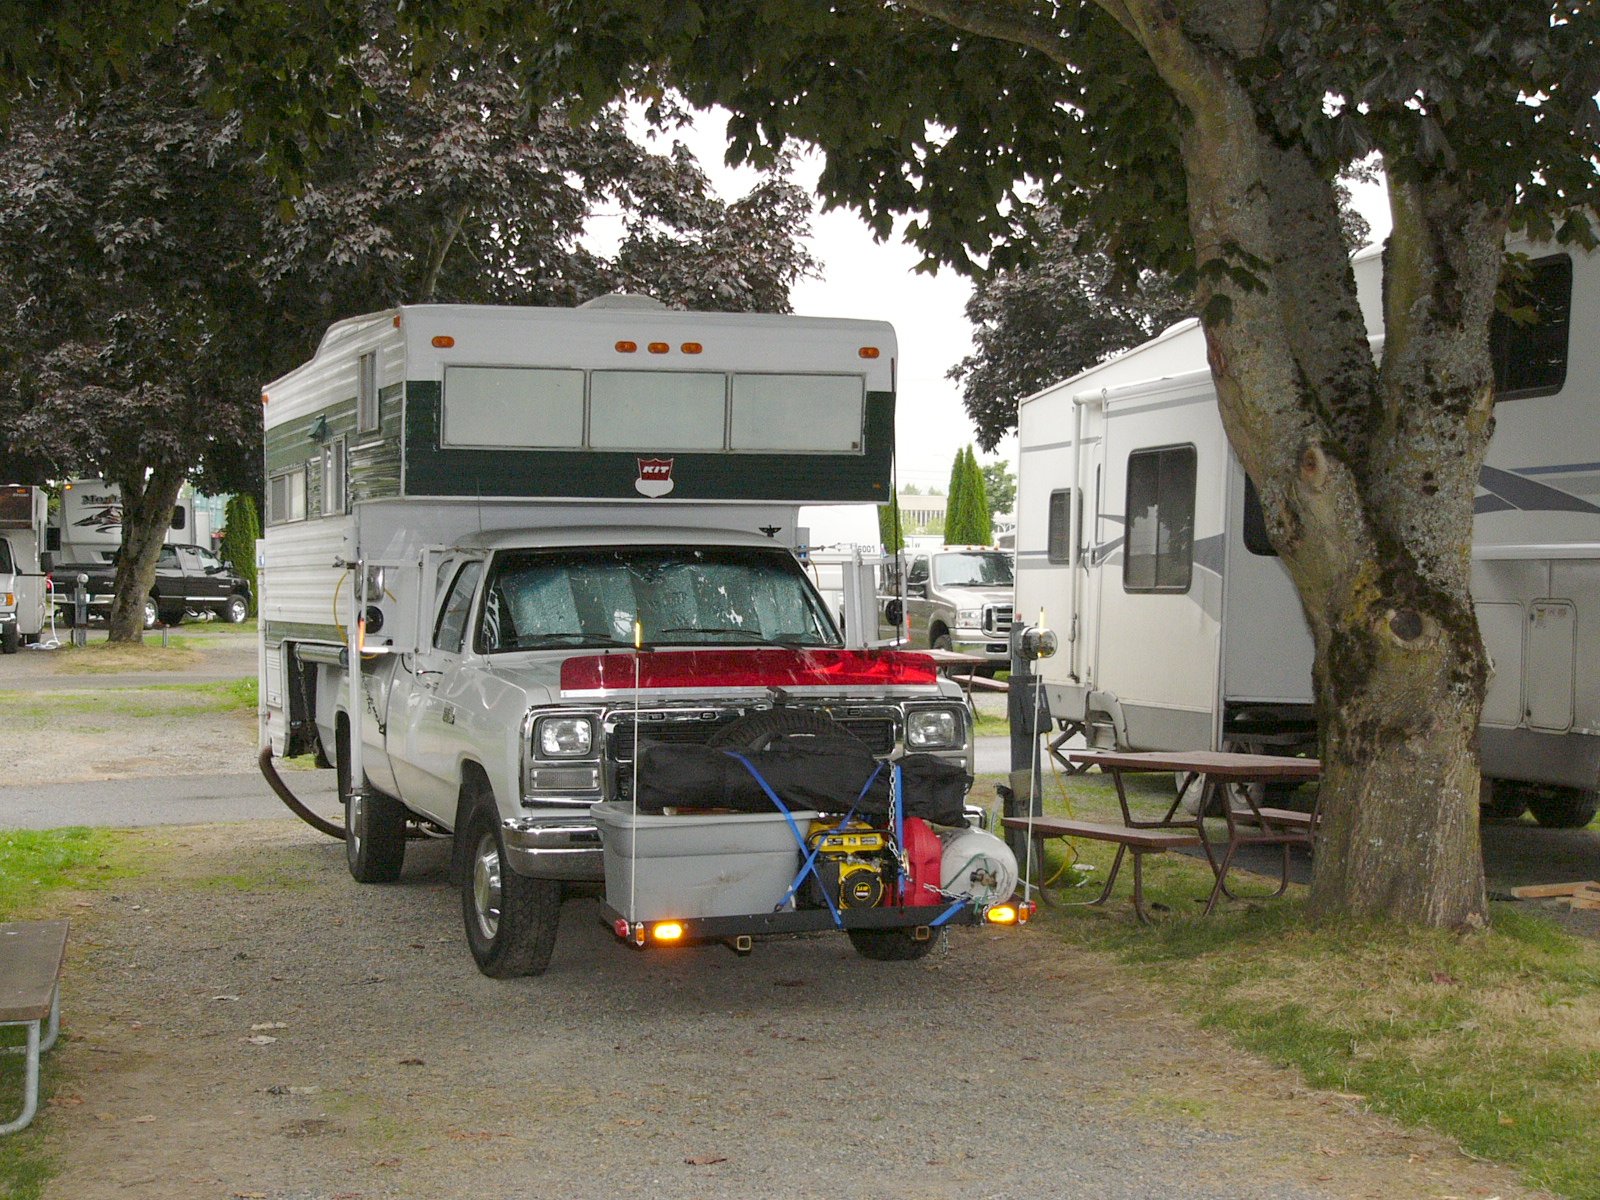
The basket on the carrier is the original hitch haul rack, just the center support is gone as it now rests atop the two 2x2x1/4" tubes coming from the twin recievers.

The rack's been loaded fairly heavy without any issue, including 30 gallons of fresh water, plus generator, gas, spare 20lb propane bottle, large tote crammed with firewood, and occasionally a portable barbacue.


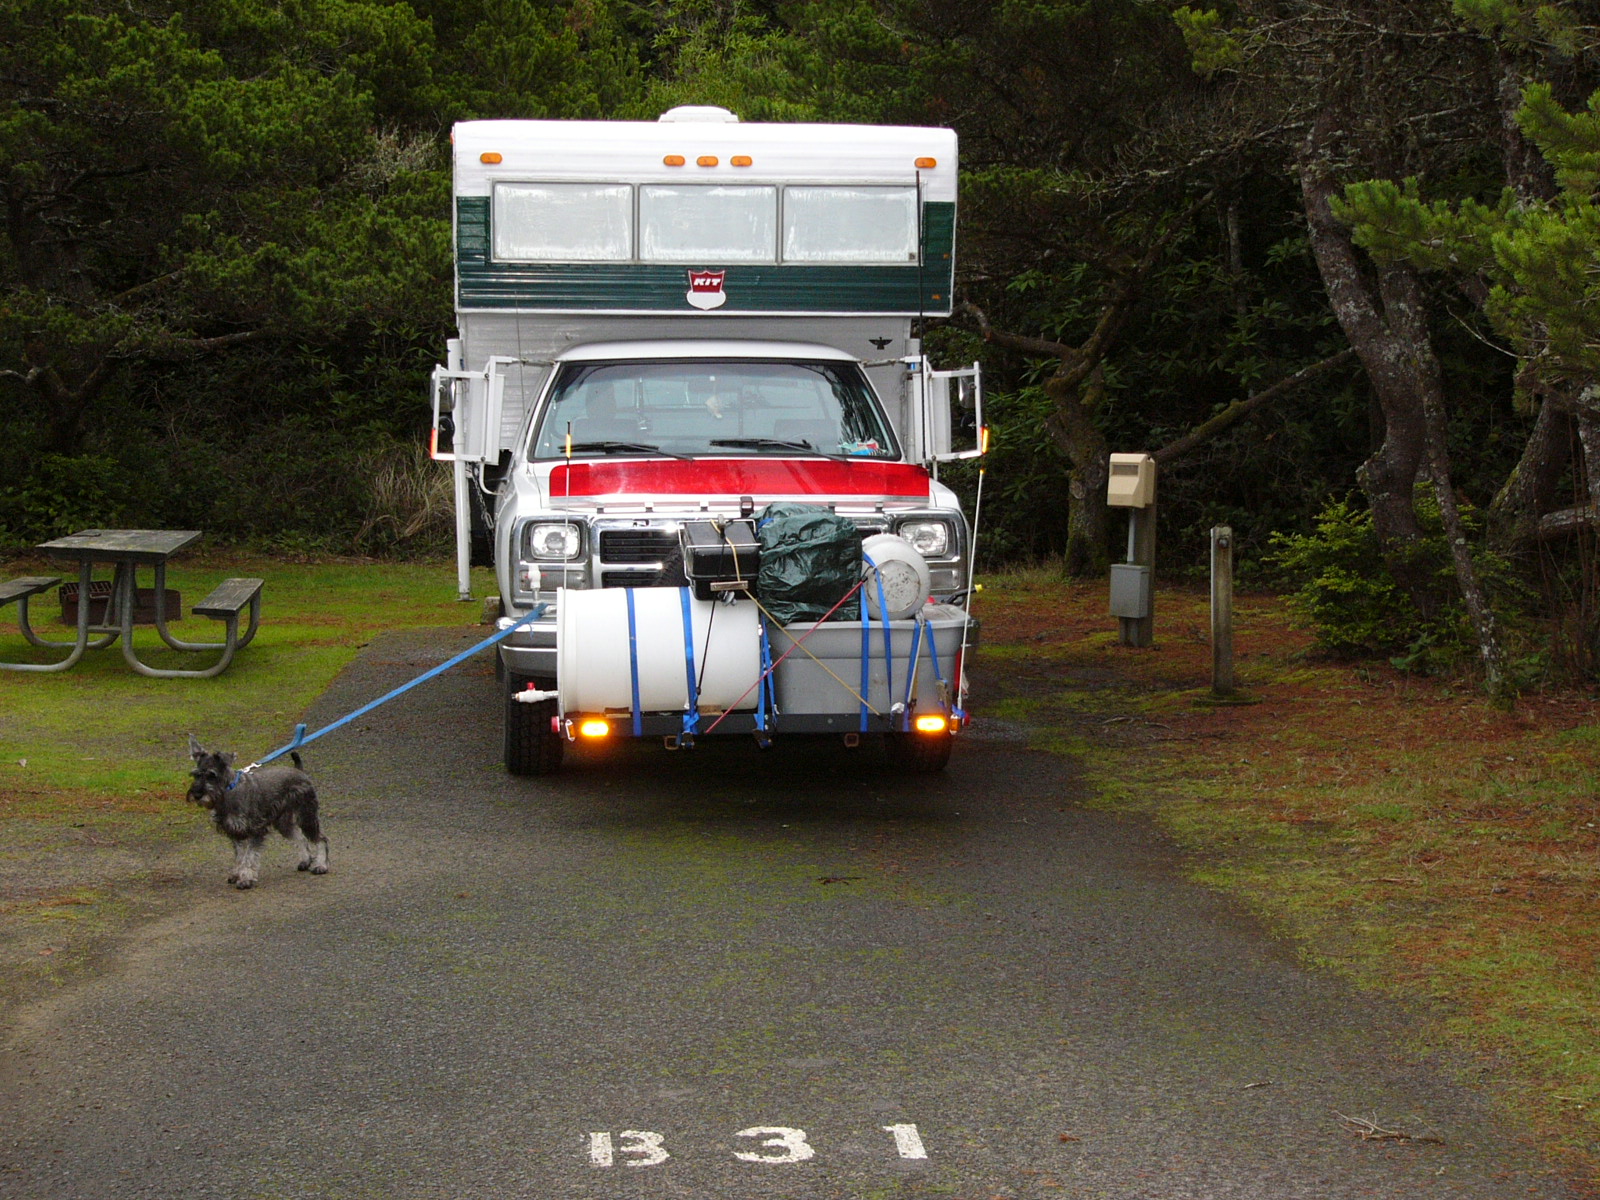
The angle of the picture makes it appear the driver's side headlight is blocked, but let me assure you, it wasn't.

The rack has its own running lights, in addition to turn signals (connected to the front signal lights on the truck). I've travel a couple thousand miles with this rack now, and passed many an LEO from a couple different states, without a second glance.

The unit is marked and clearly visible from the driver via the marker posts (similar to a truck with a plow on the front) which have reflective marking tape on the top of each.

The only thing I do need to change is the lenses on the side running lights, for some reason I got it my head to use Red instead of Amber.

Project #15 - 30gal Auxiliary Water Tank

I originally got my water tank refilling idea from BradW's handy 7 gallon portable water filling solution a long time ago.

7-Gallon Water Jug With Pump


BradW 'From 7-Gallon Water Jug with Pump' wrote:


I’m sure someone else has done this before me, but I thought I would posts some photos anyway. We sometimes camp at places that don’t have water, so we carry along some extra water jugs. Some other places we camp have water, but no way to hook up a hose to refill the supply tank on our truck camper.

I got tired of standing with a 7-gallon water jug on my head trying to refill or supply tank, so I added a $17 12 volt bilge pump to the water jug cap. Both have a 3/4” pipe thread fittings and just screw together. I can now empty the 7-gallon water jug into the supply tank in under 2 minutes.

It is also useful for putting RV antifreeze into the supply tank for the annual winterization. I just pour all the pink stuff into the 7-gallon jug and pump it in.

The jug and pump are available at Walmart.

Brad


I liked this project quite a bit, and built my own version of it after a fashion, substituting a 10' standard RV hose for the black marine hose that BradW used.

However, as handy as this was, doing this 4-5 times in a row to refill the onboard tank got old, really fast. Not to mention, I could never get the pump to stay in put, it would always try and turn when you unscrewed the lid from the jug.

So, a long while back, I started a couple threads asking about details on those big 30 gallon plastic barrels. After gathering the information I needed, I wound up waiting a couple years until I eventually had built my front cargo rack (next project thread to be posted).

I did a search on Craigslist and found a used Peach Flavoring barrel from Kerry Foods for $25 that came with twin bung plugs that had 3/4 threading in them for the attachment of pipe.

I wound up building this, using the pump I had originally been using with my jugs:

(Click Image to view enlarged)


The tank has two ball valves, PVC because I couldn't find an affordable brass one. The upper one is the breather and is raised up above the top of the tank to facility a full fill. The lower one has a male garden hose thread on it, which the modified pump assembly attaches to.

I use a double-female coupler to fill the tank via regular RV hose, simply screw on double female, attach RV water hose in normal fashion, then open both ball valves and turn on the faucet. Your standard water pressure is more than sufficient to bottom fill the tank 30 gallons. When it reaches full, I close the bottom ball valve and then turn off the spigot.

The other advantage of the auxiliary is I can take it, an RV hose and a water thief to the filling spigot in most USFS campgrounds and fill the tank while leaving the camper behind at camp, which allows me to refill the tank from bone dry in one trip.

With both tanks full, I start out with 60 gallons of fresh water to work with. This came in rather helpful while I was touring Whidbey Island with my wife-to-be, Dawn. The Washington SPs shut off the water spigots at the campsites during the winter to prevent freeze damage. The only water supply is the potable water faucets back at the dump station. Depending on the park, the dump station is a mile or so away.