


This is one of the big ones, I've put it off for a fairly long time, and finally got it done.
Since I had my first taste of winter camping, I knew that the current plugin setup for the little electric heater I use wasn't going to cut it. Having the cord hanging over the sink area while trying to do dishes was a royal pita.
Plus, my little 300 watt Statpower Portawatts Inverter was sitting in the tool box in my truck because it wouldn't work running off my one 12volt cigarette outlet in the camper.
So, a quick trip the hardware store produced this:
Part 1 - Adding a new Circuit for the up coming A/C installation
Well, I haven't really made the announcement yet, but I finally found an A/C unit for my camper. No, its not a Coleman Polar Cub, or any of the common units you see. My camper's roof is not really meant to take any weight, so I had to go with plan B.
For $89.99 at the home Depot, I picked up a Goldstar 5000 BTU A/C, the only one I've managed to find that has dimensions small enough to fit into the pre-existing window opening in the back of the camper. Most units were usually too tall, and I didn't want to do any cutting whatsoever of the walls, the camper's construction is baffling in some aspects and I didn't want to weaken a key area.
But, I digress, I have the A/C unit, its over at my fabricator buddies place to make a bracket of angle, tube and plate that will replace the existing window and securely hold the A/C in the window opening at a slight angle so the water can properly drain out. Its not done yet, so you'll see a dedicated thread to the A/C system when its actually installed.
However, the instructions do specifically state that the unit should be on its own circuit breaker. Its a 15 amp/110v Unit, with a 4.6Amp draw, I think it uses around 550watts of power to run. The cord comes with a GFI unit built in, but I figured seeing as everything in the camper is on one circuit breaker and I have a spot open in the fuse box for one more, I might as well add in a dedicated one for the air conditioner.
This project did finally answer one thing, what AMP service my camper is setup for. The answer? 20 amp. The primary feed wire is rated for 20 amp service coming from the exterior hookup, so all good.
Anyway, the project!
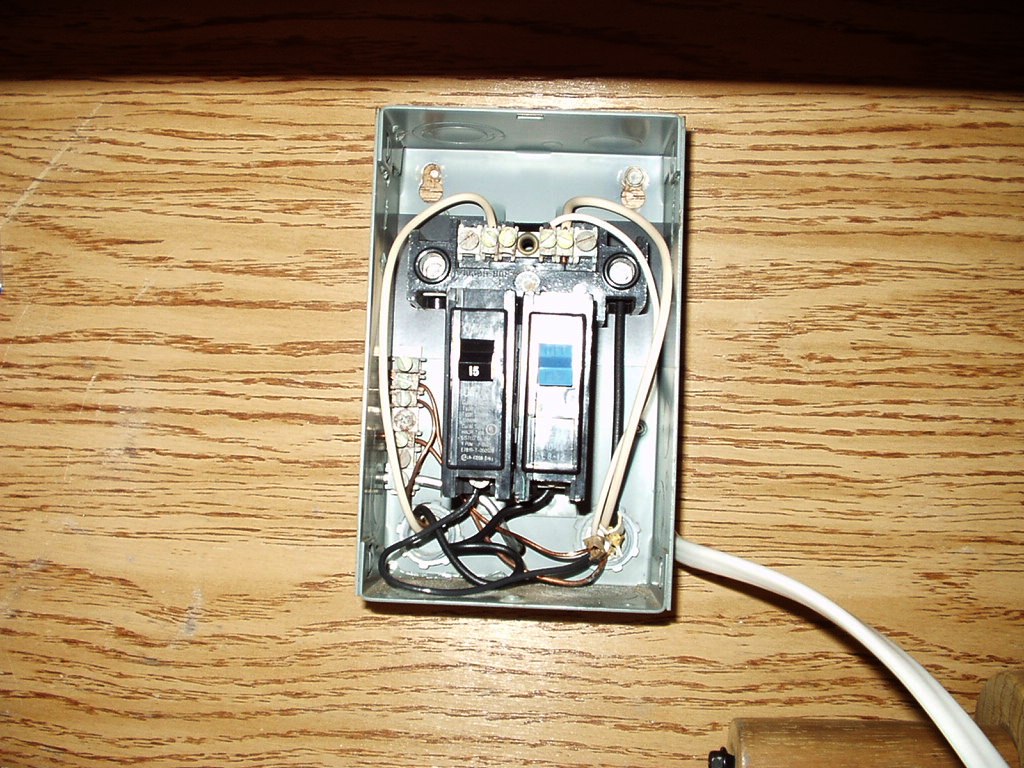
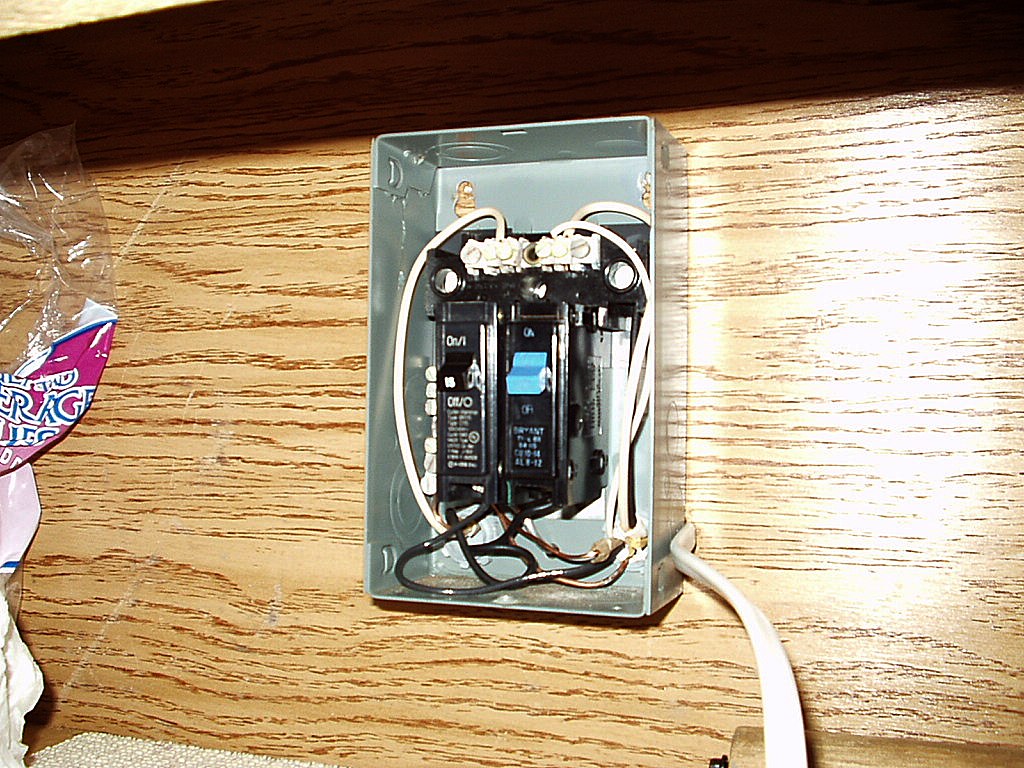
The first part of the project involved figuring out how to add another line of romex wire to the box so I could connect in the second fuse. This was solved by unmounting the box from the wall. KIT's solution to securing the wires, but also recessing them was to cut a notch out of the paneling behind the box so that it just recessed into the pink bat insulation. This made it easy to simply loosen the clamp on the right side, slide in the new romex, then reclamp and resecure the box to the wall.
In the above two pictures, the breaker with the blue tab is the original Bryant 15 amp breaker for the primary outlets, fridge, Converter, etc... The black tabbed one is the new Leviton breaker, also 15 amp, for the A/C unit. The romex coming out the side of the box is going to be routed along the back of the cabinet.
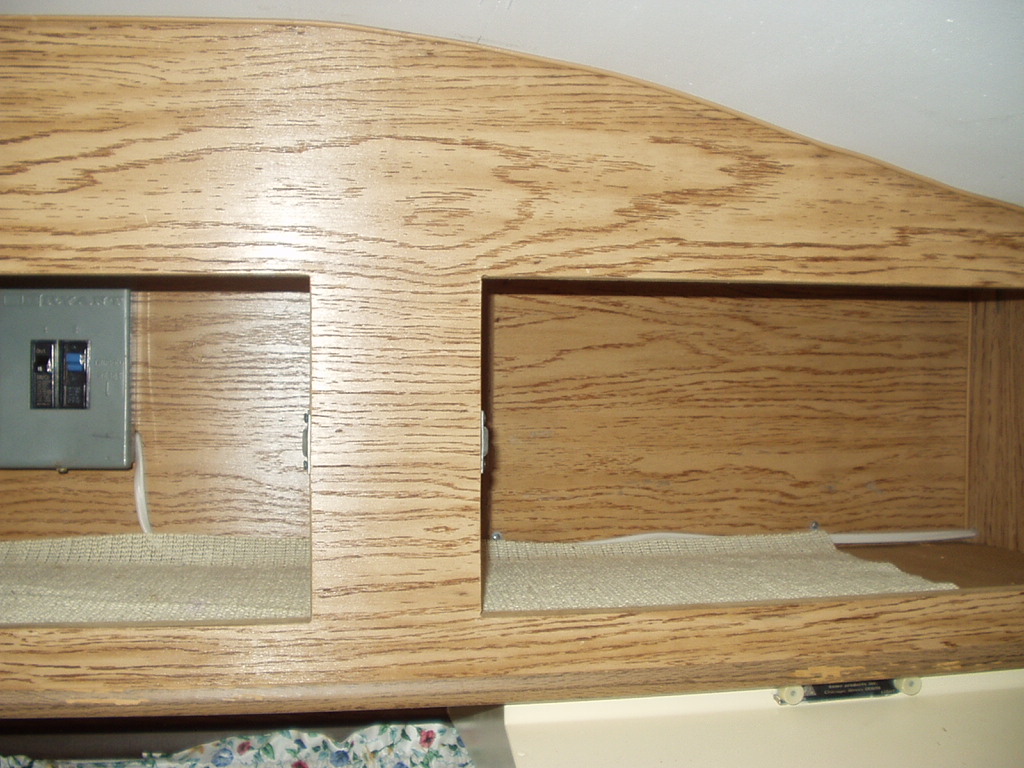
Since routing the wire inside the cabinet floor was not realistic in any way shape or form, I went for second best and routed it using cable ties that I screwed into the wall at various intervals to secure and snug the wire to the back of the cabinet, and out the way of items being stored in there.
As you can see above, the wire snakes neatly along the floor and through a hole drilled between the two cabinet walls.
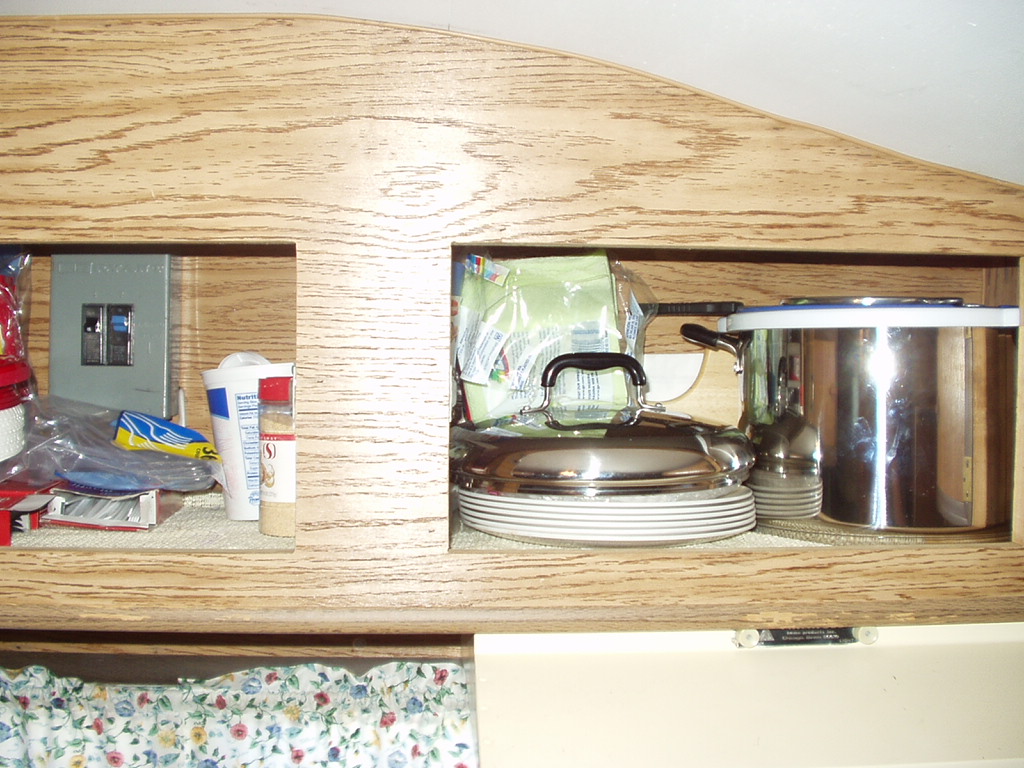
With the cabient reloaded, its impossible to tell there's a wire there at all.
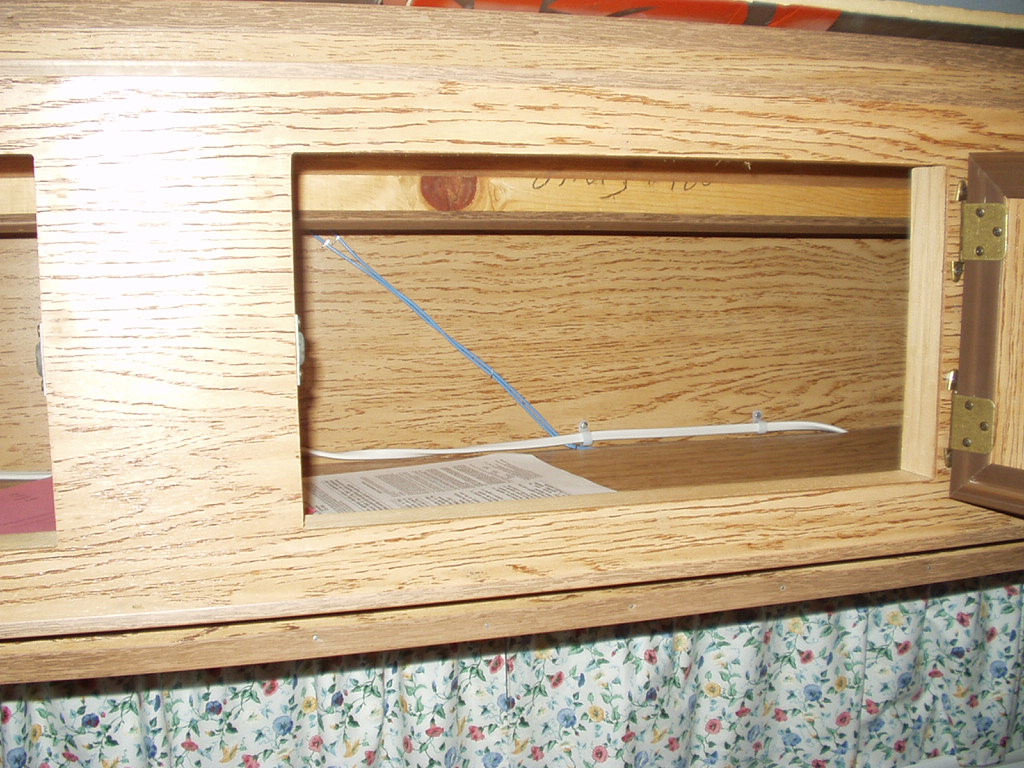
The wire continues along the inside of the over dinette cabinet/bunk bed to about 3/4 of the way along where it disappears down inside the cabinet. I decided to install an "old work" eletrical box for each outlet in this project to protect the wiring.
The final result was:
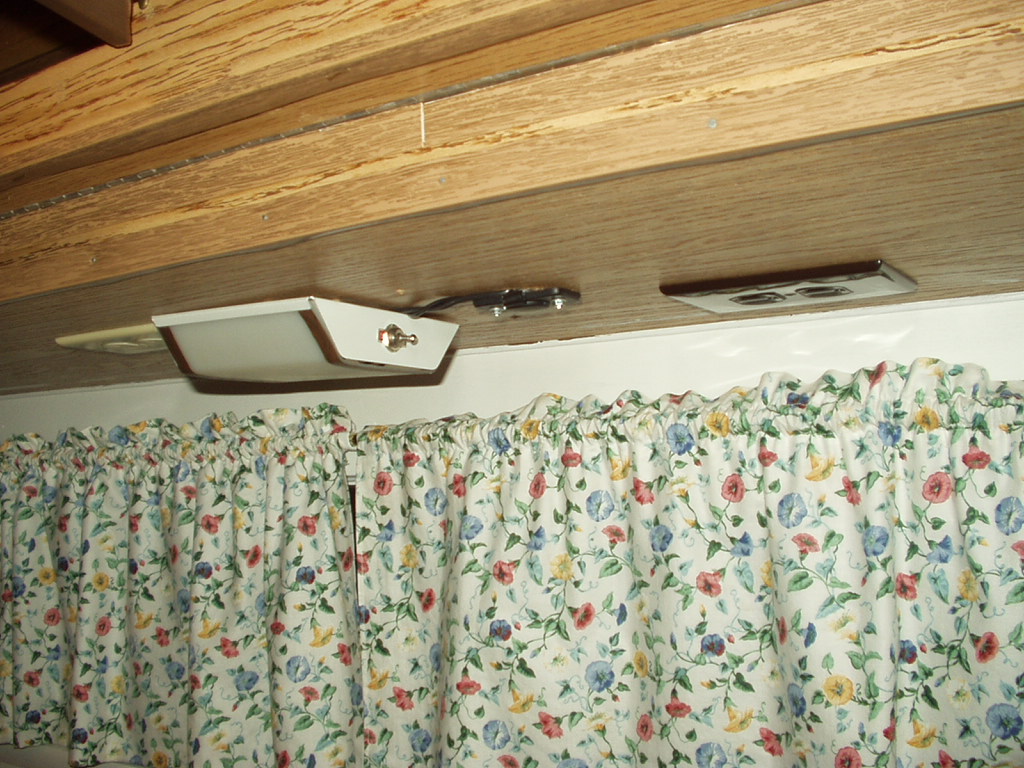
I decided for some odd reason to make all the new specialty outlets brown instead of almond like the originals. I think my logic was that the interior decore is primary shades of brown, so the brown outlets will blend better than the almond.
Part B - Inverter, New Punch Blocks, and the new inverter outlet
Well, now that I was done futzing with the addition of the 110 breaker and new outlet for the up and coming A/C unit, it was time to turn my attention to finishing the work on my 12 volt side of things.
My current tie-in job for my battery bank, plus the feed wire from the camper plug was.... less than satisfactory (Plastic Wire nuts, hose clamps and half a roll of eletrical tape really doesn't cut it in the book of good wiring jobs).
So, a bit of searching at the Home Depot lead me to some very nice dual connection point 4 gauge capable punch blocks. The best part was they came in pairs, so I only needed to buy one set.
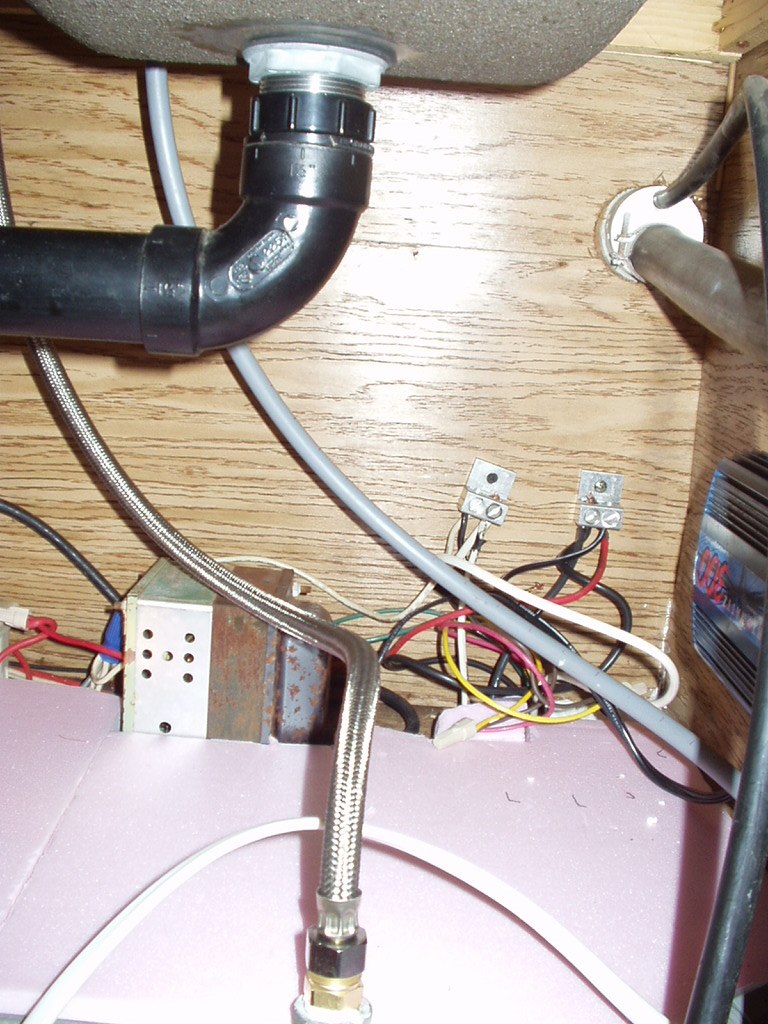
I installed the two of them on the wall under the sink where the wires come into the camper, the one on the right being positive, the one on the left being negative. I seperated out the feed wires from the draw wires so that I could easily join in new items without futzing with the wires that the batteries were hooked up with.
Once both poles were securely mounted to the wall, I used a couple more of those "old work" junction boxes and cut notches out of the sides so they could become protectice covers over the punch blocks.
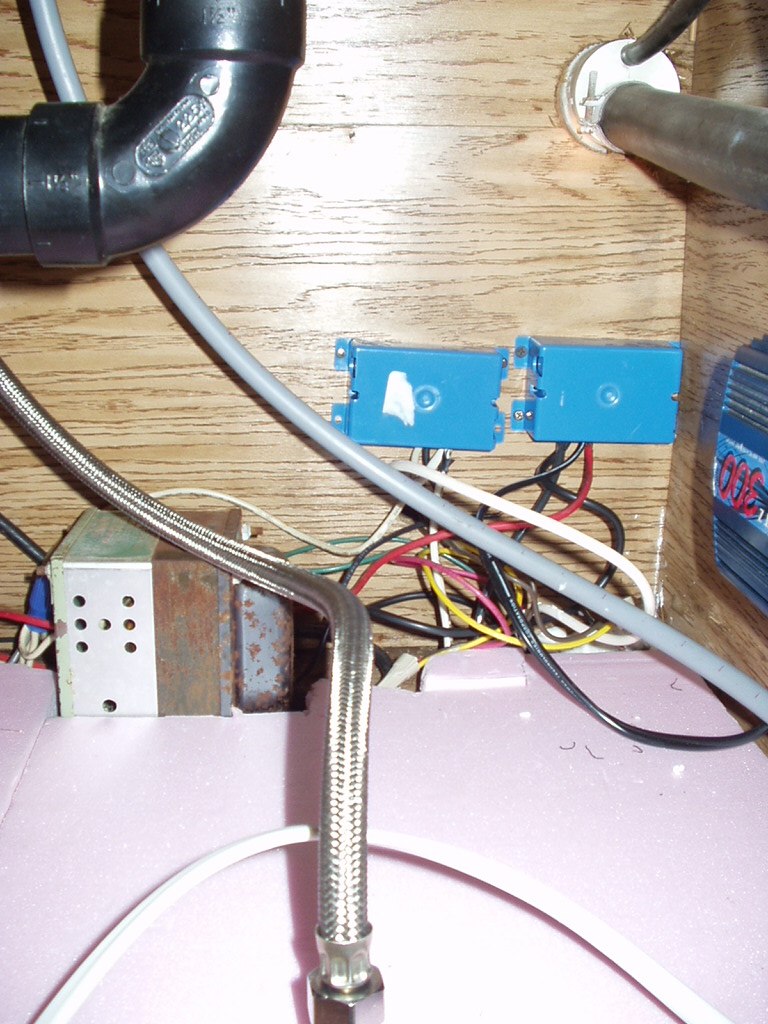
In case you're wondering what that rusty greenish cube is in amongst the pink foam board, that's my sad little converter. It has two wires that come out of it, one for positive, one for negative. Its not made for charging your batteries and you must manually switch from the batteries to it via a switch on the wall. It gets warm, but never hot, there just physically isn't that much in the camper that generate that much 12 volt load.
Anyway, since I now had a good high amp capable connection for my battery bank, I decided to permanently mount and hard-wire my 10 year old Statpower Portawatts 300, 300 watt inverter.
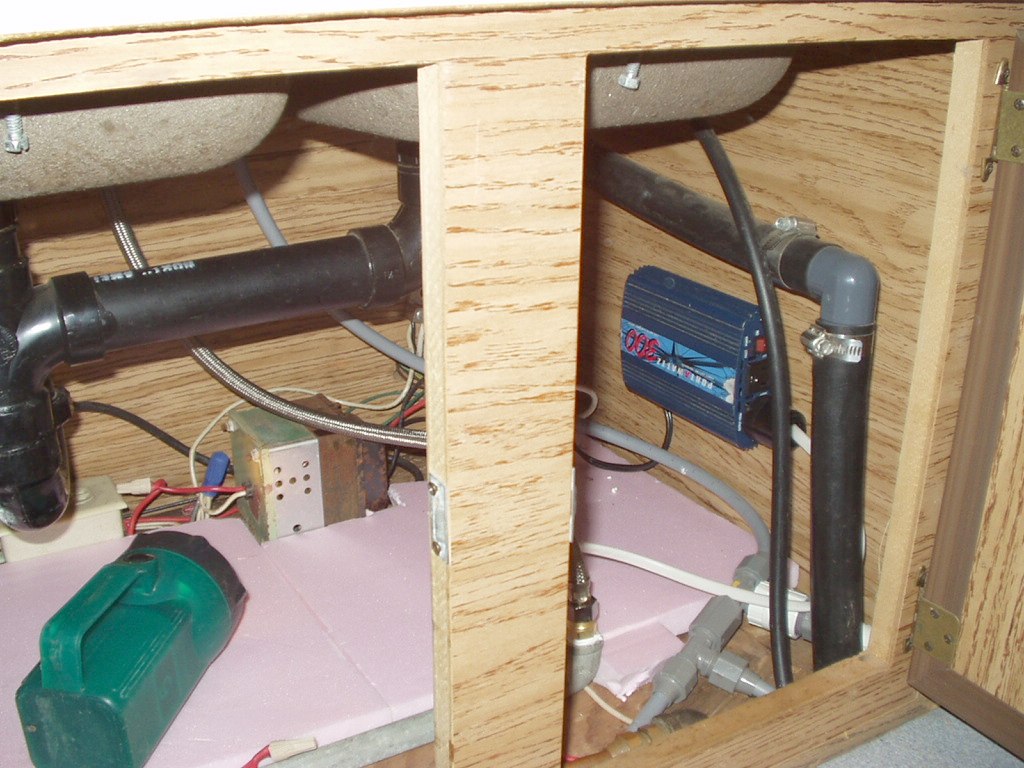
The cord and plug coming out of it, goes to the second outlet I installed. I put a 15 amp/110 3 prong plug on the end so I could plug it into the inverter, or plug it into the outlet next to the converter and turn it into a spare outlet for plugging in the eletric heater in the winter.
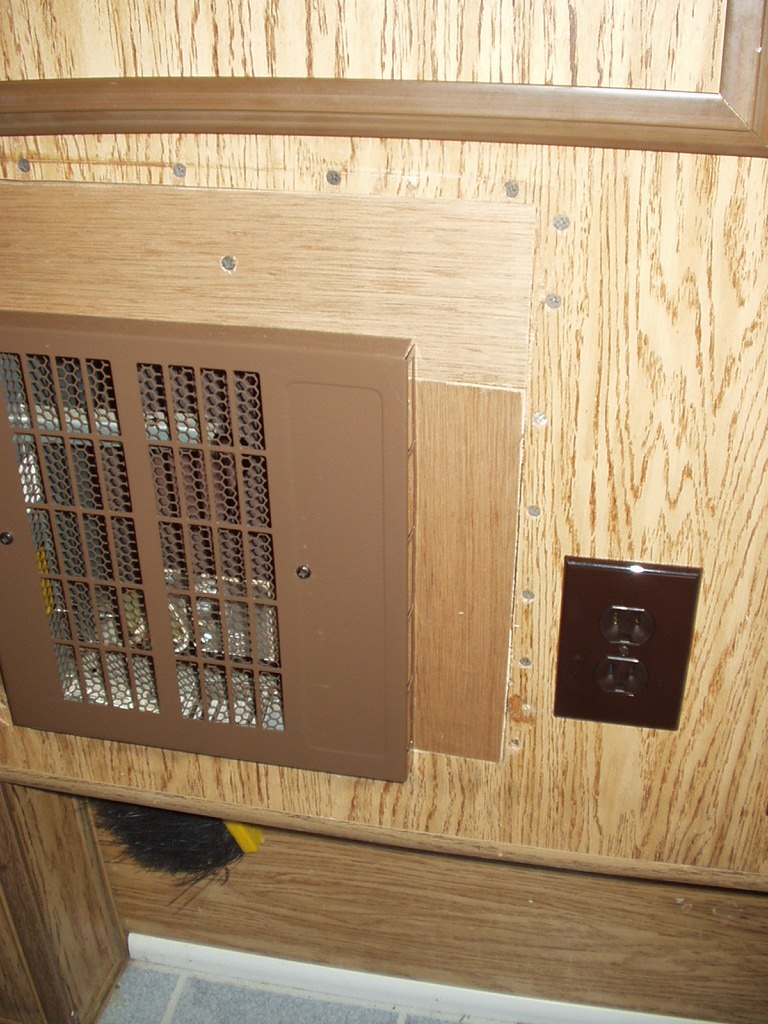
I found a patch of wall between the furnace and the water heater that was hollow and cut out the notch for another eletrical box, and installed another brown outlet.
All said and done, I get better current flow now to the camper from the battery banks, plus my inverter works properly for the first time since we got it years ago to use to run a stereo and eletric fans in the back seat of my parents old 85 Chevy Suburban when we drove back to illinois to visit family.
To test my inverter, I got bored and plugged in my power drill I had been using to make the holes for the wiring for the A/C outlet. Ran like a charm.

Hope you enjoyed reading, I've still got a few more projects to post!
I would worry about electrical stuff under a sink. I know space is limited, but this could be hazardous.
ReplyDeleteThis blog does an excellent job of explaining why electrical upgrades are so important. It’s clear and concise, making it easy to understand. As the leading local Electrician in Bellevue Hill, Easyfix Electrics offer to customers a wide range of electrical upgrades services.
ReplyDelete